Advertisement
Quick Links
Advertisement

Related Manuals for ring Retrofit Alarm Kit


Summary of Contents for ring Retrofit Alarm Kit
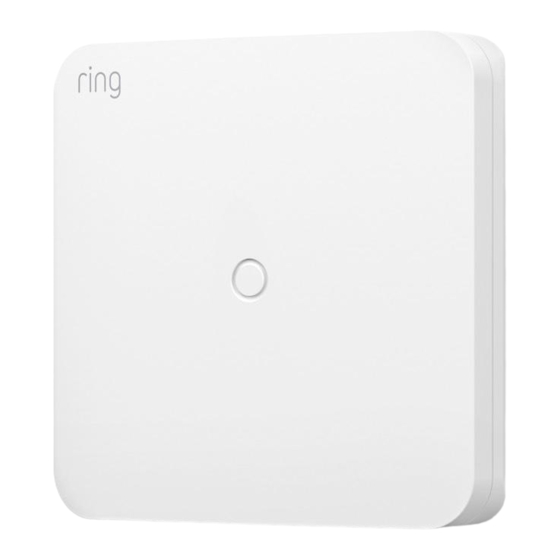
- Page 1 Retrofit Alarm Kit...
- Page 2 Welcome to the Ring Retfofit Alarm Kit Thank you for choosing the Ring Retrofit Alarm Kit. Please read all of these instructions before you begin the installation. This is an advanced DIY project. We recommend that you consult a professional before installing the Retrofit Alarm Kit.
- Page 3 Understand your wired alarm panel Common wired alarm components 1. Alarm box or alarm cabinet. The metal box that holds your wired alarm equipment. 2. Alarm panel. The circuit board that functions as the brains of your wired security system. All device and zone wires, along with electrical and battery backup wires connect to the panel.
- Page 4 Sensor Zone Zone Common 5. Contact sensor zones. A zone is a closed wired loop that contains one or more devices. Zones are used as a way of grouping several sensors or devices together for efficiency. Contact sensor zones are two-wire zones with one or more contact sensors.
-
Page 5: Supported Sensor Types
This means that the settings for a wired zone will likely include several wired contact sensors. When you add a wired zone to your Ring Alarm, customized settings will apply to all sensors within that zone. - Page 6 Ring Alarm Required. You need to have a Ring Alarm Base Station set up at your location before you begin to add the Retrofit Alarm Kit and connect it to your wired contact sensor zones. Your Ring Alarm Base Station will need to be connected to the internet via Wi-Fi or ethernet, and cannot be on cellular backup during installation.
- Page 7 • Masking tape and a pen, or some other method to label the wires • If you plan to wire your Retrofit Alarm Kit through a hole in the metal alarm box, make sure there is a rubber grommet around the hole to protect the wires from damage.
-
Page 8: Preparing For Installation
Preparing for installation Locate your wired alarm panel inside your home, and familiarize yourself with the components. It may be located in a basement or inside a closet. 1. Open your wired alarm panel. If it’s locked, the key is often located right on top of the panel box or somewhere nearby. - Page 9 If you find signs of damage or wear, the zones may not work with the Retrofit Alarm Kit. 6. Identify other important parts of the alarm panel, including the transformer or power supply and the backup battery.
- Page 10 7. Think about where you want to set up the Retrofit Alarm Kit. Make sure there is space on the wall nearby. It cannot be mounted inside the wired alarm panel box as this could block communication signals to the Ring Alarm.
-
Page 11: Setup Instructions
Setup instructions Add the Retrofit Alarm Kit to the Ring app. You’ll need to have a Ring account with a Ring Alarm system set up at your location first before you can set up and use the Retrofit Alarm Kit. - Page 12 • The Ring app will prompt you to configure the device. You can give it a name and add it to a room. 8. Move the Retrofit Alarm Kit to the place where it will be installed near the wired alarm panel. This may be in a basement or closet. Do not mount it on the wall yet.
- Page 13 3. Mount the Retrofit Alarm Kit. We suggest that you use the included double-sided tape located on the back of the Retrofit Alarm Kit. You can also use screws and anchors (not included) for the type of wall you’ll be mounting it to.
- Page 14 4. Test your wired zones. Checking the integrity of your wired contact sensor zones will ensure that the zones can be connected to the Retrofit Alarm Kit. Wired contact sensor zones must create a complete closed loop in order to work properly with Retrofit Alarm Kit.
- Page 15 A. Choose an app zone for the zone wires. For each 2-wire zone, you’ll place one wire alone in a numbered terminal and one “Common” terminal labeled “C” on the Retrofit Alarm Kit. Each “C” can have up to two wires in it.
- Page 16 Terminal C Zone 8 Terminal 8 Add the wires to the Retrofit Alarm Kit. Tighten the screw within each terminal (using the included screwdriver) just enough so that the wires don’t fall out. If you’ve completed steps 1 and 2 correctly, check your Ring app. Zone 1...
- Page 17 If your zones are not labeled or mislabeled, you will need to identify them using trial and error. Look at the Ring app while you open and close each door and window around your property to identify which contact sensors are within the zone.
- Page 18 If your zone includes both doors and windows, we recommend that you choose “door” as the placement option to help reduce false alarms. Repeat these steps until all zones have been added to your Retrofit Alarm Kit. When you’re finished, slide the cover back on the Retrofit Alarm Kit.
- Page 19 Retrofit Alarm Kit. As an alternate option, you can also disable that zone within the Ring app, and enable it when you no longer need to bypass the sensor.
-
Page 20: Troubleshooting Tips
Test. Simply remove the wires from the Retrofit Alarm Kit, and the zone will be removed. Need Help? If you need additional help with the Ring Retrofit Alarm Kit, please reach out to our dedicated support line at 800-656-1918. To review your warranty coverage, please visit www.ring.com/warranty.
Need help?
Do you have a question about the Retrofit Alarm Kit and is the answer not in the manual?
Questions and answers