Advertisement
Advertisement
Table of Contents

Related Manuals for Night Owl C50XFR Series


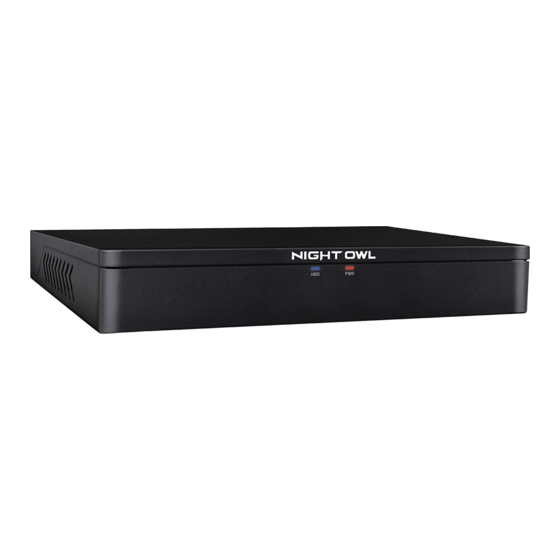
Summary of Contents for Night Owl C50XFR Series
- Page 1 C50XFR SERIES QUICK SETUP GUIDE Home & Business SECURITY SYSTEMS...
-
Page 2: What's In The Box
(1 per 4 cameras) Items Not Included Safety Sticker (x3) Monitor Router USB Mouse (x1) NOTE: Monitor is required for initial setup. Mounting Hardware IMPORTANT: For best results, use all the included Night Owl accessories. Third-party accessories may not work properly. -
Page 3: Connecting Your System
Connecting Your System HDMI NOTE: Monitor is required for initial setup. To view cameras, TV/Monitor must be tuned to the same Input the HDMI is plugged into. Plug included HDMI cable into Plug the other end of the the HDMI port on the back of HDMI cable into the back the DVR. - Page 4 FROM Camera TO Camera NOTE: Audio enabled cameras will have a white RCA connector to transmit audio NOTE: Make sure you twist and lock BNC connectors. signal (Optional). Connect the ends of the cable Connect the BNC connector of the attached to the camera to the video/power cable labeled TO DVR ONLY to an open video input on...
-
Page 5: Startup Wizard
Remember Your Password Night Owl strongly recommends writing down your password within the Quick Setup Guide. You will need it every time you log into your DVR and to remotely view on a Smart Device. - Page 6 Mounting Guide for Your Intelligent Cameras Your cameras, when properly placed, use Human Detection and Facial Capture with Recognition to reduce false alerts. The technology is fantastic, but it does require meeting certain conditions to get the best results. When mounting your cameras, keep the following tips in mind.
- Page 7 For Your Information • Changes in lighting and environmental conditions may cause false alerts. • Changes in a person’s look (glasses, hats, beards, etc.) may affect the recognition process. • The corners of the camera’s field of view may not be as accurate. Human Detection Up to 40 ft.
- Page 8 6–20 characters. After completing the account setup and verification process, sign into the app and tap the “+” symbol to add a device. The Night Owl Application will lead you through the rest of the setup process.
-
Page 9: Adding A Device
When adding a new device, it may take 5–10 minutes before you begin receiving notifications. A device can be added to the Night Owl Connect App by using the application’s Smart Auto Detection or through a QR Code Setup. With Smart... - Page 10 Startup Wizard and should be stored in your QSG. NOTE: This is the password of your DVR, NOT the password used to login to the Night Owl Connect App. You must key the DVR password verbatim to add it to the app.
-
Page 11: Frequently Asked Questions
5. Why is the Night Owl Connect App not accepting my password? Night Owl Apps require two passwords. One is for logging into the app, and the other is the DVR’s admin password. To add a device to the app, enter the DVR’s admin password. -
Page 12: Need Help
2. Click Support on the top of the homepage. located on top of the device 3. Type WXYZ in the top right search bar. With the use of your Night Owl App, scan now for remote viewing on your Smart Device for steps on how to access your product’s support material.
Need help?
Do you have a question about the C50XFR Series and is the answer not in the manual?
Questions and answers