Moxa Technologies NE-4100 Series Quick Installation Manual
Hide thumbs
Also See for NE-4100 Series:
- User manual (121 pages) ,
- User manual (90 pages) ,
- User manual (24 pages)
Advertisement
Quick Links
Quick Installation Guide
Moxa Americas:
Toll-free: 1-888-669-2872
Tel:
1-714-528-6777
Fax:
1-714-528-6778
Moxa Europe:
Tel:
+49-89-3 70 03 99-0
Fax:
+49-89-3 70 03 99-99
Moxa India:
Tel:
+91-80-4172-9088
Fax:
+91-80-4132-1045
NE-4100 Series
Version 5.1, December 2019
Technical Support Contact Information
www.moxa.com/support
2019 Moxa Inc. All rights reserved.
Moxa China (Shanghai office):
Toll-free: 800-820-5036
Tel:
+86-21-5258-9955
Fax:
+86-21-5258-5505
Moxa Asia-Pacific:
Tel:
+886-2-8919-1230
Fax:
+886-2-8919-1231
P/N: 1802041000302
*1802041000302*
Advertisement

Related Manuals for Moxa Technologies NE-4100 Series


Summary of Contents for Moxa Technologies NE-4100 Series
- Page 1 NE-4100 Series Quick Installation Guide Version 5.1, December 2019 Technical Support Contact Information www.moxa.com/support Moxa Americas: Moxa China (Shanghai office): Toll-free: 1-888-669-2872 Toll-free: 800-820-5036 Tel: 1-714-528-6777 Tel: +86-21-5258-9955 Fax: 1-714-528-6778 Fax: +86-21-5258-5505 Moxa Europe: Moxa Asia-Pacific: Tel: +49-89-3 70 03 99-0...
-
Page 2: Package Checklist
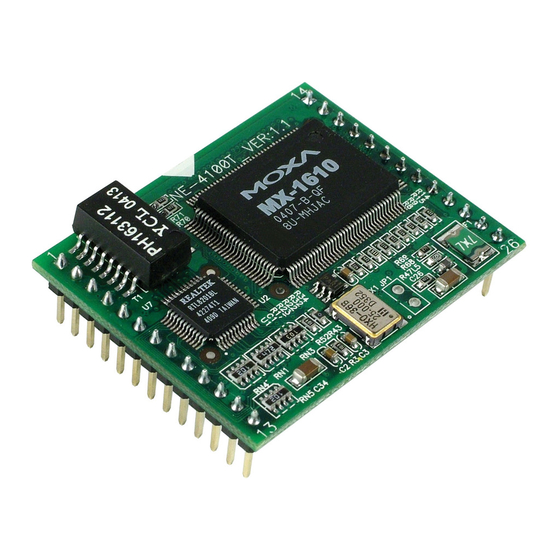
3 types: drop-in type (NE-4100T), RJ45 type (NE-4110S/A), and pin-header type (NE-4120S/A). MOXA provides a Starter Kit for each NE-4100 series module. Each Starter Kit contains an evaluation board that can be used to evaluate the modules and to develop applications. -
Page 3: Hardware Installation Procedure
Hardware Installation Procedure Follow these steps to prepare the module and evaluation board for testing and application development. STEP 1: Plug the NE-4100 module into the sockets on the top of the evaluation board. NE-4100-ST: After attaching the module to the evaluation board, the triangles on the module and evaluation board should line up. - Page 4 STEP 4: Use the serial data cable to connect the evaluation board to a serial device. STEP 5: For NE-4110-ST and NE-4120-ST, use jumper JP2 on the evaluation board to select the proper serial interface. See pages 3-6 and 3-7 of the NE-4100 Series User’s Manual for details. - 4 -...
- Page 5 MAC address on the module(s) to determine which modules are the ones you wish to configure. 4. Refer to pages 7-6 to 7-19 of the NE-4100 Series User’s Manual for additional configuration instructions. NE-4100 Programmable Module Software Installation 1.
-
Page 6: Reference Material
Reference Material The following detailed user’s guides can be downloaded from Moxa’s product page under the NE-4100 Series’ product page. NE-4100 Standard Module • NE-4100 Series User’s Manual NE-4100-P Series • Network Enabler SDK 2 Programmer’s Guide • Network Enabler SDK 2 API Reference...
Need help?
Do you have a question about the NE-4100 Series and is the answer not in the manual?
Questions and answers