Table of Contents
Advertisement
Quick Links
START GUIDE
This document is watermarked because certain important information in the document has not yet been verified.
This document has been sent to you as a draft and for informational purposes only.
The document should only be used for internal purposes and may not be distributed outside of Samsung,
except to Samsung's carrier customer for testing purposes. Distributing the
document outside of Samsung, except to Samsung's carrier customer for testing purposes could result in legal exposure
to the company if the preliminary, unverified information in the draft turns out to be inaccurate.
DRAFT
Internal Use Only
GARDA
Advertisement
Table of Contents

Related Manuals for T-Mobile Samsung Garda


Summary of Contents for T-Mobile Samsung Garda
- Page 1 START GUIDE This document is watermarked because certain important information in the document has not yet been verified. This document has been sent to you as a draft and for informational purposes only. The document should only be used for internal purposes and may not be distributed outside of Samsung, except to Samsung's carrier customer for testing purposes.
- Page 2 My Carrier This guide provides you with the information you need to get started. For more information and additional support, please visit www.t-mobile.com/support/ where you can: • Register at my.t-mobile.com/ to check your minutes, pay your bill, upgrade your phone, and change your rate plan.
-
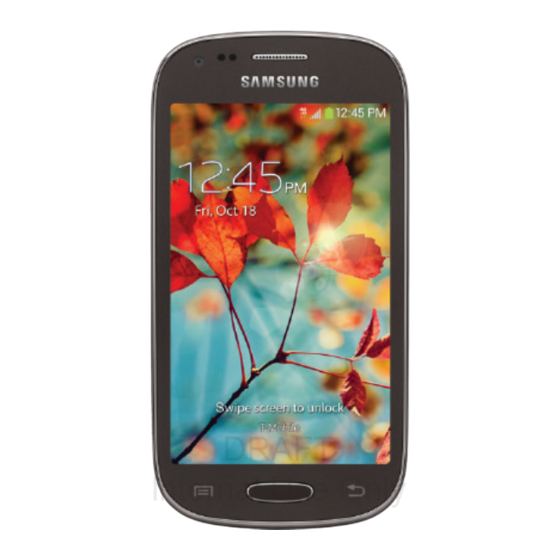
Page 3: Device Functions
Device Functions Headset Sensors jack Power/lock Front Volume facing camera DRAFT Internal Use Only Menu* Home Back* *Menu and Back illuminates when navigating through the device. -
Page 4: Internal Use Only
Camera lens Flash Speaker DRAFT Internal Use Only Charging port WARNING: Please use only an approved charging accessory to charge your device. Improper handling of the charging port, as well as the use of an incompatible charger, may cause damage to your device and void the warranty. -
Page 5: Setting Up Your Device
Setting Up Your Device Step 1. Remove the Back Cover • Place your fingernail in the groove and firmly “pop” the cover off the device. Step 2. Install the SIM Card • Slide the SIM card into the SIM card slot until it “clicks” into place. - Page 6 Step 3. Install the optional microSD card • Slide the memory card into the card slot until it “clicks” into place. Step 4. Insert the Battery • Insert the battery, making sure to align the gold contacts (1). Press down gently to secure the battery (2). DRAFT Internal Use Only...
- Page 7 Step 5. Replace the Back Cover • Position the battery cover over the battery compartment and press down firmly along the edges of the cover. Step 6. Charging the Phone • Before turning on your phone, charge it fully. Be sure to use the charger that came with the device.
-
Page 8: Locking And Unlocking Screen
Turning Your Phone On and Off 1. To turn ON, press and hold the Power/Lock key. 2. To turn OFF, press and hold Power/Lock key and follow the prompts. Locking and Unlocking Screen 1. To Lock, press the Power/Lock key. 2. -
Page 9: Calling Features
Calling Features Making a Call 1. From the Home screen, tap (Phone). 2. Enter the number you wish to call and tap to place a call. • If you make a mistake while dialing, tap to clear the last digit. Touch and hold to clear the entire sequence. - Page 10 DRAFT SAMSUNG TELECOMMUNICATIONS AMERICA 1301 E. Lookout Drive | Richardson, TX 75082 Internal Use Only 1.800.SAMSUNG www.samsung.com/mobile ©2013 Samsung Telecommunications America, LLC. Samsung and Galaxy S are both registered trademarks of Samsung Electronics Co., Ltd. Android, Google Play, Gmail and Google are trademarks of Google, Inc.
-
Page 11: Set Up Voicemail
Set Up Voicemail 1. From the Home screen, tap (Phone) and then touch and hold until the device dials your voicemail. 2. Follow the prompts in the new user tutorial to set up your mail box. Access Voicemail 1. From the Home screen, tap (Phone) and then touch and hold . -
Page 12: Creating A New Contact
Contacts Creating a New Contact 1. From the Home screen, tap (Phone). 2. Enter a phone number using the on-screen dialpad. 3. Tap Add to contacts g Create contact. 4. Tap a destination type (Device, SIM, Samsung account, Google, or Microsoft Exchange ActiveSync) (depending on where you want to save the new contact information). -
Page 13: Connecting To Bluetooth
Connections Connecting to Bluetooth 1. From the Home screen, tap (Menu) g Settings g Connections tab g Bluetooth. 2. In a single motion touch and slide the Bluetooth slider to the right to turn it on ( 3. Tap Scan. Review the list of discovered in-range Bluetooth ®... -
Page 14: Create And Send A Message
Messaging Create and Send a Message 1. From the Home screen, tap (Messaging) g (Compose). 2. Enter either the recipient’s phone number or e-mail address. NOTE: If adding a recipient from among Groups, Favorites, Contacts, or Logs, tap the contact to place a checkmark alongside the entry and tap Done. -
Page 15: Apps & More
Apps & More Installing Apps More than hundreds of thousands of apps available to download from Google Play™. 1. From the Home screen, tap (Play Store). 2. If prompted, follow the on-screen prompts to add an existing Google account. Setting Up Your Email Accounts Check email on the go with popular Internet-based email accounts, including Yahoo! Mail, Hotmail... - Page 16 Internet Take the Internet on the go. You can reach the latest news, get the weather and follow your stocks. ¬ From the Home screen, tap (Internet). To enter a URL: You can access a website quickly by entering the URL. Websites are optimized for viewing on your device.
- Page 17 Camera This device gives you the magic of professional digital photography. With stunning photographic output and a range of exceptionally rich professional shooting modes, editing features and various apps. Going pro has never been this easy or this fun. ¬ From the Home screen, tap (Apps) g (Camera).
-
Page 18: Samsung Smart Switch
Samsung Smart Switch Now you have nothing to lose. Easily move over your photos, videos, music, apps and more with Samsung Smart Switch™. Get started today at www.samsungsmartswitch.com Lock Screen This menu contains features that allows you to configure the device’s security parameters. -
Page 19: Isis Wallet
Isis Wallet This device utilizes NFC (Near Field Communication) technology to send out payment information during the checkout process. The internal microSIM card acts to both store, protect, and manage your wallet information. This application organizes payment cards, offers and loyalty cards in one location. NOTE: Prior to using the application, verify you have enabled your NFC functionality. - Page 20 Notes _______________________________________________ _______________________________________________ _______________________________________________ _______________________________________________ _______________________________________________ _______________________________________________ _______________________________________________ _______________________________________________ _______________________________________________ _______________________________________________ _______________________________________________ _______________________________________________ _______________________________________________ _______________________________________________ DRAFT _______________________________________________ _______________________________________________ Internal Use Only _______________________________________________ _______________________________________________ _______________________________________________ _______________________________________________ _______________________________________________...
Need help?
Do you have a question about the Samsung Garda and is the answer not in the manual?
Questions and answers