Subscribe to Our Youtube Channel
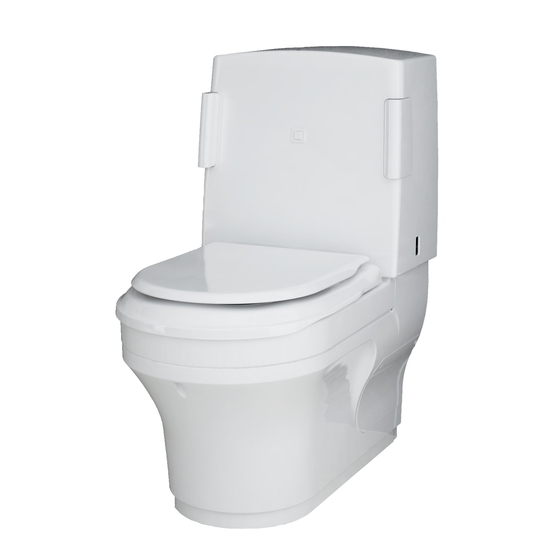
Summary of Contents for closomat Lima Vita
- Page 1 Closomat Lima Vita installation & user guide design manufacture supply install service recycle • • • • •...
-
Page 2: Technical Data
The safety instructions are introduced by signal words, which express the extent of the • The Closomat toilet must not be in direct line hazard/risk. with the shower spray. Some form of partition between shower and the Closomat toilet is... - Page 3 Service Engineer carry out a safety check and an annual service of the internal workings, Environmental conditions to extend the Closomat’s life. The Closomat toilet is rated to IPX4 and can be installed and operated within a typical shower/toilet Risk associated with the waste of room.
- Page 4 Lima Vita planning data and service requirements Wall Template Located in Document Box 190Kg 30St Safe working load: • 120Kg 18.5St Overall dimensions: • 82Kg 12.5St 804mm high x 451mm wide x 730mm deep 60Kg 75Kg 11.5St 349Kg 55St 300Kg...
-
Page 5: Installation
Installation IMPORTANT: Please retain all packaging until the installation is complete. Protect all floor surfaces when handling the Closomat. DO NOT slide the Closomat across the flooring. To lift the Closomat use the porcelain Remove the seat – Open the lid. Press... - Page 6 Using the desired soil pipe connector Once to size, use the soil pipe connector Figure 15 shows the assembly plate. pushed against the Closomat, measure to mark its position on the required wall. the required length. Loosen the nuts on the threaded pins of Remove assembly plate (arrow).
- Page 7 8mm Push and firmly fix the soil pipe wrench in anticlockwise motion. connection to the wall and Closomat. Unscrew the support screw by hand Now connect the water to your inlet until the mechanical stop. Tighten the...
-
Page 8: Test Procedure
Douche temperature and pressure are preset at factory, and adjustments should only be carried out by Closomat engineers familiar with the equipment. note • The Closomat will not function automatically if the seat switch is not depressed. • The unit should be switched on electrically at all times when in service. -
Page 9: Finishing The Installation
Replace the seat by locating the hinge Complete the installation by testing the pins in the corresponding holes in the Closomat works by again depressing pan – press the seat firmly to secure its the seat and holding in one of the elbow Please advise us of position. - Page 10 Side entry pipes With a sharp implement, remove the side Remove the screw and set aside. Remove the side panel. panel screw covers. Install the side entry pipe scribing the side panel to suit each location, Refit the side panel on completion. Lima integrated fold-down support arms installation HoLE CuTTINg PoSITIoN for...
- Page 11 Support foot Lima Vita’s supplied with support arms are also supplied with an adjustable stainless steel support foot. It is advised that this is fitted and adjusted to ensure the toilets’ stability. Lima integrated fold-down support arms technical data...
- Page 12 www.clos-o-mat.com UK design and development UK manufacturing UK customer support Building 1 • Brooklands Place • Brooklands Road • Sale • Cheshire • M33 3SD • Fax: 0161 973 2711 Tel: 0800 374 076 Email: info@clos-o-mat.com CM36/December 2018...


Need help?
Do you have a question about the Lima Vita and is the answer not in the manual?
Questions and answers
Fused spur position for clausimat wash dry
The fused spur for the Closomat Vita wash dry should be located in accordance with current I.E.E. Regulations (Current Edition).
This answer is automatically generated