Table of Contents
Advertisement
Operating And Installation Instructions
Thank you for purchasing Panasonic Ceiling Fan.
感謝您購買 Panasonic 吊扇。
Before operating this product, please read the instructions carefully, and keep this manual
for future reference.
操作本產品前,請仔細讀本說明書,並保存本說明書以作日後參考。
Contents / 目錄
操作和安裝指示
Model Number
Page / 頁數
吊扇
型號
2
5
5
16
16
16
Advertisement
Table of Contents

Summary of Contents for Panasonic F-48MS2
-
Page 1: Table Of Contents
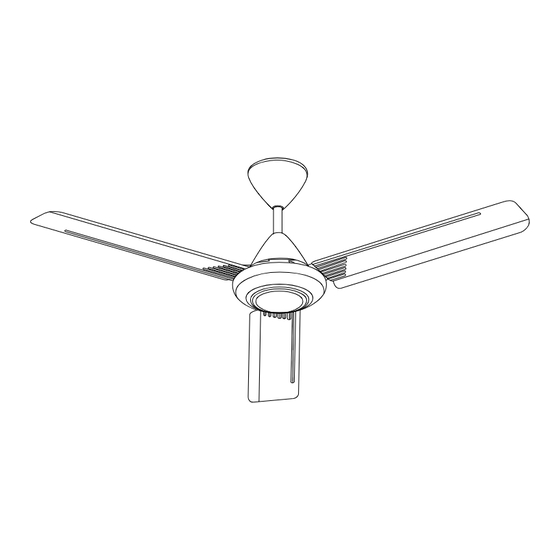
Ceiling Fan 吊扇 Model Number 型號 F-48MS2 F-60MS2 Thank you for purchasing Panasonic Ceiling Fan. 感謝您購買 Panasonic 吊扇。 Before operating this product, please read the instructions carefully, and keep this manual for future reference. 操作本產品前,請仔細讀本說明書,並保存本說明書以作日後參考。 Contents / 目錄 Page / 頁數... -
Page 2: Safety Precautions / 安全注意事項
Safety Precautions / 安全注意事項 To avoid the possibility of causing injury to users or damage to properties, please follow all the explanations written below. 為避免導致用戶受傷或財物損壞的可能性,請遵守以下所述的所有指示。 A state that may be caused by the mishandling of products, which, if not avoided, may lead to the WARNING possibility of death or serious injury of users. - Page 3 WARNING / 警告 Switch off power supply and wait until the Do not dismantle the Ceiling Fan unless Avoid damage wire during installation eg. Blade is fully static, before cleaning or stated by this manual. Deform due to heat, twist, bend, etc. 避免在安裝時損壞電線,例如因熱量、扭...
- Page 4 CAUTION / 注意 This appliance is not intended for use by persons (including children) with reduced physical, sensory or mental capabilities, or lack of experience and knowledge, unless they have been given supervision or instruction concerning use of the appliance by a person responsible for their safety. Children should be supervised to ensure that they do not play with the appliance.
-
Page 5: Supplied Parts / 配備零件
Supplied Parts / 配備零件 Pcs / 零件 Parts / Hexa Nut / 件 六角形螺帽 發動機組件 1. Motor Assembly / Spring Washer / 彈簧墊圈 Carl Bolt Plug / 扇翼組件 2. Blade Assembly Set / 卡爾螺栓塞子 P-R Washer / P-R 墊圈 導管 3. - Page 6 Insert Lower Canopy to the Pipe. Then insert Upper Canopy (with logo brand) to the Pipe. 將下罩蓋嵌入導管。然後將上罩蓋(印有品牌標誌)嵌入導管。 Upper Canopy (with logo brand) / 上罩蓋 (印有品牌標誌) Do not screw Lower and Upper Canopy Screws / 切勿鎖緊下罩蓋和上罩蓋的螺絲 Lower Canopy / 下罩蓋 Pipe / 導管...
- Page 7 First, insert the Cap to the Motor Shaft. Then, fi x the Pipe to Motor Shaft as shown. Ensure the Switch Lever press the Switch. 首先, 將蓋子插入發動機轉動軸。然後如圖所示將導管安裝至發動機轉動軸。 確定開關杆按壓開關。 NOTE: Do not remove this Switch Lever. Pipe hole and Motor Shaft hole are aligned. 注意:切勿拆除此開關杆。...
- Page 8 WARNING / 警告 Ensure Pipe has been fully tightened to Motor Shaft. (Bolt tightening torque is 800~1200N•cm). And, Cotter Pin must be fi xed into Bolt hole and bent. Can cause injury if Ceiling Fan drops. 確定將導管鎖緊至發動機轉動軸。(螺栓扭緊轉距是 800~1200N•cm)。 而且,開口銷必須插入螺栓孔然後折彎。 若吊扇掉落會導致受傷。 Remove Safety Wire Screw at shaft.
- Page 9 Assemble Blade Assembly Set To Motor Assembly / 組裝扇翼組件至 發動機組件 Remove Blade Screw (6 pieces, silver colour) from Motor Assembly. Step 1 : Assemble Blade towards to the Cover Hook as shown in fi gure step 1. Step 2 : Tighten the Blades fi rmly with Screws (Silver colour). Each Blade use 2 pieces of Screws. (Tightening torque for reference : 250-300 N•cm) 從發動機組件拆除扇翼螺絲...
- Page 10 Drill hole. INSTRUCTION A / 指示 指示 A INSTRUCTION B / 指示 指示 B 鑽孔。 Make holes on the concrete ceiling. Drill Make holes on the concrete ceiling. Drill CAUTION / 注意 ø 6.5 mm (depth 30 mm) for Carl Bolt ø...
- Page 11 Install to Ceiling. 安裝至天花板。 Pulley / 滑輪 Pulley / 滑輪 Ceiling Hook (“J” Hook) / 天花板鉤子 C Hock / 鉤子 C (“J"型鉤子) 1st step / 步驟一 2nd step / 步驟二 Take out Pulley Set from Parts Set, after Place Pulley onto Ceiling Hook. that cross it to Pipe.
- Page 12 Check Point After Installation / 組裝後的檢驗點 Check / 檢查 1. The Ceiling Fan is securely fi xed onto the hanging hook. / 吊扇被穩固地安裝到吊鉤上。 2. The The Safety Wire is securely fi xed onto ceiling. / 保險線已穩定地安裝在天花板上。 Wiring Instruction / 配線指示 Connect power supply according to the Wiring Instruction below.
- Page 13 CAUTION / 注意 Power Supply / 電源 Should there be a dimmer switch, disconnect it and reconnect the wiring as shown. Connect Directly / 如果有調光開關,切斷該連接,然後如圖所示再次進行接線。 直接連接 Dimmer Switch / 調光開關 Check Point After Installation / 安裝後的重點檢查 Check / 檢查 1. The wiring is connected properly to the power supply. 電線已正確地連接了電源線。...
- Page 14 Loosen the screw from the Speed Regulator Cover. Open the Speed Regulator by lifting up the Speed Regulator Cover from the base. 鬆開調速器蓋子上的螺絲。從底部提起調速器蓋子以打開調速器。 Regulator Cover/ 調節器蓋子 Screw / 螺絲 Speed Regulator Base / 調速器基地 Terminal 1 / 端子 1 Insert the live wire from the wall through the hole of the Speed Regulator Base as shown. 如圖所示將火線從牆壁通過調速器底部的孔插入。...
- Page 15 Connect the Live Wire with the Terminal as shown. 如圖所示連接火線與端子。 Live Wire / 火線 To close the Speed Regulator, insert the two holes on top of the Speed Protruding parts / Holes / 孔 Regulator to the two protruding parts at the base. 凸出部分...
-
Page 16: How To Use / 如何使用
電壓 頻率 瓦特數 (W) 旋轉度(RPM) Air Velocity Model Type (m³/min) (m/min) 模型 類型 送風量 風速 (米/分鐘) (立方米/分鐘) High High 伏特直流 赫茲 低 高 低 高 F-48MS2 F-60MS2 Panasonic Corporation Web Site: http://panasonic.net/ 48MS28001BM © Panasonic Ecology Systems Co., Ltd 2011...


Need help?
Do you have a question about the F-48MS2 and is the answer not in the manual?
Questions and answers