Advertisement
INSTALLATION AND OPERATION INSTRUCTIONS
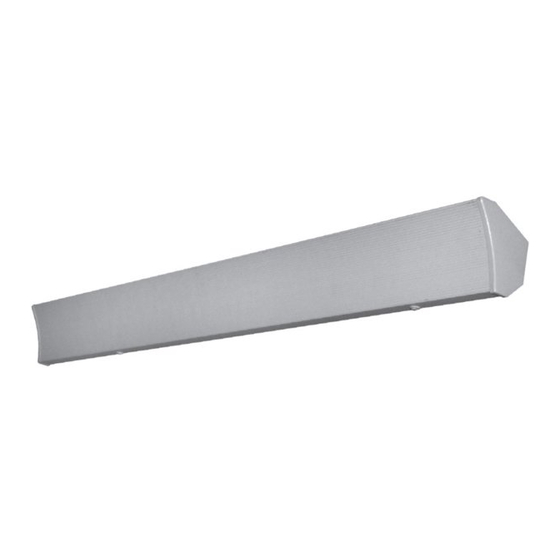
CV SERIES COVE HEATER
INSTALLATION INSTRUCTIONS:
The CV series cove heater is designed for wall or ceiling mount. Maintain at least 2-1/2" from the
ceiling and 3/4" from back of the heater to the wall. See illustration 2. Do not block the heater in any
manner. Maintain at least 6 inches between the heater and draperies.
1. The cove heater is provided with wall mounting brackets. The quantity of brackets is determined by
length. CV45 (2), CV60 thru CV90 (3) and CV100 thru CV125(4). See illustration 1.
2. The brackets should be mounted in a wall stud for secure mounting. Hollow wall anchors in drywall
are not recommended.
3. The CV series is provided with 1/4 inch knockouts along the back for attachment of wall mounting
brackets. Should a stud be out of alignment with knockouts, a 1/4in. hole can be drilled for placement
of a bracket.
4. Remove the front cover by removing the screws along the bottom.
5. Determine the location of the mounting brackets and remove the corresponding 1/4 in. knockout.
Attach wall mounting bracket with nut and lockwasher. Position the cove heater and secure with the
appropriate hardware for the mounting surface. Alternately, the brackets may be mounted to the wall
and then mount the heater. More than one person may be required for mounting longer length units.
Once the back is secured to the wall, bring power into either end through the provided knockouts.
Note: Supply wire must be 90 deg. C wire. All connections should be made by a licensed electrician.
All wiring shall be in accordance with the N.E.C. or authority having juridiction.
6. Replace the front cover. Note: Do not over tighten the screws. The screws should be tight enough
to secure the cover but also allow expansion and contraction of the front.
7. Make wiring connections. See wiring diagrams for connections.
8. Note: The CV series does not have an intergral thermostat. The CV series must be controlled from
a remote wall thermostat.
OPERATION
1. Turn on the power supply to the heater.
2. Rotate thermostat knob fully clockwise.
3. Allow room to reach desired temperature, then rotate thermostat knob counter-clockwise until the
heater de-energizes. the thermostat will maintain temperature.
REV. 2/19
ECO 1-7514
1 of 4
INSTALLATION
INSTRUCTIONS
FORM 9532
Advertisement
Table of Contents

Related Manuals for TPI CV Series


Summary of Contents for TPI CV Series
- Page 1 INSTALLATION INSTRUCTIONS: The CV series cove heater is designed for wall or ceiling mount. Maintain at least 2-1/2” from the ceiling and 3/4” from back of the heater to the wall. See illustration 2. Do not block the heater in any manner.
- Page 2 IMPORTANT INSTRUCTIONS When using electrical appliances, basic precautions should always be followed to reduce the risk of fire, electrical shock, and injury to persons, including the following: 1. Read all instructions before using this heater. 2. CAUTION: High temperatures. Keep cords and all other combustible material, such as furniture, papers, clothes and curtains away from the heater.
- Page 3 BRACKET PLACEMENT Illustration 1 CV100, CV110, CV125, CV60, CV75, CV90 CV45 Illustration 2 CEILING CEILING MOUNTING MOUNTING 2-1/2" MIN. 2-1/2" MIN. BRACKET BRACKET BREAK OFF TOP SECTION WALL CEILING WALL WALL MOUNTING MOUNTING " " 6 FEET MIN. ABOVE 6 FEET MIN. ABOVE FINISHED FLOOR FINISHED FLOOR ACCESSORIES...
- Page 4 TYPICAL DIMENSIONS TOP VIEW " K.O FOR " CONDUIT 1-7/16" 3-1/4" 2 1/4" WALL BACK VIEW 4-1/4" 2.0" TYPICAL " KNOCKOUTS FOR MOUNTING WIRING DIAGRAMS WIRING DIAGRAM FOR SINGLE UNITS WHITE WHITE BLACK BLACK POWER POWER ELEMENT ELEMENT SUPPLY SUPPLY WHITE WHITE WHITE...
Need help?
Do you have a question about the CV Series and is the answer not in the manual?
Questions and answers