Advertisement
Advertisement

Related Manuals for Bissell STAIN ERASER PET 2006F


Summary of Contents for Bissell STAIN ERASER PET 2006F
- Page 1 STAIN ERASER _______________ USER GUIDE 2006F...
-
Page 2: Safety Instructions
» The battery is to be disposed of safely. » Do not recharge, disassemble, heat above hazard. 60°C or incinerate. www.BISSELL.com.au... - Page 3 Liquid ejected from the » Use only on surfaces moistened by the battery may cause irritation or burns. cleaning process. Use only BISSELL cleaning » Do not use appliance that is damaged or products intended for use with this machine.
-
Page 4: Table Of Contents
Thanks for buying a BISSELL Cordless ® Carpet & Upholstery Washer! We love to clean and we’re excited to share one of our innovative products with you. We want to make sure your portable deep cleaner works as well in two years as it does today, so this guide has tips on using (pages 6-9), maintaining (pages 10-13), and if there is a problem, troubleshooting (page 14). -
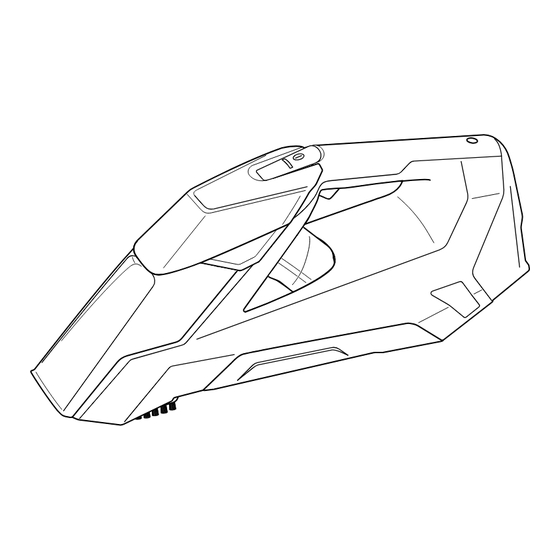
Page 5: Product View
8. Power Switch 9. Battery Status Indicator Lights 10. Charger Plug/Cord Cleaning Formula Keep plenty of genuine BISSELL Spot & Stain Cleaning formula for portable spot cleaning machines on hand so you can clean whenever it fits your schedule. Always... -
Page 6: Operations
BATTERY STATUS LIGHT STATUS 100% 99% to 66% 65% to 33% 32% to 1% NOTE: Keep the temperature range of between 0-40°C (32-104°F) when charging battery, storing unit or during use. NOTE: Use only with charger SIL, Model SSA-100060AU. www.BISSELL.com.au... - Page 7 Twist to replace the cap on the tank. Formula. click To ensure the tank if fully seated, make Return the tank to the unit making sure sure there are not gaps in the seams it is fully seated. between the tank and unit. www.BISSELL.com.au...
- Page 8 To pretreat stained or soiled areas, hold the Battery status lights will illuminate to unit above soiled surface and press spray show how much battery remains. trigger until the entire area is wet. Let cleaning solution set for 5 minutes before cleaning. www.BISSELL.com.au...
- Page 9 Be sure to release the trigger spray cleaning solution. for optimal suction. Repeat steps 2 and 4 until no more dirt or cleaning solution can be removed. Do not overwet. www.BISSELL.com.au...
-
Page 10: Maintenance & Care
Ensure the tank is secure Rinse out the dirty tank with clean water before use. after emptying. NOTICE: To reduce the risk of a leaking condition, do not store where freezing may occur. Damage to internal components may result. www.BISSELL.com.au... - Page 11 Replace the front nozzle by hooking lower edge onto unit and snapping into place. Then place the If necessary, wipe with a clean clean tank back on the unit. cloth or soft bristle brush. www.BISSELL.com.au...
- Page 12 Remove the screw near the LED window using a Phillips screwdriver. Then, remove Remove the cover on the base of the entire top handle portion from unit by unit by using a flat head screw driver. using a flat head screwdriver. www.BISSELL.com.au...
- Page 13 Be sure all wire ends are taped before Recycle full battery pack. disposing. NOTE: Keep Battery Pack together – DO NOT separate individual batteries. For specific disposal instructions, please follow local regulations. www.BISSELL.com.au...
-
Page 14: Troubleshooting
10 Unit is leaking Dirty tank is full Empty dirty tank. Unit should not be left on its side with water in the dirty tank, see page 10 Unit is not level Ensure unit is upright www.BISSELL.com.au... - Page 15 Notes www.BISSELL.com.au...
-
Page 16: Guarantee
Limited 2 Year Guarantee INCURRED IN MAKING A CLAIM UNDER THIS GUARANTEE PLEASE (from the date of purchase by PROVIDE BISSELL WITH A COPY OF THE RECEIPT OF THE EXPENSES BY original purchaser) EMAIL OR POST. Subject to the *CONDITIONS identified below, BISSELL will repair or...
Need help?
Do you have a question about the STAIN ERASER PET 2006F and is the answer not in the manual?
Questions and answers