Advertisement
Advertisement
Table of Contents

Related Manuals for Bissell POWERFORCE HELIX TURBO PET 2691 Series


Summary of Contents for Bissell POWERFORCE HELIX TURBO PET 2691 Series
- Page 1 POWERFORCE ® HELIX TURBO PET ™ Vacuum ___________ USER GUIDE 2691 SERIES...
-
Page 2: Safety Instructions
This plug will fit in a polarized outlet only one way. If the plug does not fit fully in the outlet, reverse the plug. If it still does not fit, contact a qualified electrician to install a proper outlet. Do not change the plug in any way. www.BISSELL.com... -
Page 3: Table Of Contents
Thanks for buying a BISSELL® vacuum! We love to clean and we’re excited to share one of our innovative products with you. We want your vacuum to work like new for the years to come, so this guide has tips on how to use, maintain and, if there’s a problem, troubleshoot. -
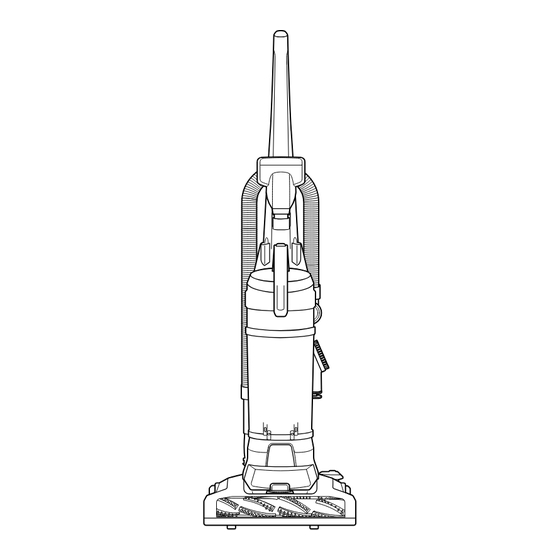
Page 4: Product View
6. Dirt Tank 18. Power Switch Pedal 7. Dirt Tank Empty Button 19. Handle Recline Pedal 8. Washable Post-Motor Filter 20. Foot Hose 9. Dusting Brush 21. Product Rating Label & Serial Number 10. Cord Hook 11. Hose Clip www.BISSELL.com... -
Page 5: Assembly
NOTE: The Febreze® filter must first be removed from the bag before inserting it into the machine. Certain trademarks used under license from The Procter & Gamble Company or its affiliates. www.BISSELL.com... -
Page 6: Operations
Never place the powerfoot on furniture or uneven surfaces. Do not place vacuum cleaner close enough to objects to pull them into rotating brush. To prevent carpet damage, do not lean on the vacuum or let the powerfoot tilt forward. www.BISSELL.com... -
Page 7: Maintenance & Care
Place until slot appears, Wheel. Inspect Brush Roll with belt back in. Faceplate then separate for damages and will not close properly if all parts are faceplate. replace if necessary. not aligned correctly. www.BISSELL.com... - Page 8 » To reduce the risk of electrical shock, turn Power Switch OFF and disconnect polarized plug from electrical outlet before performing maintenance or troubleshooting checks. » Do not operate the vacuum with damp or wet filters, without filters in place or with the Dirt Tank missing. Allow components to dry before reassembling the Dirt Tank. www.BISSELL.com...
- Page 9 Remove If necessary, remove the the bottom of your vacuum. any debris that may screw from the Foot Hose Remove the bottom cover and have gotten clogged. and check for clogs. the brush. Remove any debris. www.BISSELL.com...
-
Page 10: Troubleshooting
Drive Belt stretched. Check Drive Belt area and remove obstructions. Replace drive belt if necessary. Brush Roll bristles worn. Replace Brush Roll. Brush Roll jammed. Remove Brush Roll and clean debris from brush and ends. Check Drive Belt for any damage. www.BISSELL.com... -
Page 11: Warranty
Care by E-mail or telephone as described it was sold. below. BISSELL is not liable for incidental or It may be necessary to obtain some of your consequential damages of any nature personal information, such as a mailing associated with the use of this product. -
Page 12: Contact Information
NOTE: Please keep your original sales receipt. It provides proof of purchase date in the event of a warranty claim. See Warranty page for details. Parts & Supplies For Parts and Supplies, go to www.BISSELL.com and enter your model number in the search field. Love your product? BISSELL®...
Need help?
Do you have a question about the POWERFORCE HELIX TURBO PET 2691 Series and is the answer not in the manual?
Questions and answers
how do u transfer the vaccum to come out of the tube
To use the hose on the Bissell PowerForce Helix Turbo Pet 2691 vacuum, follow these steps:
1. Ensure the vacuum is in the upright position.
2. Use the Carry Handle at the front to move the vacuum if needed.
3. Detach the Hose Wand from its storage position.
4. Attach the desired tool, such as the Crevice Tool, Dusting Brush, or TurboEraser Tool, to the hose.
5. Keep the vacuum on a stable surface and avoid placing fingers under it while it is running.
This allows you to use the hose for specialized cleaning tasks.
This answer is automatically generated