
Related Manuals for Tutti Bambini Rimini 211352


Summary of Contents for Tutti Bambini Rimini 211352
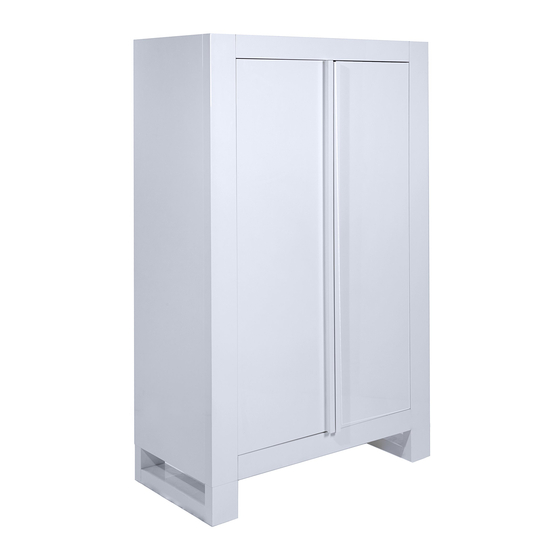
- Page 1 Rimini Wardrobe Assembly Instructions 102-0070 Tutti Bambini Modena Wardrobe assembley instructions.indd 1 19/06/2018 22:42...
- Page 2 Tutti Frutti Direct Ltd. Unit 3, 1000 North Circular Road, London, UK, NW2 7JP t: +44 (0) 208 368 5800 e: customerservice@tuttibambini.co.uk www.tuttibambini.com Rimini Wardrobe 211352 IMPORTANT: RETAIN FOR FUTURE REFERENCE, READ CAREFULLY 102-0070 Tutti Bambini Bed assembley instructions.indd 2 19/06/2018 22:39...
- Page 3 • Damaged part number • A photo or video of the damaged part Tutti Bambini guarantee your product against faulty manufacutre for a period of 12 months from date of receipt of purchase. This does not affect your statutory rights www.tuttibambini.com...
-
Page 4: Parts List
M3.5x14mm LED hanging rail Screw for LED box 13 pc Curly screws 3 pc Screws 4 pc M4x35mm M3x14mm M6x27mm Wall plug for 6 pc 1 pc screw Hings www.tuttibambini.com 102-0055 Tutti Bambini Modena Assembly Instructions.indd 4 19/06/2018 12:27... - Page 5 A x 6 PCS A x 18 PCS C x 8 PCS Screw metal dowels and wooden dowels Screw metal dowels into long rail. into short rail. www.tuttibambini.com 102-0055 Tutti Bambini Modena Assembly Instructions.indd 5 19/06/2018 12:27...
- Page 6 Wooden dowels into long blocks and shelf. Assblem back rail to bottom. Attach the top panel to the back rail and Attach back panel to the back rail and bottom. back panel. www.tuttibambini.com 102-0055 Tutti Bambini Modena Assembly Instructions.indd 6 19/06/2018 12:27...
- Page 7 Assemble long block to short blocks 4 x B locking nuts using 4 x B locking nuts Assemble small block use 12 x locking nut and 6 x C wooden dowels www.tuttibambini.com 102-0070 Tutti Bambini Modena Wardrobe assembley instructions.i ndd 7 19/06/2018 22:42...
- Page 8 I x 2 PCS Attach hanging rail supports J to the led Attach shelf supports D to the side hanging rail L .then assblem to the shelf using 2 x I screws www.tuttibambini.com 102-0055 Tutti Bambini Modena Assembly Instructions.indd 8 19/065/2018 12:27...
- Page 9 G x 3 PCS Attach door hinges G to the left doors Attach door hinges G to the right doors using 6 x E screws. using 6 x E screws. www.tuttibambini.com 102-0070 Tutti Bambini Modena Wardrobe assembley instructions.i ndd 9 19/06/2018 22:42...
- Page 10 E x 24 PCS 3.5x14mm 3.5X14mm At tach two doors to side using 24 x E screws E x 1 PC 3.5x14mm S x 1 PC O x 1 PC www.tuttibambini.com 102-0070 Tutti Bambini Modena Wardrobe assembley instructions.i ndd 10 19/06/2018 22:42...
-
Page 11: Final Adjustments
SLIDE HIGHE MOUNTING PLATE UP OR DOWN TO THE DESIRED LEVEL. F x 1 PCS 4x35mm 4.ADJUSTING SPACE OF DOORS: SCREW/UNSCREW MIDDLE SCREW ON THE HINGE TO THE APPROPRIATE SPACE LEVEL. www.tuttibambini.com 102-0070 Tutti Bambini Modena Wardrobe assembley instructions.indd 11 19/06/2018 22:42... -
Page 12: Safety Advice And Maintenance
4. WARNING: Do not use the wardrobe if it is damaged or broken or there are parts missing. Use only spare parts approved by Tutti Bambini. 5. WARNING: Do not place the wardrobe in or near the vicinity of open fires or other surfaces of strong heat, such as gas or electric fires. - Page 13 Notes Notes 102-0070 Tutti Bambini Modena Wardrobe assembley instructions.indd 13 19/06/2018 22:42...
- Page 14 Join Us Join Us Follow us on Facebook TuttiBambiniUK Follow us on Twitter TuttiBambiniUK Follow us on Instagram TuttiBambiniUK 102-0070 Tutti Bambini Modena Wardrobe assembley instructions.indd 14 19/06/2018 22:42...
- Page 15 102-0070 Tutti Bambini Modena Wardrobe assembley instructions.indd 15 19/06/2018 22:42...
Need help?
Do you have a question about the Rimini 211352 and is the answer not in the manual?
Questions and answers