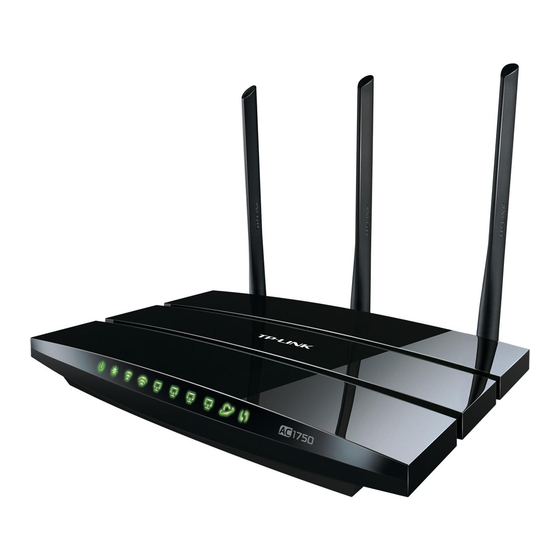
TP-Link Archer C7 Advanced Configuration Manual
Hide thumbs
Also See for Archer C7:
- Quick start manual ,
- Quick installation manual (147 pages) ,
- User manual (146 pages)
Advertisement
TP Link Archer C7 Advanced
Enable/Disable 2.4GHz
Interface Version 2/3
1. Connect your laptop to LAN port 1-4 or WiFi SSID
www.choose2rent.com
2. (optional) Connect iPad to WiFi SSID
3. Open a web broswer and enter tplinklogin.net or 192.168.0.1
4. At the login page enter User: admin | Password: admin
5. On the left panel select Dual Band Selection
6. Select 2.4GHz or Concurrently with 2.4GHz and 5GHz
7. Press SAVE at the bottom (setting will not take place until you restart
the router)
8. Once Router reboots, log back in and select Wireless 2.4GHz on the
left panel
9. Confirm Wirelsss network Name (you may change to copy
www.choose2rent.com)
10. Select Wireless Security on the left panel
11. Ensure PSK Password matches Event001
1. Press SAVE at the bottom (setting will not take place until you restart
the router)
Interface Version 4+
1. Connect your laptop to LAN port 1-4 or WiFi SSID
www.choose2rent.com
2. (optional) Connect iPad to WiFi SSID
3. Open a web broswer and enter tplinklogin.net or 192.168.0.1
Configuration
page 1 of 3
Choose
Phone 1 (800) 622-6484
Fax
1 (866) 937-8254
info@choose2rent.com
www.choose2rent.com
version C2R-1 2018
www.choose2rent.com
www.choose2rent.com
2
Rent
Advertisement
Table of Contents

Summary of Contents for TP-Link Archer C7
- Page 1 Rent Phone 1 (800) 622-6484 1 (866) 937-8254 info@choose2rent.com www.choose2rent.com version C2R-1 2018 TP Link Archer C7 Advanced Configuration Enable/Disable 2.4GHz Interface Version 2/3 1. Connect your laptop to LAN port 1-4 or WiFi SSID www.choose2rent.com 2. (optional) Connect iPad to WiFi SSID www.choose2rent.com...
- Page 2 4. At the login page enter User: admin | Password: admin 5. On the left panel select Wireless 6. Check the box next to Enable Wireless Radio 7. Confirm Wirelsss network Name (you may change to copy www.choose2rent.com) 8. Ensure Password matches Event001 9.
- Page 3 6. Change the WAN Connection Type drop down from Dynamic IP to STATIC IP 7. Enter the values provided by your Internet Service provider 8. Press SAVE (setting will not take place until you restart the router) Interface Version 4+ 1.


Need help?
Do you have a question about the Archer C7 and is the answer not in the manual?
Questions and answers