Sign In
Upload
Download
Table of Contents
Contents
Add to my manuals
Delete from my manuals
Share
URL of this page:
HTML Link:
Bookmark this page
Add
Manual will be automatically added to "My Manuals"
Print this page
×
Bookmark added
×
Added to my manuals
Manuals
Brands
FBD Manuals
Dispenser
56 Series
Training
FBD 56 Series Training
Frozen dispenser
Hide thumbs
Also See for 56 Series
:
Service bulletin
(2 pages)
1
2
3
4
5
6
7
8
9
10
11
12
13
14
15
16
17
18
19
20
21
22
23
24
25
26
27
28
29
30
31
32
33
34
35
36
37
38
39
40
41
42
43
44
45
46
47
48
49
50
51
52
53
54
55
56
57
58
59
60
61
62
63
64
Table Of Contents
65
page
of
65
Go
/
65
Contents
Table of Contents
Troubleshooting
Bookmarks
Table of Contents
Table of Contents
Goals
Specifications
56X Setup Requirements
The Four “Ingredients”
Typical FBD Unit Setup
Product Delivery System
Complete Header Assembly
Flow Rate Adjustment
Top View
Front View
Solution Mixing Module
Importance of Water Flow Rate
Check Valve Failure
CO2 Module
Importance of CO2 Flow Rate
Troubleshooting Solenoids
Active Charge System
Importance of Active Charge System
P-Max Diagnostics
Expansion Tank
P-Max Diagnostic Flow Chart
Product Dispensing Valves
Scraping & Beating System
Beater Motor/Valves
Importance of Scrapping & Beating System
Rapid Compressor Cycles
Failures in the Scraping Beating System
Refrigeration System
Temperature Sensor
Temperature Sensor Orientation and Failures
Temperature Sensor Connector Location on Main PC Board
Electrical System
Primary Lower Power Board
Secondary Lower Power Board
562/563 Electrical Diagram
564 Electrical Diagram
Navigation System
Example
Basic Level Menu
Service Tech Interface Level Menu
Menu Structure
Service Interface Level Menu
Thaw/Freeze
Expansion Adjustment
Thaw/Freeze Adjustment
Thaw/Freeze Settings
Voltage Offset Adjustment
Troubleshooting UPB
Test Points UPB
UPS E-Prom Replacement
Troubleshooting LPB
Lower Power Board
Condenser Fan
Troubleshooting
Initial Start-Up and Freeze
Sold out Light
Annunciator Pad
Status Lights
LCD Messages
Daily
Quarterly
Maintenance Schedule
Preventive Maintenance
Remote Condenser
Remote Installation
Remote Condenser Layout
Remote Trap Layout
Remote Refrigerant Charge Matrix
Heatcraft Remote Condenser
FBD Remote Condenser
Product Warranty
Advertisement
Quick Links
1
Table of Contents
2
Typical Unit Setup
3
Menu Structure
4
Troubleshooting
5
Lcd Messages
Download this manual
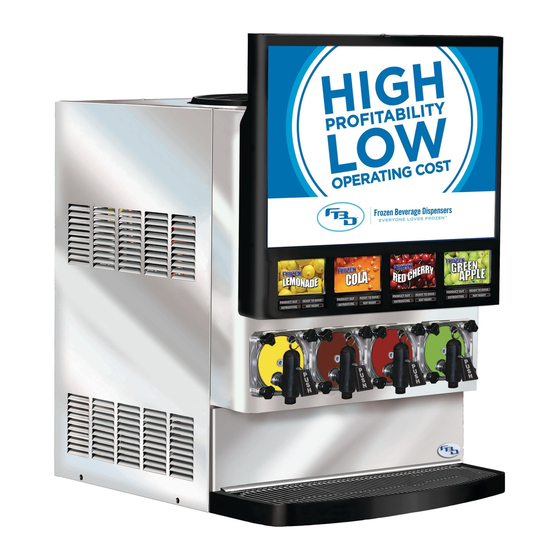
56X Frozen Dispenser
Training Seminar
24-2285-0001
REV M 02/05/2016
PO Box 18597 • San Antonio, Texas 78218 • 210-637-2800
Tech Support: 866-323-2777 • After Hours: 210-445-2344
Table of
Contents
Previous
Page
Next
Page
1
2
3
4
5
Advertisement
Table of Contents
Troubleshooting
Troubleshooting Solenoids
15
Troubleshooting UPB
45
Troubleshooting LPB
48
Condenser fan
49
Need help?
Do you have a question about the 56 Series and is the answer not in the manual?
Ask a question
Questions and answers
Related Manuals for FBD 56 Series
Beverage Dispenser FBD 37 Series Service Bulletin
Cleaning and sanitizing (2 pages)
Dispenser FBD 562 Training
Frozen dispenser (65 pages)
Dispenser FBD 563 Training
Frozen dispenser (65 pages)
Dispenser FBD 564 Training
Frozen dispenser (65 pages)
Dispenser FBD FBD550 Installation, Operation And Service Manual
Frozen beverage dispenser (37 pages)
Dispenser FBD 372 Multi-Flavor Quick Reference Operation Manual
For store operators (2 pages)
This manual is also suitable for:
562
563
564
Table of Contents
Save PDF
Print
Rename the bookmark
Delete bookmark?
Delete from my manuals?
Login
Sign In
OR
Sign in with Facebook
Sign in with Google
Upload manual
Upload from disk
Upload from URL


Need help?
Do you have a question about the 56 Series and is the answer not in the manual?
Questions and answers