Table of Contents
Advertisement
Quick Links
Libretto istruzioni
Instructions Manual
Manuel d'Instructions
Bedienungsanleitung
Gebruiksaanwijzing
Manual de instrucciones
Manual de Instruções
Brugsvejledning
Bruksanvisning
Руководство по эксплуатации
Instrukcja Obsługi
Bruksanvisning
Käyttöohje
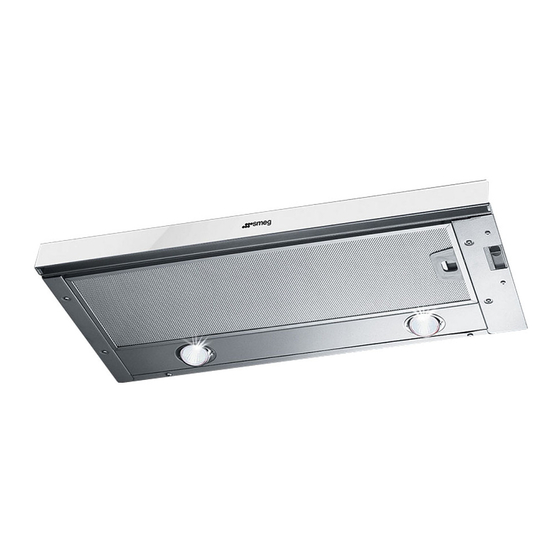
KSET66E-KSET66VSE-KSET66VNE-KSET66VBE-KSET96E
KSET66VBE2-KSET66VNE2-KSET66VSE2
Advertisement
Table of Contents


Need help?
Do you have a question about the KSET66E and is the answer not in the manual?
Questions and answers