Table of Contents
Advertisement
Quick Links
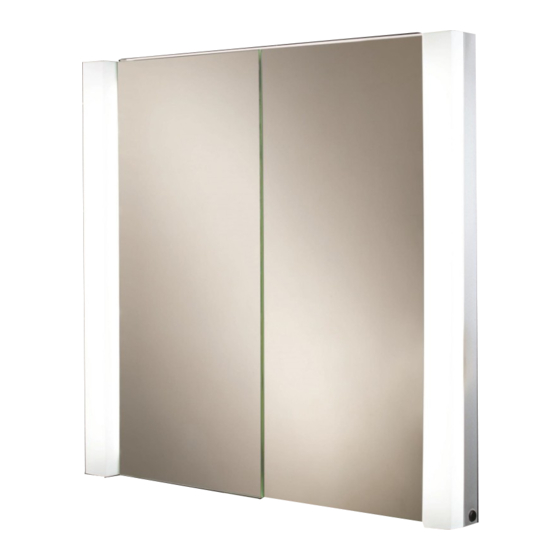
Parity & Laser Recessed Cabinets
Art No. 44200
Please Note
This product can be fitted into a partition wall, or wall hung. Before installing
ensure you take note of measurements of recessed area or mounting points (See
fig. A).
This product must be installed with a minimum distance of 150mm between
the infra-red sensor switch and any adjacent wall or object to ensure correct
operation of the sensor.
You may need to remove the door / doors to make it easier to fit. This can be
done by unclipping the hinges. (There is a release catch at the back of the hinge).
DO NOT FIT SHELVES AT THIS STAGE.
Thank you for purchasing this HiB product.
Please read through these instructions carefully and refer back to them during installation to ensure that
your product is fitted safely and that it retains its high quality finish.
Please retain this leaflet for future reference.
Before drilling, ensure there are no hidden cables or pipes in the wall.
Parity
Laser
Art No. 44300
FI
#02 002 R150907
Ver No.
1.0 Jan 2016
Advertisement
Table of Contents

Summary of Contents for HiB Laser
- Page 1 (There is a release catch at the back of the hinge). DO NOT FIT SHELVES AT THIS STAGE. Thank you for purchasing this HiB product. Please read through these instructions carefully and refer back to them during installation to ensure that your product is fitted safely and that it retains its high quality finish.
- Page 2 Fixing Brackets (Fig B) Angle Adjustment Claw In/Out Adjustment REAR VIEW Recessed Area Mounting Points Hanger Adjustment Fixing Preparation (Fig C) (Fig A) Wall Hung Installation Position the cabinet in a suitable location, (according to the zonal diagram (Fig. 1) on the back page), ensuring that the domestic electrical mains supply is within reach of the electrical connection point of the cabinet.
- Page 3 1. Remove top or bottom caps using a suitable screw driver. Then remove diffusers & light tubes. 2. Place new lighting tubes, then replace diffusers and top or bottom caps. hib.co.uk...
- Page 4 ©HiB Copyright: No part of this document may be reprinted or duplicated without HiB consent. All sizes and measurements are approximate, but we do try and make sure they are as accurate as possible. In the interest of continuous product development, HiB reserves the right to alter specifications as necessary. E & OE.


Need help?
Do you have a question about the Laser and is the answer not in the manual?
Questions and answers