Table of Contents
Advertisement
Advertisement
Table of Contents

Related Manuals for Ivation IVALDHG70PWP


Summary of Contents for Ivation IVALDHG70PWP
- Page 1 70-Pint Energy Star Dehumidifier with Pump User Guide IVALDHG70PWP...
-
Page 2: Box Contents
• Make sure to install this appliance in accordance with national wiring regulations. • If for some reason the power cord becomes damaged, it must be replaced by either Ivation®, an authorized serviceperson, or a similarly qualified professional as soon as possible. Do not attempt to repair or replace the power cord on your own. -
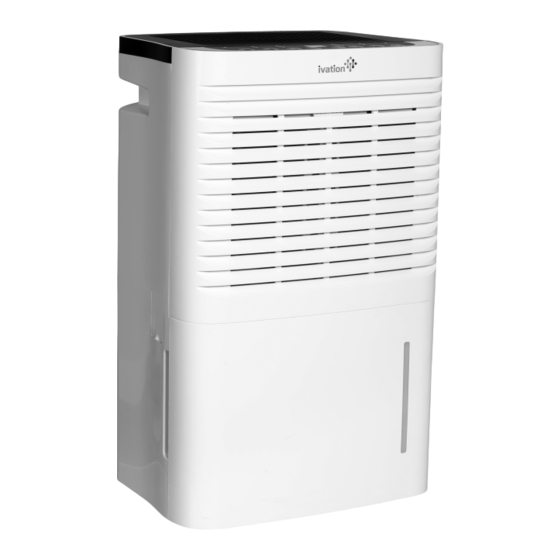
Page 3: Product Overview
• Never use a dehumidifier in a bathroom. • Avoid exposure to direct sunlight. • This dehumidifier has built-in castors on the bottom to aid in its placement. Do not attempt to roll it across carpet or over objects, or else water could spill out from the bucket and present a safety hazard, or the dehumidifier could get caught on the objects and malfunction. -
Page 4: Control Panel
Control Panel NOTE: For further details about the various buttons and lights on the control panel, please refer to the Button Functions section on page 6. Before First Use Prior to using your new dehumidifier, please check to make sure the float is properly placed in the drainage bucket. -
Page 5: Important Notes Before Use
Important Notes Before Use • The water bucket must be properly installed and emptied in order for the dehumidifier to function. • Do not remove the bucket while the unit is in operation. If the bucket needs to be emptied, please make sure you shut off the unit first. This appliance features auto shutoff when the bucket is full or removed entirely, but you should not remove it while the unit is running to avoid risk of electrical shock or other safety hazards. -
Page 6: Button Functions
Button Functions 1. Power: Turns dehumidifier on/off. 2. + / – : In free drying mode (no preset mode selected), these buttons allow you to adjust the humidity in increments of 5% from 35% – 80%. When setting the timer, these buttons allow you to adjust the duration of the timer in increments of 0.5 hours (under 10 hours), or increments of one hour (10-24 hours). -
Page 7: Drainage Options
Drainage Options Option 1: Manual Drainage 1. Hold the handles on both sides of the water bucket and gently pull it straight toward you. Please make sure to do this slowly and carefully because water may slosh onto the floor or the unit itself. Handle 2. - Page 8 Option 2: Hose Drainage 1. Please note that a garden hose is not included in the box, so you will need to supply your own. The hose should have a thread with an outer diameter of 1-1/16" (2.7cm) and a pitch of 11.5 TPI. 2.
- Page 9 Option 3: Pump Drainage 1. You will first need to remove the plug from the drainage joint in the rear of the dehumidifier. To remove the plug, you must first press the grey o-ring all the way in (figure 1), and then gently remove the plastic plug (figure 2). NOTE: The plug will not detach any other way and you could damage the dehumidifier or the plug itself by attempting to remove it while it is locked in place.
-
Page 10: Troubleshooting
Troubleshooting NOTE: Not all of the listed issues are indicative of a full device malfunction, but this should serve as a guide to help you identify the causes and possible remedies of any major/minor problems that you might experience. We also address occurrences that may seem problematic but are actually part of the normal dehumidifying process. - Page 11 General Troubleshooting Symptoms Possible Causes Probable Solution Check if you have lost power in other parts of your home. If so, call your electric provider and wait for power to restore. Check whether the outlet or the circuit has been damaged. If so, try another There is no power coming from outlet.
-
Page 12: Malfunction Codes
Malfunction Codes Display Code Malfunction Name Symptoms Possible Causes Ambient temperature sensor is loose or is poorly connected to the display board terminal. An element of the display board may Ambient Temperature have been put upside down and caused a Sensor Malfunction short circuit. -
Page 13: Care And Maintenance
Care and Maintenance WARNINGS: • Before cleaning, turn off the dehumidifier and disconnect it from the power supply. If you do not do this, you could create the risk of electrical shock or other safety hazards. • Do not wash the dehumidifier with water or submerge the unit in water at any time. This could cause electrical shock or even a fire. -
Page 14: Specifications
1-866-849-3049 • Rated Frequency: 60Hz • Rated Dehumidification Capacity: 70 pints/day (33.1 L/day) IVATION is a trademark of C&A IP Holdings, LLC, in the U.S. • Power Input: 690W All other products, brand names, company names, and logos • Current Input: 6.2A are trademarks of their respective owners, used merely to •...
Need help?
Do you have a question about the IVALDHG70PWP and is the answer not in the manual?
Questions and answers