Table of Contents
Advertisement
Quick Links
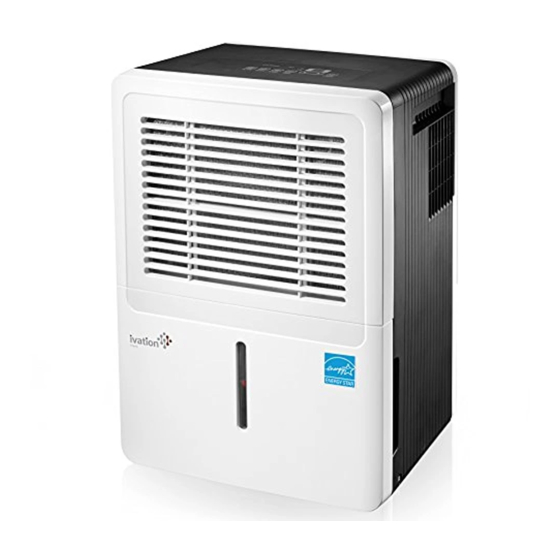
50-Pint Energy Star Dehumidifier
USER GUIDE
IVALDH50PW
Thank you for purchasing the Ivation® 50-Pint Energy Star Dehumidifier. This User Guide is intended to
provide you with guidelines to ensure that operation of this product is safe and does not pose risk to the
user. Any use that does not conform to the guidelines described in this User Guide may void the limited
warranty.
Please read all directions before using the product and retain this guide for reference. This product is
intended for household use only.
This product is covered by a limited one-year warranty. Coverage is subject to limits and exclusions. See
warranty for details.
Box ontents
50-pint dehumidifier
User guide
Parts
Control Panel
Air Intake Vent
Air Filter
Water Reservoir
f r o n t
1. Control panel
2. Air intake vent
3. Air filter
4. Water reservoir
5. Handle
Air Outlet Vent
Power Cord Band
Drain Hose Outlet
Power Cord
Power Plug
6. Air outlet vent
7. Power cord band
8. Drain hose outlet
9. Power cord
10. Power plug
r e a r
Advertisement
Table of Contents

Summary of Contents for Ivation IVALDH50PW
- Page 1 USER GUIDE IVALDH50PW Thank you for purchasing the Ivation® 50-Pint Energy Star Dehumidifier. This User Guide is intended to provide you with guidelines to ensure that operation of this product is safe and does not pose risk to the user. Any use that does not conform to the guidelines described in this User Guide may void the limited warranty.
-
Page 2: Safety Precautions
Turbo Speed Auto Defrost Reservoir Full Display Fan Light Light Light Light Light Screen Comfort Mode Light Clean Filter Light Continuous Mode Light Comfort Filter Light Continuous Fan (TURBO) Timer Decrease Increase Power Mode Reset Button (CONT.) Botton Button Button Button Button Button... - Page 3 • Do not run cord under furniture or appliances or use in high-traffic areas where it may become a tripping hazard. • To reduce the risk of fire or electric shock, do not use this unit with any solid-state speed control device. •...
- Page 4 Removing Collected Water Collected water can be removed in the following ways: 1. When the water reservoir is full, remove and empty it. 2. Continuous draining: water can be automatically emptied into a floor drain by attaching the unit to a water hose with a female threaded end (not included).
- Page 5 Troubleshooting Problem Solution/Explanation Unit does not start Check that the unit is plugged in. Check the house’s fuse/circuit breaker box. The unit has reached its preset level or the reservoir is fill. Reservoir is not in the correct position. The unit does not dry the air as it should Allow the unit more time to remove the moisture. Make sure that nothing is blocking the front or back of the unit.


Need help?
Do you have a question about the IVALDH50PW and is the answer not in the manual?
Questions and answers
I NEED A PART HOW DO I ORDER
The bracket that holds the handle on the water reservoir broke, so my 75 y/o mother can no longer empty it. Please tell me where she can get a replacement part.