Table of Contents
Advertisement
Advertisement
Table of Contents

Related Manuals for Westinghouse WMB2522SC


Summary of Contents for Westinghouse WMB2522SC
-
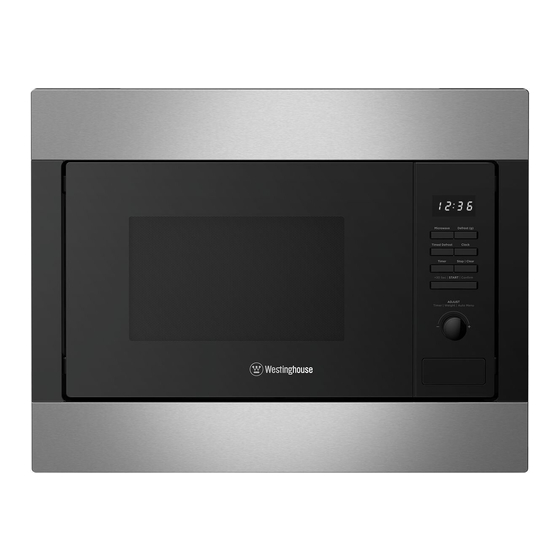
Page 1: Microwave Oven
USER MANUAL MICROWAVE OVEN WMB2522SC... -
Page 2: Table Of Contents
CONGRATULATIONS CONTENTS Dear customer, General warnings.................3 Important safety instructions ............4 Congratulations on the purchase of your new microwave. Product description ................5 Before you use the microwave, we recommend that you Utensils ....................8 read through the whole user manual which provides the description of the microwave and its functions. -
Page 3: General Warnings
GENERAL WARNINGS Please read the user manual carefully and store in a handy • When heating food in plastic or paper containers, place for later reference. Pass the user manual on to keep an eye on the appliance due to the possibility possible new owners of the appliance. -
Page 4: Important Safety Instructions
SAFETY INSTRUCTIONS Installation Care and cleaning WARNING WARNING WARNING WARNING Only a qualified person must install this appliance. Risk of injury, fire or damage to the appliance. Be sure to unplug the appliance from the power supply • Remove all the packaging. before cleaning. -
Page 5: Product Description
PRODUCT DESCRIPTION Control panel Turntable shaft Turntable ring assembly Glass tray Observation window Door assembly Safety interlock system TURNTABLE INSTALLATION • Hub (underside) Never place the glass tray upside down. The glass tray should never be restricted. • Both glass tray and turntable ring assembly must always be used during cooking. -
Page 6: Operating Instructions
OPERATING INSTRUCTIONS Clock Setting When the microwave oven is electrified, the screen will display “0:00” and the buzzer will ring once. Press Clock/Kitchen Timer once to select clock function. The hour figures will flash. Quick Start Turn to adjust the hour figures. The input time should be within 0 and 23. - Page 7 OPERATING INSTRUCTIONS (CONTINUED) Auto Menu The menu chart: Turn right to choose the menu, and “A-1” to “A-10” MENU WEIGHT DISPLAY will display. 200g Press Start/+30Sec./Confirm to confirm. Pizza 400g Turn to choose the default weight as per the menu chart. 200g Potato Press Start/+30Sec./Confirm to start cooking.
-
Page 8: Utensils
UTENSILS Utensil Test WARNING WARNING Fill a microwave-safe container with 1 cup of cold It is hazardous for anyone other than a competent person water (250ml) along with the utensil in question. to carry out any service or repair operation that involves the removal of a cover which gives protection against Cook on maximum power for 1 minute. -
Page 9: Troubleshooting
TROUBLESHOOTING WARNING WARNING Refer to the safety chapters. PROBLEM POSSIBLE CAUSE REMEDY The appliance does not operate. • Power cord not plugged in tightly. • Unplug, then plug in again after 10 seconds. • Fuse blown or circuit breaker tripped. •... -
Page 10: Installation
INSTALLATION A 45mm ventilation gap must be left between the built-in WARNING cabinetry and wall with no back panelling on the cabinet CAUTION housing the microwave oven. A minimum ventilation gap The oven is fitted with a plug and must only be connected of 3.5mm must be left between the bottom of the front to a properly installed earthed socket. - Page 11 INSTALLATION (CONTINUED) Screw A Screw B Mounting plate Trim kit plastic cover Positioning marking using the supplied template Read the instruction on the BOTTOM CABINET TEMPLATE and place the template on the bottom plane of cabinet. " a " " PN:261800316968 Make the marks on the bottom plane of cabinet according to marks”a”...
- Page 12 INSTALLATION (CONTINUED) Installing the oven Insert the oven into the cabinet, making sure the back of the oven is locked by the mounting plate. Do not trap or kink the power cord. Mounting Plate Open the door and fix the oven to the cabinet with Screw B, at the installation hole.
-
Page 13: Warranty
(c) ‘ASC’ means Electrolux’s authorised serviced centres; (a) the Appliance has been, or Electrolux reasonably believes that the (d) ‘Westinghouse ’ is the brand controlled by Electrolux Home Products Appliance has been, used for purposes other than those for which Pty Ltd of 163 O’Riordan Street, Mascot NSW 2020, ABN 51 004... - Page 14 0800 10 66 10 email: customercare@electrolux.co.nz web: westinghouse.co.nz Westinghouse. We are part of the Electrolux family. Share more of our thinking at electrolux.com and WESTINGHOUSE are trademarks of Westinghouse Electric Corporation. Used under license. All Rights Reserved. © 2019 Electrolux Home Products Pty Ltd.
Need help?
Do you have a question about the WMB2522SC and is the answer not in the manual?
Questions and answers