Sign In
Upload
Download
Table of Contents
Contents
Add to my manuals
Delete from my manuals
Share
URL of this page:
HTML Link:
Bookmark this page
Add
Manual will be automatically added to "My Manuals"
Print this page
×
Bookmark added
×
Added to my manuals
Manuals
Brands
Genie Manuals
Lifting Systems
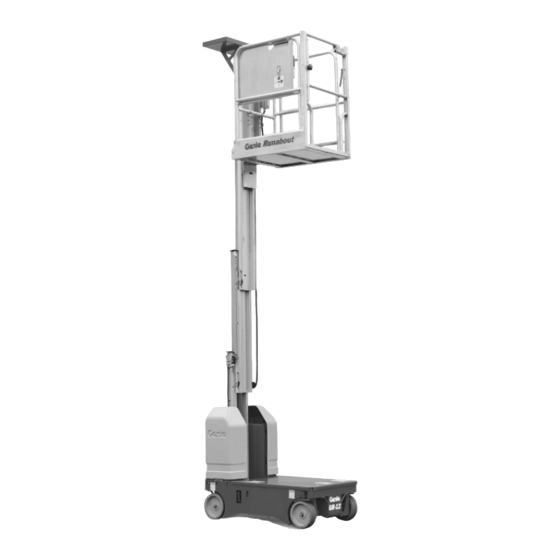
Runabout GR-8
Operator's manual
Genie Runabout GR-8 Operator's Manual
Hide thumbs
Also See for Runabout GR-8
:
Service manual
(132 pages)
1
Table Of Contents
2
3
4
5
6
7
8
9
10
11
12
13
14
15
16
17
18
19
20
21
22
23
24
25
26
27
28
29
30
31
32
33
34
35
page
of
35
Go
/
35
Contents
Table of Contents
Bookmarks
Advertisement
Table of Contents
1
Table of Contents
2
Safety
3
Legend
4
Controls
5
Pre-Operation Inspection
6
Maintenance
7
Function Tests
8
Workplace Inspection
9
Operating Instructions
10
Transport and Lifting Instructions
11
Decals
12
Specifications
Download this manual
Operator's Manual
with Maintenance Information
First Edition
Sixth Printing
Part No. 72129
Table of
Contents
Previous
Page
Next
Page
1
2
3
4
5
Advertisement
Table of Contents
Need help?
Do you have a question about the Runabout GR-8 and is the answer not in the manual?
Ask a question
Questions and answers
Related Manuals for Genie Runabout GR-8
Lifting Systems Genie GR-8 Service Manual
(132 pages)
Lifting Systems Genie GR-20J Operator's Manual
(48 pages)
Lifting Systems Genie GR-20J Service Manual
Serial number range from grj10-101 to grj16-1151, from grj16l-1152 to grj16l-1999, from grjl-2000 (119 pages)
Lifting Systems Genie GR-12 Service Manual
(204 pages)
Lifting Systems Genie GR-15 Installation Instructions Manual
Smartlink software (8 pages)
Lifting Systems Genie GR-12 Service Manual
(104 pages)
Lifting Systems Genie GR-12 Operator's Manual
(60 pages)
Lifting Systems Genie GR-12 Operators Manual With Maintenance Information
(42 pages)
Lifting Systems Genie GRC-12 Operator's Manual
(41 pages)
Lifting Systems Genie GRC-12 Service Manual
(117 pages)
Lifting Systems Genie GS-1930 Operator's Manual
Scissor lift (86 pages)
Lifting Systems Genie GS-1530/32 Service And Repair Manual
Scissor lifts (343 pages)
Lifting Systems Genie GS-3384 Service And Repair Manual
Scissor lift (193 pages)
Lifting Systems Genie GS-2668 DC Operator's Manual
(36 pages)
Lifting Systems Genie GS-2668 RT Service Manual
(184 pages)
Lifting Systems Genie GTH-2506 Stage A Operator's Manual
(98 pages)
This manual is also suitable for:
Runabout gr-12
Runabout gr-15
Table of Contents
Print
Rename the bookmark
Delete bookmark?
Delete from my manuals?
Login
Sign In
OR
Sign in with Facebook
Sign in with Google
Upload manual
Upload from disk
Upload from URL


Need help?
Do you have a question about the Runabout GR-8 and is the answer not in the manual?
Questions and answers