Advertisement
Table of Contents
- 1 Table of Contents
- 2 General Safety Information
- 3 Service
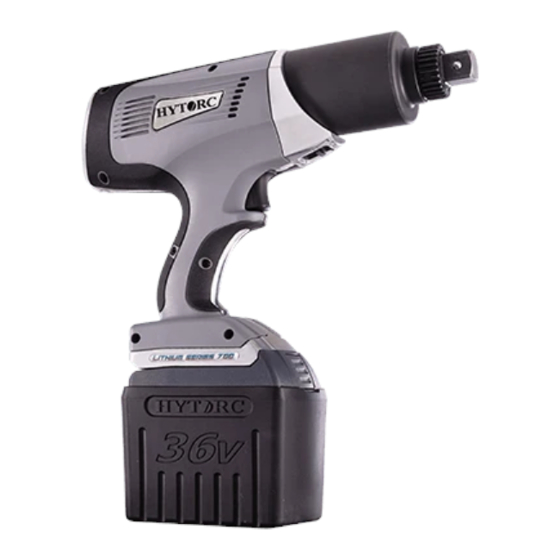
- 4 Tool Description
- 5 Care and Handling
- 6 Charge, Test and Install Battery
- 7 Operating the Control Panel
- 8 Navigating the Menus
- 9 Shortcuts
- 10 Bolting with Conventional Reaction Arm
- 11 Bolting with the Hytorc Washer
- 12 Bolting with the Hytorc Nut
- 13 Addendum for Btm-Doc Models Only (Important)
- 14 Changelog
- Download this manual
Advertisement
Table of Contents


Need help?
Do you have a question about the LITHIUM Series and is the answer not in the manual?
Questions and answers