Advertisement
Table of Contents
- 1 Specifications
- 2 Before You Begin
- 3 Precautionary Measures
- 4 Safety Precautions and Warnings
- 5 On/Off Button
- 6 Crevice Tool
- 7 Instructions for Use
- 8 Maintenance
- 9 Emptying the Dust bin
- 10 Cleaning and Replacing the Exhaust Filter
- 11 Spare Parts
- 12 Troubleshooting
- 13 Problems and Solutions
- Download this manual
Advertisement
Table of Contents

Subscribe to Our Youtube Channel
Related Manuals for Hoover QHB10 Quickstick


Summary of Contents for Hoover QHB10 Quickstick
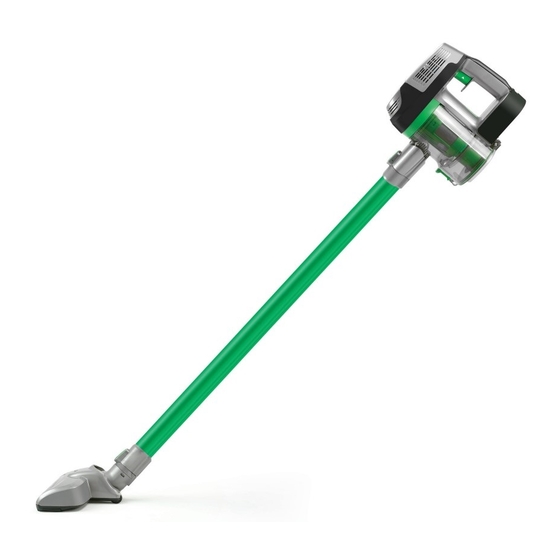
- Page 1 2-in-1 Handstick Lithium-Ion Battery Cyclonic Technology...
-
Page 3: Specifications
Run Time: 19min Dust Bin Capacity: 250ml Battery: 2000mAh Li-Ion Please contact Hoover Customer Service on 1300 360 845 (AU), 0800 387 442 (NZ) to find your local spare parts provider or for assistance. Alternatively, you can visit our website: www.hoover.com.au... -
Page 4: Before You Begin
Before You Begin This cleaner must be operated in accordance with these instructions and only used for domestic household cleaning to remove DRY dirt and dust from household carpets, flooring, walls and fabrics. This cleaner is not fit to be used as an industrial cleaner and will void the manufacturer’s warranty if used inappropriately. -
Page 5: Safety Precautions And Warnings
Safety Precautions & Warnings IMPORTANT! Always switch off the appliance before cleaning, when not in use or attempting any maintenance task. The charger must only be connected to an AC power supply at the voltage shown on the rating label. This cleaner should only be used for its intended purpose as described in this instruction manual. - Page 6 Battery use and care 17. If the air inlet or floor head is blocked, switch off the cleaner straight away. Clear the blocked The appliance is only to be used with the charger object before attempting to start the vacuum provided with the appliance.
- Page 7 Assembly IMPORTANT! Always remove the charging plug from the appliance before fitting or removing accessories. Insert the powerhead into the rod. You will hear a “click” sound when it is securely in place. Insert the opposite end of the rod into the air inlet of the cleaner. Once securely in place, you will hear a “click”.
-
Page 8: On/Off Button
Instructions for Use On/Off Button Press the On/Off Button to turn On or Off the cleaner. Charging via the Charging Port Insert the charger into the Charging Port on the cleaner. When the charging indicator light is flashing red, the vacuum cleaner is being charged. When the charging indicator light turns from red to blue, the vacuum cleaner battery is fully charged. -
Page 9: Maintenance
Maintenance IMPORTANT! Always remove the charging plug from the appliance before preforming any maintenance. Emptying the Dust Bin Disconnect the rod and the powerhead from the cleaner. Hold the cleaner over a rubbish bin and press the Dust Bin Lid Release Button to open and empty the dust bin. -
Page 10: Cleaning And Replacing The Exhaust Filter
Maintenance IMPORTANT! Always remove the battery from the appliance before preforming any maintenance on the roller brush. Cleaning and Replacing the Exhaust Filter The Exhaust Filter is installed behind the Exhaust Grille. Press the Filter Release button to remove the Exhaust Grille. The Exhaust Filter can now be removed and cleaned using lukewarm water. -
Page 11: Spare Parts
Spare Parts Please contact Hoover Customer Care: 1800 815 270, NZ: 0800 282 288 to find your local spare parts provider. Part Part Number Exhaust Filter 32201499 33201503 Battery Charger 33201504 Roller Brush 33788086 Powerhead 31155350 Troubleshooting Problems and solutions If you come across a problem, please use the checklist of troubleshooting tips before contacting Hoover Customer Care. - Page 12 1300 360 845, Monday-Friday 9am-5pm EST. The decision To find out more about our range, to repair or replace the cleaner is at the sole discretion of Hoover visit: www.hoover.com.au Customer Service. If Hoover Customer Service decide to repair or www.hoover.co.nz...
Need help?
Do you have a question about the QHB10 Quickstick and is the answer not in the manual?
Questions and answers