
Related Manuals for Hoover Breathe Easy


Summary of Contents for Hoover Breathe Easy
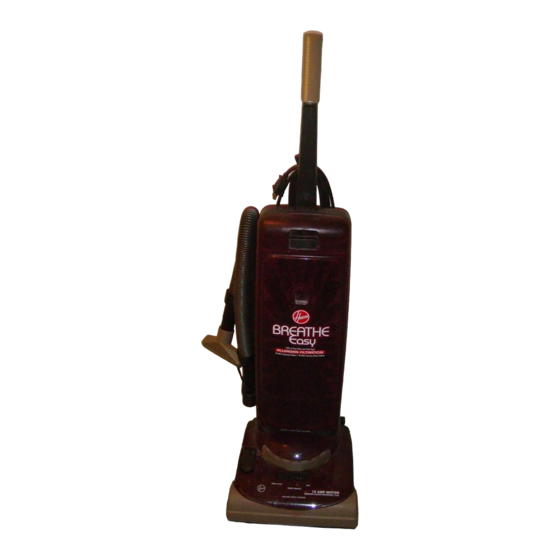
- Page 1 B reathe Easy Owner’s Manual English Spanish ™ French pp. 1-14 pág. 16-23 p. 25-31...
-
Page 2: Table Of Contents
• Do not use with damaged cord or plug. If appliance is not working as it should, has been dropped, damaged, left outdoors, or dropped into water, take it to a Hoover Factory Service Center or Authorized Hoover Warranty Service Dealer (Depot). -
Page 3: Cleaner Assembly
If you need any assistance call: Visit our website at www.hoover.com. Click on the “Service” button to find the service outlet nearest you OR 1-800-944-9200 for an automated referral of service outlet locations (U.S. only) OR 1-330-499-9499 to speak with a representative in our Consumer Response Center. -
Page 4: Assemble Handle
Assemble handle Place upper (B) and lower (C) handle sections on a flat surface with cord hooks (A) on top. With hands on sides of handle sec- tions, push sections together firmly until they “click” into place. *Do not press against the rod (D) extending from the lower han- dle. -
Page 5: Attach Handle
Attach tool rack 1-10 Hold rack and handle side by side as s h o w n . Attach handle 1-13 With cord hooks to the back, place assembled handle onto handle base of cleaner body (N). Rock handle side to side while push- ing down firmly. - Page 6 Attach filter bag 1-19 Align opening (U) in filter bag with dirt tube (T) inside bag compartment. 1-22 Break off red tab (E) above ON-OFF switch by pushing down on tab. Note: If tab has come off during assem- bly make sure switch is in the OFF posi- tion (down) before plugging cord into an electrical outlet.
-
Page 7: Handle Positions
2. How to use Cleaner description Polarized plug To reduce the risk of electric shock, this appliance has a polarized plug (one blade is wider than the other). This plug will fit in a polarized outlet only one way. If the plug does not fit fully in the outlet, reverse the plug. -
Page 8: Carpet Height Adjustment
Transporting cleaner To move your cleaner from room to room, put handle in upright position, tilt cleaner back on rear wheels and push forward. Carpet height adjustment When it is necessary to raise and lower the front of the cleaner (A) for various carpet pile heights, slide the carpet height control (B) to the correct setting. -
Page 9: Attach Wand And Tools
2-11 Cleaning tools The tool set includes a hose, wand, crevice tool, furniture nozzle and dusting brush. 2-14 Attach wand and tools The tools are attached to the hose or the wand in the same manner. Push tool firmly onto hose; twist tool slightly to tighten or loosen connection. -
Page 10: Replacing Filter Bag
Discard used bag. Where to buy Filter bags may be purchased from your local Authorized Hoover Dealer (Depot), Leading Retailers, from Hoover Factor y Service Centers, using the order form packed with your cleaner, or through The Hoover Company online at www.hoover.com. -
Page 11: Replacing Belt
The headlight What to buy This cleaner uses a 12 volt, wedge base type 912 bulb, Hoover P a r t No. 27313-101. How to replace Disconnect cleaner from electrical outlet. Belt replacement The belt on your HOOVER cleaner caus- es the agitator to rotate and is important for the effective operation of the cleaner. -
Page 12: Agitator Brush Roll Replacement
The addition of lubricant could cause damage. Do not add lubricant to motor bearings. The agitator is equipped with two ball bearings that should be lubricated peri- odically by a Hoover Factory Service Center or an Authorized Hoover Warranty Service Dealer (Depot). -
Page 13: Clearing Blockages
Service To obtain approved HOOVER service and genuine HOOVER parts, locate the neare s t Hoover Factory Service Center or Authorized Hoover Warranty Service D e a l e r ( D e p o t ) b y : •... -
Page 14: Warranty
Full One Year Warranty (Domestic Use) Your HOOVER® appliance is warr a n t e d in normal household use, in accord a n c e with the Owner’s Manual against original defects in material and workmanship for a period of one full year from date of pur- chase.
Need help?
Do you have a question about the Breathe Easy and is the answer not in the manual?
Questions and answers
Can you use for steaming?