
Related Manuals for MAJORITY GIRTON GIR-DAB-OAK-2


Summary of Contents for MAJORITY GIRTON GIR-DAB-OAK-2
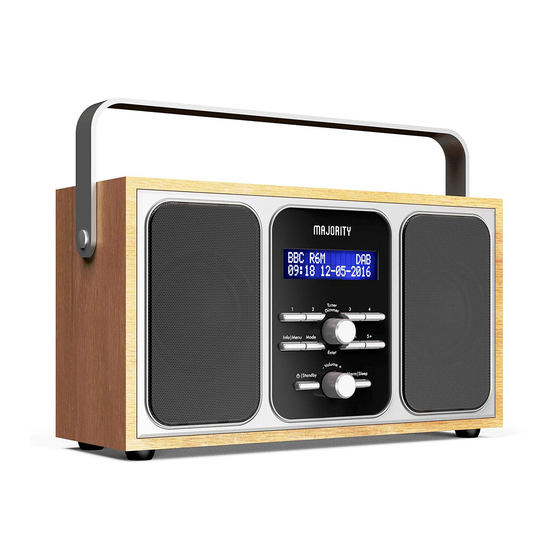
- Page 1 G I R T O N D I G I T A L R A D I O & A L A R M C L O C K GIR-DAB-OAK-2 Instructions Guide...
-
Page 2: Table Of Contents
FM Radio Presets ����������������������������������������������������� Clock & Date Settings ����������������������������������������������� Dual Alarm Settings ������������������������������������������������� Other Functions ������������������������������������������������������� Portability ���������������������������������������������������������������� Troubleshooting ������������������������������������������������������ Specifications ���������������������������������������������������������� Warranty ����������������������������������������������������������������� Safety Information��������������������������������������������������� YEAR Watch video tutorials and register your product for a FREE 3-year warranty WARRANTY at https://www.majority.co.uk... -
Page 3: Controls And Functions
Controls And Functions Top View 10 11 12 Preset 1 Mode Preset 2 Preset 5+ Tune/Dimmer/Enter Scan Preset 3 10. Power/Standby Preset 4 11. Volume Dial Info/Menu 12. Alarm/Sleep... - Page 4 Controls And Functions Display View 10 11 12 13. Battery Compartment 14. Headphone Jack 15. DC Power Input 16. Antenna...
-
Page 5: What's In The Box
What’s In The Box? Box Contents 1. Majority Girton Radio 2. UK Power Supply 3. User Guide... -
Page 6: Support
Support Support Thank you for your purchase of the Majority Girton II. Please follow the guidance of the manual to set up your radio and enjoy its fantastic variety of stations and features. If you require further assistance with your new radio, please contact our support team on the Majority website: https://www.majority.co.uk/... -
Page 7: Instructions Guide
Instructions Guide Basic Operation Please note all (Ref.) refer to the Controls and Functions mapping guide on Pages 1-2. For mains power, insert the power supply connector into the power input socket labelled DC 5V (Ref.15) on the back of the system and plug the power supply into the mains. -
Page 8: Dab/Dab+ Radio
Instructions Guide DAB/DAB+ Radio Press the ‘Mode’ button (Ref.7) to switch to DAB/DAB+ Radio. Fully extend the antenna (Ref.16). To start an auto scan for available digital stations, press the ‘Scan’ button (Ref.9) and then release. This would be advisable if you are having trouble listening to particular stations. -
Page 9: Dab/Dab+ Presets
Instructions Guide DAB/DAB+ Presets How to Store a Preset Station To be able to quickly access your favourite DAB/DAB+ stations, you can preset the stations. Up to 10 different preset stations can be set for you to browse between. To store a station as your preset, it is best to be listening to the station at the time. -
Page 10: Button As This Will Store Presets As Per Page 7. The Station Will
Instructions Guide How to Recall and Play a Preset Station Play Preset 1-4 To play your preset stations stored in preset numbers 1 to 4, press the corresponding ‘Preset’ button number 1, 2, 3 or 4 (Ref.1 ) on the front of the radio. Do not hold down the , 2, 4, 5 button as this will store presets as per page 7. - Page 11 Instructions Guide Station Information for DAB Radio When you are listening to a DAB/DAB+ station with good signal, you can press the ‘Info/Menu’ button (Ref.6) repeatedly to browse through different programme information. Signal Strength: Displays a signal bar with the strenght of the different programme informaton.
-
Page 12: Fm Radio
Instructions Guide FM Radio Press the ‘Mode’ button (Ref.7) to switch to FM mode. The first time you do this, the FM frequency “87.5 MHz” will be displayed on the screen. Fully extend the antenna (Ref.16). To scan for available stations with good signal, press the ‘Scan’... - Page 13 Instructions Guide Playing ‘Only’ or ‘All’ FM Stations When on FM mode, you can decide if you would like to pick up all stations (even if they do not have a good signal) or just the stations with good signal. To do this, press and hold the ‘Info/Menu’...
-
Page 14: Fm Radio Presets
Instructions Guide FM Radio Presets How to Store a Preset Station To be able to quickly access your favourite DAB/DAB+ stations, you can preset the stations. Up to 10 different preset stations can be set for you to browse between. To store a station as your preset, it is best to be listening to the station at the time. - Page 15 Instructions Guide How to Recall and Play a Preset Station Play Preset 1-4 To play your preset stations stored in preset numbers 1 to 4, press the corresponding ‘Preset’ button number 1, 2, 3 or 4 (Ref.1 ) on the front of the radio. Do not hold down the , 2, 4, 5 button as this will store presets as per page 7.
- Page 16 Instructions Guide Station Information for FM Radio When you are listening to an FM station with good signal, you can press the ‘Info/Menu’ button (Ref.6) repeatedly to show the different programme information. Signal Strength: Displays a signal bar with the strength of the current station.
-
Page 17: Clock & Date Settings
Instructions Guide Clock & Date Settings Once the radio has been put into DAB/DAB+ mode, the time and date should automatically set. If this does not happen or you wish to alter the time and date, follow the below guidance: Manually Setting the Time Ensure the unit is turned on and out of standby. - Page 18 Instructions Guide Manually Setting the Date The date can be changed straight after changing the time. The year will flash on the display screen. To change the date year, turn the ‘Tune/Enter’ dial (Ref.3) to the required unit. Press down the dial to confirm.
-
Page 19: Dual Alarm Settings
Instructions Guide Dual Alarm Settings 1. To open alarm settings, press the ‘Alarm/Sleep’ button (Ref.12) once for Alarm 1, and use the ‘Tuner/Enter’ dial (Ref.3) to scroll to Alarm 2. Select Alarm 1 or 2 by pressing the dial. 2. Once alarm 1 or 2 is selected, OFF will display on the screen. To turn the alarm on, turn the ‘Tuner/Enter’... - Page 20 Instructions Guide To Cancel Alarm 1 or Alarm 2 To cancel the alarm, press the ‘Alarm/Sleep’ button (Ref.12) and use the ‘Tuner/Enter’ dial to scroll between Alarm 1 and 2. Select the alarm you wish to cancel by pressing down the ‘Tune/Enter’ dial.
-
Page 21: Other Functions
Instructions Guide Other Functions Sleep Setting This enables you to programme the radio to switch off at a selection of set times up to 120 minutes from activation. Press and hold the ‘Alarm/Sleep’ button (Ref.12) and “Set Sleep” will appear on the display. Use the ‘Tune/Enter’... -
Page 22: System Reset
Instructions Guide System Reset A system reset will reset your radio as well as erase all setting and preset options. This would be advisable if you are having any functionality issues with your radio. To perform a factory reset, press and hold the ‘Info/Menu’ button (Ref.6) for 1 second. -
Page 23: Portability
Instructions Guide Portability This radio can be made portable by powering with 4 x 1.5C batteries (not included). To open the battery compartment (Ref.13), put your fingers on the upper part where it says “OPEN”, press down and pull the door out of the lock. -
Page 24: Troubleshooting
Troubleshooting Observation Potential Cause/Solution No sound The station is not tuned in properly. Please perform a rescan for available stations or manually scroll through available stations. Cannot preset Ensure that you are pressing and holding down the stations Preset numbers 1, 2, 3, 4 or 5+ to open Preset Store settings. -
Page 25: Specifications
Net Weight 1.25kg Warranty All products come with a standard 12 month warranty. All items http://majority.co.uk must be registered on for the warranty to be valid. Once on the web page, use the menu to find “Register your Product”. You will also be given the chance to extend your... -
Page 26: Safety Information
1. Read these instructions. 2. Keep these instructions. Instructions are also The apparatus shall not be exposed to dripping or available for download at http://majority.co.uk splashing and no objects filled with liquid, such as 3. Heed all Warnings vases, shall be places on the apparatus. - Page 28 http://majority.co.uk...
Need help?
Do you have a question about the GIRTON GIR-DAB-OAK-2 and is the answer not in the manual?
Questions and answers