Table of Contents
Advertisement
Quick Links
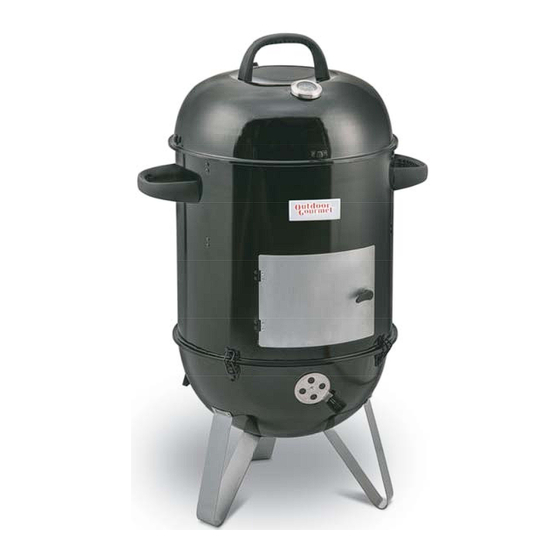
BIG "A" WATER SMOKER
USER MANUAL
STYLE # FSODBG3200
Please keep this instruction manual for future reference
Please keep this instruction manual for future reference
Warning:
Adult assembly required.
Keep screws and parts out of reach of children.
FOR OUTDOOR USE ONLY
Customer Service: (866) 814-0585, 8:00am to 8:00pm, Eastern Standard Time
Monday through Friday
(Made in China)
Page 1 of 15
Advertisement
Table of Contents

Subscribe to Our Youtube Channel
Related Manuals for Outdoor Gourmet Pro Series


Summary of Contents for Outdoor Gourmet Pro Series
- Page 1 BIG "A" WATER SMOKER USER MANUAL STYLE # FSODBG3200 Please keep this instruction manual for future reference Please keep this instruction manual for future reference Warning: Adult assembly required. Keep screws and parts out of reach of children. FOR OUTDOOR USE ONLY Customer Service: (866) 814-0585, 8:00am to 8:00pm, Eastern Standard Time Monday through Friday (Made in China)
-
Page 2: Safety Warnings
SAFETY WARNINGS DANGER Failure to follow the Dangers, Warnings, and Cautions contained in this Owner’s Manual may result in serious bodily injury, death, or fire causing damage to property. Do not use indoors! This smoker is designed for outdoor use only. If used indoors, toxic fumes will accumulate and cause serious bodily injury or death. -
Page 3: Table Of Contents
TABLE OF CONTENTS SAFETY WARNINGS ..................TABLE OF CONTENTS ..................3 GETTING STARTED ..................EXPLODED VIEW .....................5 PART LIST......................6 HARDWARE...................... 6 ASSEMBLY INSTRUCTIONS................CARE AND MAINTENANCE................ONE-YEAR LIMITED WARRANTY..............REMINDER BEFORE ASSEMBLY Vertify that all parts are included with your smoker BEFORE you begin assembly by checking the Parts and Hardware List. -
Page 4: Getting Started
GETTING STARTED BEFORE LIGHTING A) The smoker should be placed on a level, heat proof, non-combustible surface away from buildings and out of general traffic path. The smoker is for outdoor use only and not recommended for use on outdoor carpeted surfaces. B) Remove the lid and center bucket assembly before lighting the charcoal briquettes. -
Page 5: Exploded View
EXPLODED VIEW TOOLS REQUIRED Phillips Head Screwdriver (Not included) Adjustable Wrench (Not included) -
Page 6: Part List
PARTS LIST Part # Description Lid handle Lid air vent assembly Lid assembly Thermometer Upper cooking grate Water pan assembly Center bucket upper support bracket 3pcs Center bucket handle 2pcs Center bucket assembly Charcoal grate Charcoal bowl assembly Bottom bowl support bracket 4pcs Bottom bowl buckle assembly 4pcs... -
Page 7: Assembly Instructions
ASSEMBLY INSTRUCTIONS Step 1 Install the lid air vent assembly (#2) to the lid assembly (#3) with 1pc M5 x 12 bolt (AA) and 1pc M5 nut (GG). Hardware Used M5 x 12 Bolt M5 Nut Step 2 Unscrew the 1pc M10 nut and 2pcs D10 large washers, which have been pre-installed on the D10 large washer thermometer (#4). - Page 8 ASSEMBLY INSTRUCTIONS Step 3 Install the lid handle (#1) to the lid assembly (#3) with 2pcs M6 wing nuts (EE) and 2pcs D6 large washers (DD). Hardware Used D6 Large washer M6 Wing nut Step 4 Install the 3pcs center bucket upper support brackets (#7) to the center bucket assembly (#9) with 6pcs M5 x 12 bolts (AA) and 6pcs M5 nuts (GG).
-
Page 9: Install The 3Pcs Legs (#15) To The Bottom Bowl Assembly (#14) With 12Pcs M6 X 15 Bolts (Cc), 12Pcs
ASSEMBLY INSTRUCTIONS Step 5 Install the 2pcs center bucket handles (#8) to the center bucket assembly (#9) with 4pcs M6 wing nuts (EE) and 4pcs D6 large washers (DD). Hardware Used M6 Wing nut D6 Large washer Step 6 Install the 3pcs legs (#15) to the bottom bowl assembly (#14) with 12pcs M6 x 15 bolts (CC), 12pcs D6 large washers (DD) and 12pcs M6 nuts (FF). - Page 10 ASSEMBLY INSTRUCTIONS Step 7 Install the 4pcs bottom bowl support bracket (#12) and 4pcs bottom bowl buckle assemblies (#13) to the bottom bowl assembly (#14) with 12pcs M4 x 10 bolts (BB) and 12pcs M4 nuts (HH). Hardware Used M4 x 10 Bolt x 12 M4 Nut x 12...
- Page 11 ASSEMBLY INSTRUCTIONS Step 9 Put the water pan assembly (#6), lower cooking grate (#16), upper cooking grate (#5) into the center bucket (#9) in order as shown. Then put the center bucket assembly (#9) onto the bottom bowl assembly (#14). Note: The upper cooking grate (#5) and lower cooking grate (#16) are in the same size.
- Page 12 ASSEMBLY INSTRUCTIONS Step 11 Turn the door handle locker to open or close the door. If you want to use as a portable charcoal grill, please see below assembly steps. Step 12 Position the charcoal bowl assembly (#11) onto the bottom bowl support brackets (#12). Position the charcoal grate (#10) into the charcoal bowl assembly (#11).
- Page 13 ASSEMBLY INSTRUCTIONS Step 13 Position the lid assembly (#3) onto the bottom bowl assembly (#14) directly, lock the 4pcs bottom bowl buckle assemblies (#13) to the buckle brackets tightly. Buckle bracket Step 14 Assembly completed.
-
Page 14: Care And Maintenance
CARE AND MAINTENANCE Cleaning your smoker AFTER EACH USE 1. Make sure the smoker is cool and coals are totally extinguished. 2. Remove the cooking and charcoal grates. 3. Remove ashes. 4. Wash your smoker with a mild detergent and water. Rinse well with clear water and wipe dry. 5. -
Page 15: One-Year Limited Warranty
ONE-YEAR LIMITED WARRANTY Academy, Ltd. warrants your smoker to be free from manufacturer’s defects in workmanship or material under normal operating conditions for one (1) year from the original date of purchase. This warranty applies if the item is available to the original purchaser only. This warranty applies only to products sold at retail.
Need help?
Do you have a question about the Pro Series and is the answer not in the manual?
Questions and answers