Table of Contents
Advertisement
Quick Links
Advertisement
Table of Contents

Related Manuals for Primrose Awnings B


Summary of Contents for Primrose Awnings B
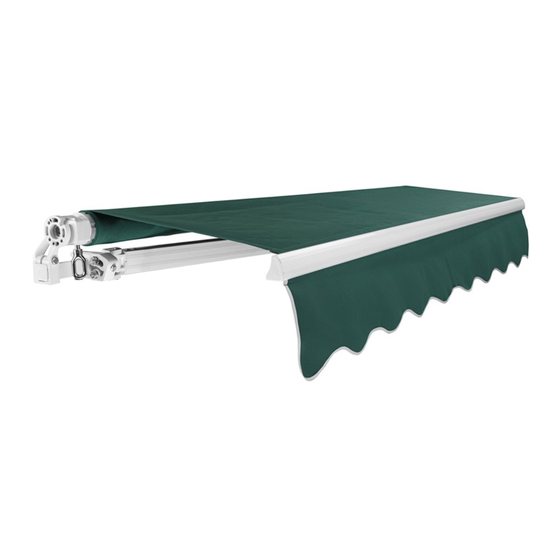
- Page 1 Awning Instructions Electric awning (B) 1.5m to 4.5m...
- Page 2 (Depends on your purchase) Set A Wireless Kit 1 x Remote Handheld Zapper Set B Wind and Sun Sensor 1 x Remote Handheld Zapper 1 x Wind and Sun Sensor 1 x 5m Electrical Wire, (3 core cable to connect to mains)
- Page 3 Step 1: Determine position on the Step 2: Drill holes wall and mark up Height of awning: Draw a horizontal line in the position of the required height. The recommended height from the ground is 2.5m-3.5m. If you want to install lower than this, determine whether there is sufficient headroom when the awning is fully extended and that any doors can 20cm above...
- Page 4 Step 3: Attach the brackets Step 5: Levelling the front bar – Adjust the angle 1. Insert the plastic expansion plug/sleeve into the wall. The awning is usually supplied with the most ideal pre-set angle of tilt. When fully opened, the front bar 2.
- Page 5 Step 7: Wiring the electrics – Kit A Step 6: Wiring the electrics (THIS STEP APPLIES TO ELECTRIC AWNINGS ONLY) Our awning can either be fitted with a plug or wired into the mains socket. If you choose to wire into the mains you should consult a qualified electrician.
- Page 6 Step 8: Limit control - continued Step 9: Wiring the electrics - Kit B 2. (Red adjustment) Extension point: Rotating towards the negative will reduce the amount the awning Once the wind activates the sensor (or spin the extends. For example if the awning fabric sags and...
- Page 7 Step 10: Synchronising remote to Kit B - Sensor Specification Sensor Frequency: 433.92MHz Once the awning and Range of validity: outdoor 200 meters sensor is plugged in. Remove the back of AC power: input 230V-50Hz the remote control and NOTE: Make sure sensor has been programmed before press the P2 button use.
- Page 8 15-30 mins. Leave it and use the winder handle to manually project and retract the awning. B. Check the cables are wired in correctly (loose wires etc.) C. Check if the remote control zapper is synchronised properly with the wireless motor.
Need help?
Do you have a question about the B and is the answer not in the manual?
Questions and answers
Can I change the battery in my primrose awning remote zapper
Yes, you can change the battery in a Primrose Awnings remote zapper. If the battery runs out of power, you will need to purchase a new battery and replace it.
This answer is automatically generated
The motor on my 4.5m primrose awning won't switch off when fully closed. It stops running but makes a loud buzzing noise. This stops after a few minutes which I think is an auto turn-off due to maybe overheating. It starts buzzing again after a while and so-on adinfinitum. Can you help please?