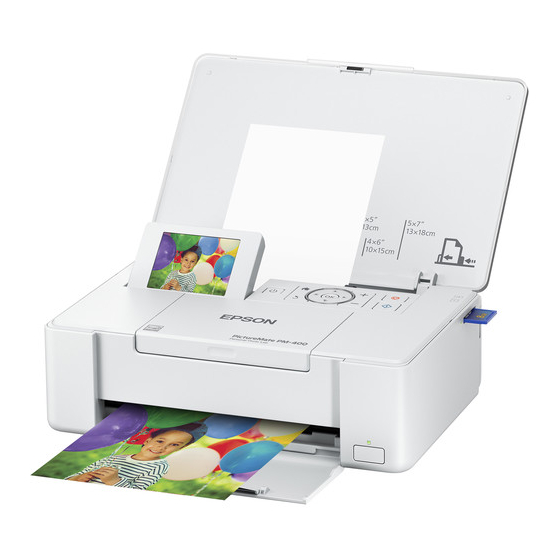
Epson PM-400 How To Set Up
Hide thumbs
Also See for PM-400:
- User manual (164 pages) ,
- Quick manual (53 pages) ,
- Start here (4 pages)

Related Manuals for Epson PM-400


Summary of Contents for Epson PM-400
- Page 1 Phone 1 (800) 622-6484 1 (866) 937-8254 info@choose2rent.com www.choose2rent.com How to set up your Epson PM-400 1. Connect the power adapter to the side of the printer and connect the power cord into an electrical outlet. page 1 of 4...
- Page 2 2. Unpack the ink cartridge and only remove the yellow tape, do not remove any other labels or seals. (ink may leak) 3. Remove the cap and carefully dispose of it. 4. Do not touch the ink ports as it can prevent normal operation 5.
- Page 3 7. Close the cover and press the button to start charging the ink. 8. Slide the edge guide to the right, load your badge stock (25max) and slide the edge guide back against the paper, but not too tightly. page 3 of 4...
-
Page 4: Trouble Shooting
9. Select Wi-Fi setup in the menu and press OK. 10. If your router supports WPS, select press the WPS button on the router and then select WPS on the printer to allow it to search. (Connection Established) 11. If your router does not support WPS, search for the router SSID in the list and connect by entering the password.
Need help?
Do you have a question about the PM-400 and is the answer not in the manual?
Questions and answers