Advertisement
Quick Links
DO NOT CONTACT THE STORE!!!
CALL OUR CUSTOMER SERVICE DEPARTMENT at 1 (800) 225-3865
HOURS: 7:00 a.m. to 5:00 p.m. Monday through Friday, 7:00 a.m. to 12 noon Saturday (Mountain Standard Time)
**Customers outside the U.S. or Canada, please contact the store.**
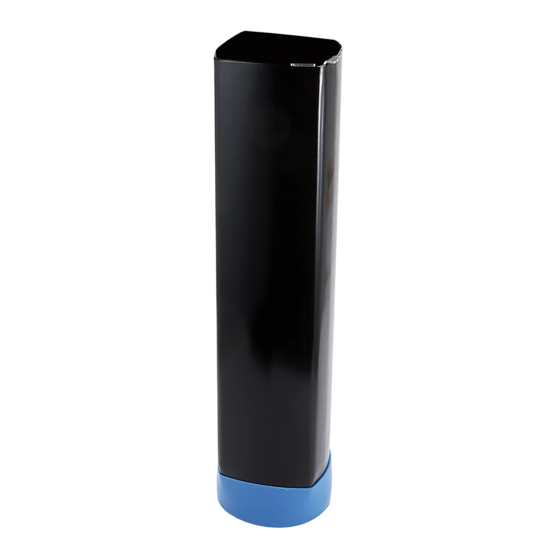
4" SQUARE GROUND SLEEVE
MODEL #0040
ASSEMBLY INSTRUCTIONS
AND OWNER'S MANUAL
WARNING
Failure to comply with any of the warnings
in these instructions may result in serious
personal injuries such as cuts, broken
bones, nerve damage, paralysis, brain
injury, or death. Failure to comply may also
result in property damage. Please heed
all warnings and cautions. To ensure your
safety, do not attempt to assemble this
system without reading and following all
instructions carefully. Identify and inventory
the parts using the Parts List.
Save this instruction in the event that the manufacturer has to be contacted for replacement parts.
INSTRUCTION #1019202
VISIT THE LIFETIME WEB SITE:
WWW.LIFETIME.COM
**For U.S. and Canada Customers ONLY:**
IF ASSISTANCE IS NEEDED,
**Call, or visit our Web site for Saturday hours**
®
10/01/2006
Advertisement

Related Manuals for Lifetime 4” SQUARE GROUND SLEEVE


Summary of Contents for Lifetime 4” SQUARE GROUND SLEEVE
- Page 1 10/01/2006 ® VISIT THE LIFETIME WEB SITE: WWW.LIFETIME.COM **For U.S. and Canada Customers ONLY:** IF ASSISTANCE IS NEEDED, DO NOT CONTACT THE STORE!!! CALL OUR CUSTOMER SERVICE DEPARTMENT at 1 (800) 225-3865 HOURS: 7:00 a.m. to 5:00 p.m. Monday through Friday, 7:00 a.m. to 12 noon Saturday (Mountain Standard Time) **Call, or visit our Web site for Saturday hours** **Customers outside the U.S.
-
Page 2: Parts List
STEP1A NOTE: This Ground Sleeve is for use with inground poles only. Poles are not included with this product. Use the pole from your purchased Lifetime system. ® NOTE: If you have a one-piece pole system, your pole will be significantly longer than the poles pictured. If you have a three-piece pole system, use only the Bottom Pole Section. - Page 3 STEP 1B a. Peel off the short piece of the Tape backing and apply the Tape (E) to the inside of the Wedge (D) as shown. Cut the Tape at the top edge of the Wedge, then remove the backing and apply the remainder to the other side of the Wedge. Cut off the excess at the top edge of the Wedge. Make sure the Tape is firmly applied and can not fold backward. b. Insert the Wedge into one corner of the Sleeve and tap it down until it is all the way in. The Wedge helps to stabilize the pole, and must be used whenever the pole is inserted into the Sleeve. WEDGE STEP 2 a. Dig a hole 24” deep and 21” in diameter. Stack bricks in the bottom of the hole for the ground sleeve to stand on. Stack enough bricks in the hole so that the top of the ground sleeve is even with the top edge of the playing surface. If the ground sleeve is not exactly even with the playing surface, dig the hole deeper or add more bricks as necessary. Position the bricks close to the front edge of the hole, near the playing surface. The correct distance from the basketball court to the front of the pole is 4 inches. b. Mix all 6 bags of concrete, except 1/3 of a bag which will be used later to fill the inside of the bottom pole section. c. Fill the hole half full with concrete. Insert the Ground Sleeve and bottom pole section into the cement, making sure the Ground Sleeve rests on the bricks at the bottom of the hole. The correct distance from the basketball court to the front of the pole is 4 inches. The top of the Ground Sleeve should be flush with the basketball court. The bottom of the Sleeve should be resting on the bricks in the bottom of the hole. The Wedge between the Sleeve and pole section should be at the back side of the pole, away from the playing surface.
- Page 4 STEP 3 a. Finish filling the hole with concrete. Make sure the Ground Sleeve is flush with the basketball court and is not sunk into or positioned above the concrete. If the top of the Ground Sleeve is not flush with the playing 4”...
- Page 5 FOR THREE-PIECE POLES ONLY: STEP 5 a. Carefully remove the bottom pole section from the Ground Sleeve. b. Bend the tabs on the Pole Cap (C) and insert it into the bottom of the bottom pole section. c. Mix the remaining 1/3 bag of concrete. Using a funnel, fill the bottom pole section with concrete to a depth of 30”. Insert the rebar into the middle of the pole, all the way to the bottom of the pole. d. Leave the pole standing in an upright position until the concrete sets. Be sure to clean off any concrete from the outside of the pole section. e. Continue with step 6. 30” STEP 6 a. Make a mark 16” from the bottom edge of the pole and insert the bottom of the pole into the Ground Sleeve. WARNING: The 16” mark on the pole must reach the upper edge of the Ground Sleeve.
- Page 6 5. This product is not intended for institutional or commercial use; Lifetime Products, Inc. does not assume any liability for such use. Institutional or commercial use will void the warranty.
Need help?
Do you have a question about the 4” SQUARE GROUND SLEEVE and is the answer not in the manual?
Questions and answers