Advertisement
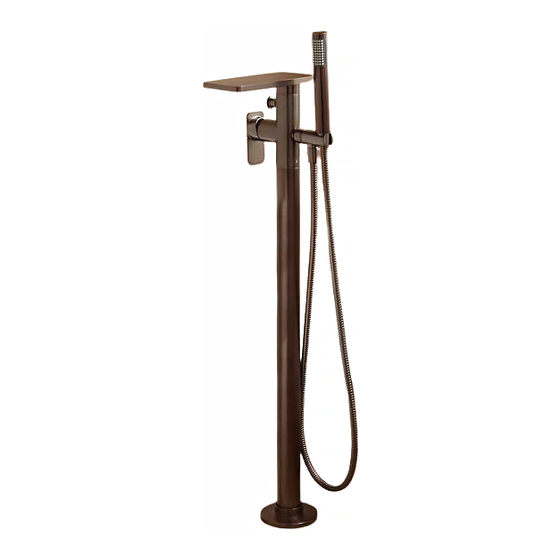
GHANI FREESTANDING TUB FAUCET
INSTALLATION INSTRUCTIONS
Before you begin, read the installation instructions below. Observe all local plumbing and building codes.
Unpack and inspect faucet and parts for damage. If any damage is found, contact Customer Service at 1-866-855-2284
and return faucet to container. If you need assistance while installing your new faucet, call our Customer Service number.
Your application and circumstances may call for variations to the installation instructions. We recommend consulting a
professional if you are unfamiliar with installing bathroom fixtures and plumbing. Signature Hardware accepts no liability
for any damage to the floor, walls, plumbing, or personal injury during installation.
Installation on a concrete slab is not recommended.
TOOLS AND MATERIALS:
Adjustable Wrench
Level
Pencil
Damp Cloth
Part
1. Faucet Body
2. Decorative Escutcheon
3. A Screw
4. A Gasket
5. Base
6. B Screw
7. B Gasket
8. C Screw
9. Installation Plate
10. Handshower
11. Shower Hose
12. Plastic Guard
13. Test Plate
14. Rubber Plug
15. 5.0 mm Allen Wrench
16. 6.0 mm Allen Wrench
Tape Measure
Straight Edge
Drill
Protective Clothing
Qty
1
1
2
2
1
6
10
4
2
1
1
1
1
2
1
1
Plumber's Tape
Silicone Sealant
Loctite Thread Sealant
Safety Glasses
Ghani Freestanding Tub Faucet Installation Instructions
1
Advertisement
Table of Contents

Related Manuals for Signature Hardware Ghani


Summary of Contents for Signature Hardware Ghani
- Page 1 Your application and circumstances may call for variations to the installation instructions. We recommend consulting a professional if you are unfamiliar with installing bathroom fixtures and plumbing. Signature Hardware accepts no liability for any damage to the floor, walls, plumbing, or personal injury during installation.
- Page 2 1-3/8"-1-15/16" thick. 15. 5.0 mm Allen Wrench Wood Blocking 8. C Screw 7. B Gasket 5. Base 9. Installation Plate Mounting Holes 5. Base 8. C Screw 7. B Gasket 9. Plate Mounting Holes Ghani Freestanding Tub Faucet Installation Instructions...
- Page 3 (5) with the A Screws (3) and A Gaskets (4). Mounting Holes 6.0mm Allen Wrench Screw A Gasket A Test Plate Rubber Plug Mounting Holes Cold Water 6. Screw B 7. Gasket B Hot Water Floor Wood Wood Blocking Blocking Ghani Freestanding Tub Faucet Installation Instructions...
- Page 4 Plug (14), and Test Plate (13). the 6.0 mm Allen Wrench (16). 12. Plastic Guard 12. Plastic Guard 3. Screw A 4. Gasket A 13. Test Plate 14. Rubber Plug Ghani Freestanding Tub Faucet Installation Instructions...
- Page 5 8. Turn the water on to make sure that all connections (1) with the Shower Hose (11). are tight, no water should be leaking. Push the Decorative Escutcheon (2) into place, and finish the floor. Ghani Freestanding Tub Faucet Installation Instructions...
- Page 6 • Pull the diverter up to divert the water to the handshower. Push the diverter down to diver the water to the faucet spout. Ghani Freestanding Tub Faucet Installation Instructions...
Need help?
Do you have a question about the Ghani and is the answer not in the manual?
Questions and answers