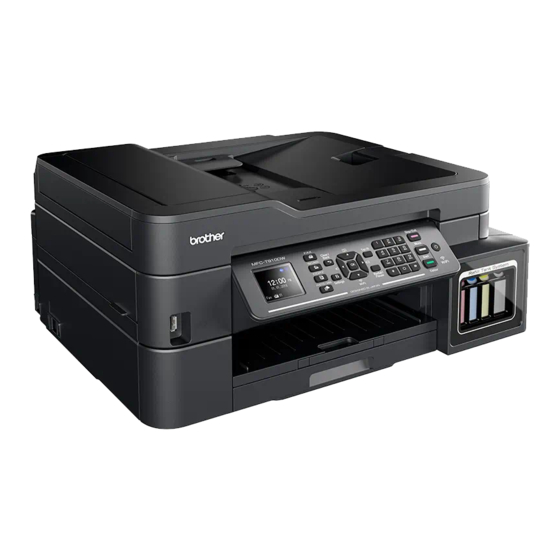
Brother DCP-T310 Quick Setup Manual
Hide thumbs
Also See for DCP-T310:
- Quick start manual ,
- User manual (579 pages) ,
- Reference manual (28 pages)
Advertisement
Quick Links
DCP-T310 / DCP-T510W / DCP-T710W / MFC-T810W
Quick Setup Guide
Read the Product Safety Guide first, then read this Quick Setup Guide
for the correct installation procedure.
1
Unpack the machine and check the components
Remove the protective tape and film covering the machine and the ink tank cover.
Operation Videos
www.95105369.com
Installation
& Using
Videos
2
Load paper in the paper tray
Pull the paper tray completely
out of the machine.
Connect the power
3
cord
Connect the power cord. The machine will power
on automatically.
Remove the cap and protective
film from the ink bottle, and then
replace the cap.
NOTE
Fasten the ink bottle cap tightly to
avoid leakage.
7
Connect the telephone line cord (MFC-T810W only)
If you are not using your machine as a fax, go to
Connect the telephone line cord.
Use the socket marked LINE.
Inbox Ink Bottles*
• Black
• Yellow
• Cyan
• Magenta
USB Interface Cable
Open the output paper tray
cover a.
Fan the paper well and load it in the tray
with the printing surface down.
Set the date and
4
time
For DCP models:
Press a or b to select the number, and then press
OK to set the date and time.
For MFC model:
Follow the prompts displayed on the LCD to set
the date and time.
Remove the tip of the ink bottle.
Point the nozzle upward so
Insert the nozzle of the ink bottle
that the ink does not spill,
firmly so that the ink does not
and then remove the nozzle
spill. Fill the ink tank by gently
from the ink tank.
squeezing the bottle as shown.
Empty the entire bottle into the
ink tank.
8
.
NOTE
If you are sharing one telephone line with an external
telephone, connect it as shown below.
Quick Setup Guide
Power Cord
Product Safety Guide
Brother Installation Disc
Telephone Line Cord
(MFC-T810W only)
Adjust the paper guides.
5
Fill the ink tanks with the inbox ink
IMPORTANT
Check the ink bottle model name on
the label. Incorrect ink may cause
damage to the machine.
BTD60BK
DO NOT USE
BK (Pigment)
BT6009BK
Push down on the cap of the
ink tank to close it tightly.
Repeat step
other ink tanks.
Close the ink tank cover. The
machine will prepare the ink
tube system for printing.
1
2
a. Extension telephone
b. External telephone
NOTE
• The Reference Guide for these models is available on the enclosed
installation disc.
• The illustrations in this Quick Setup Guide show the MFC-T810W.
• Save all packing materials and the box in case you must ship your machine.
• For a network connection you must purchase a network interface
cable. A USB cable is included with your machine.
USB cable
We recommend using a USB 2.0 cable (Type A/B) that is no more than
2 metres long.
Ethernet (Network) cable (MFC-T810W only)
Use a straight-through Category 5 (or greater) twisted-pair cable for
10BASE-T or 100BASE-TX Fast Ethernet Network.
Secure Network Access
Your machine's default password is on the label on the back
of the machine (preceded by "Pwd").
We strongly recommend you change it to protect your
machine from unauthorised access.
NOTE
Pull out the paper support a, and unfold
the paper support flap b so that the
printed pages do not fall.
Close the output paper tray cover, and
then slowly push the tray completely
into the machine.
BK (Dye)
CMY
BT5009CMY
Open the ink tank cover
the tab
downwards to open the
b
cap of the ink tank.
6
Machine settings
When the machine has finished the initial cleaning process,
follow the steps on the LCD to configure the machine settings.
• Check print quality
NOTE
Refer to the sample below to check the print quality.
5
for the three
None
A Few
CHN-ENG
Version C
2
1
and pull
a
About Half
Many
1
Advertisement

Subscribe to Our Youtube Channel
Summary of Contents for Brother DCP-T310
-
Page 1: Load Paper In The Paper Tray
DCP-T310 / DCP-T510W / DCP-T710W / MFC-T810W Quick Setup Guide CHN-ENG Read the Product Safety Guide first, then read this Quick Setup Guide for the correct installation procedure. Version C Unpack the machine and check the components NOTE Remove the protective tape and film covering the machine and the ink tank cover. • The Reference Guide for these models is available on the enclosed installation disc. • The illustrations in this Quick Setup Guide show the MFC-T810W. • Save all packing materials and the box in case you must ship your machine. • For a network connection you must purchase a network interface cable. - Page 2 Alternative wireless setup (DCP-T510W/DCP-T710W/MFC-T810W only) Find your SSID (Network Name) and Network Key (Password) on your wireless access point/router and write them in the table provided below. Select the SSID (Network Name) for your access point/router and enter the Press Menu. SSID (Network Name) Network Key (Password). For Computer For more information, see Enter Text Network Key (Password) Press a or b to select on Your Brother Machine in the Online [Network], and then Go to to install software. User’s Guide. press OK. Press a or b to select When the wireless setup is successful, [WLAN], and then press the LCD displays [Connected]. For Mobile Device SSID: XXXXXXX Network key: XXXX...


Need help?
Do you have a question about the DCP-T310 and is the answer not in the manual?
Questions and answers