
Subscribe to Our Youtube Channel
Related Manuals for PSA LIFESAVER LIF10YPEW


Summary of Contents for PSA LIFESAVER LIF10YPEW
- Page 1 Quick Start Guide LIF10YPEW Interlink Network Setup Please Read All Instructions First!
- Page 2 Section 1 Quick Start RF Interlink Network Setup Section 2 Adding a Device to an Existing RF Interlink Network Section 3 Resetting a Device...
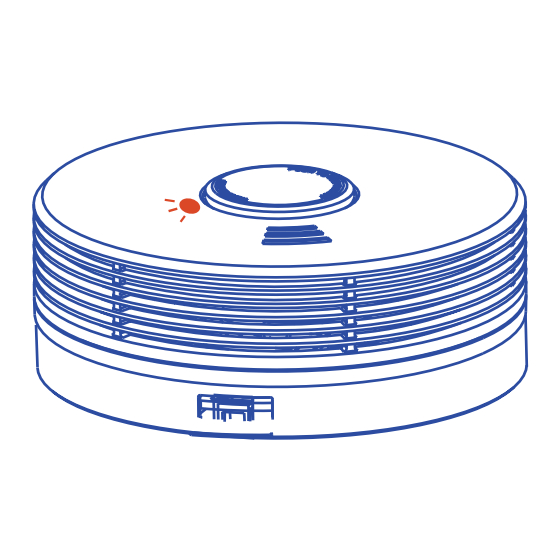
- Page 3 Install Remove Power Up ONE Device Rotate one unit completely onto the mounting bracket to activate power. One chirp when powered, and the Red LED will glow on/o every second.
- Page 4 Push button twice On the First Powered Device Push the button two times on the rst powered device. 2 soft beeps and 2 Red LED ashes every 2 seconds with a "sonar" ping sound. This is the network coordinator. Join Mode is open.
- Page 5 Install Remove Power up Remaining Devices Power up all of the remaining devices by rotating them completely onto their mounting brackets. One chirp at power on. Each unit gives a tweedle sound and Red LED ashes 3 times every 2 seconds after joining the network.
- Page 6 Push button twice Pick Any Device Push the button twice on any unit that was powered and joined the network. Red LED stops ashing on each unit as network is closed.
-
Page 7: Setup Complete
Setup Complete! If all devices are no longer ashing the Red LED, and the "sonar" ping has stopped, the devices are now connected. Congratulations! Please mount alarms in your home. Refer to user guide for detailed installation instructions. - Page 8 Section 2 Adding a Device to an Existing RF Interlink Network...
- Page 9 Push button twice Push Button Twice on any Installed unit. To open the RF Interlink Network, push the button twice on any previously connected LIF10YPEW unit Soft beeps and Red LED ashes every 2 seconds with a "sonar" ping sound. Join Mode is open.
- Page 10 Install Remove Power On the New Device(s) Rotate the new device(s) completely onto the mounting bracket(s). One chirp at power on. Each new unit gives a tweedle sound and Red LED ashes 3 times every 2 seconds after joining the network.
- Page 11 Choose ANY Connected Device Push button twice on any connected device to close the network. Red LED stops ashing on each unit as network is closed.
- Page 12 Setup Complete! If all devices are no longer ashing the Red LED, and the "sonar" ping has stopped, the devices are now connected. Congratulations! Please mount alarms in your home. Refer to user guide for detailed installation instructions.
-
Page 13: Resetting Your Device
Section 3 Resetting Your Device If you encounter an issue at any point during the RF Interlink network setup process, or if you need to remove a device from a network, you may reset the device by following the subsequent directions. -
Page 14: Resetting The Device
Resetting the Device Push button twice to open Join Mode. Unit will respond with 2 or 3 ashes, indicating Coordinator or RFD respectively. Sonar Ping will sound. - Page 15 Push and hold button Resetting the Device Press and Hold button for 4 to 5 seconds. Unit will respond with 2 soft beeps and 4 quick ashes indicating that the wireless settings have been reset and the unit is now a standalone alarm.
- Page 16 Need more help getting started? Visit www.psaproducts.com.au to view video tutorials. Consult the User Guide for more detailed instructions on product installation and use.
Need help?
Do you have a question about the LIFESAVER LIF10YPEW and is the answer not in the manual?
Questions and answers
Three LIF10YPEW alarms installed. One started beeping so I used a broom to press centre "button". Beeping stopped. No red lights are flashing. Is this normal. How can I tell if device is working? Thank you. (78 year old lady!)
Yes, it is normal for the PSA LIFESAVER LIF10YPEW alarm to stop beeping after pressing the center button, as this may indicate that the alarm has been silenced or reset. To check if the device is working, ensure that the Red LED is flashing correctly according to the setup instructions. You can also perform a test by following the user guide instructions to verify proper operation.
This answer is automatically generated