Table of Contents
Advertisement
Operating Manual
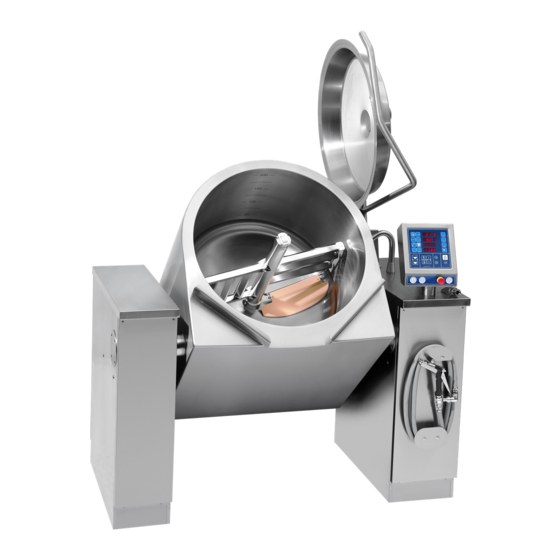
Kettle model:
-MaxiMix QuickChill / OptiMix QuickChill (AutoTemp 56)
-MultiMix / OptiMix / MaxiMix (AutoTemp 36 / 56)
-Multi / Opti / Maxi (AutoTemp 32)
-EasyMix (AutoTemp 36)
-Easy / EasyMobil / EasyStand (AutoTemp 32)
Valid through Software version 1.9
"Original instructions"
Document 10000028013-DOC-000-00-EN
Manufacturer: Jøni A/S
Advertisement
Table of Contents


Need help?
Do you have a question about the MaxiMix QuickChill and is the answer not in the manual?
Questions and answers
How to initialise Joni kettle