Insignia NS-DCDCHH2 Quick Setup Manual
Full hd dual camera dash cam
Hide thumbs
Also See for NS-DCDCHH2:
- User manual (16 pages) ,
- Quick start manual (2 pages) ,
- Quick start manual
Table of Contents
Advertisement
Available languages
Available languages
Quick Links
QUICK SETUP GUIDE
Full HD Dual Camera
Dash Cam
NS-DCDCHH2
PACKAGE CONTENTS
• Dual Camera Dash Cam
• Suction mount
• USB cable
• Quick Setup Guide
• Vehicle power adapter
FEATURES
• 1080p resolution on front and rear-facing cameras
• G-force sensor automatically starts recording on impact
• Built-in microphone to capture audio
• Loop recording overwrites the oldest footage and prevents
you from running out of storage
Refer to the online User Guide for more button information.
Back
Screen
Indicator LED
Back lens
Microphone
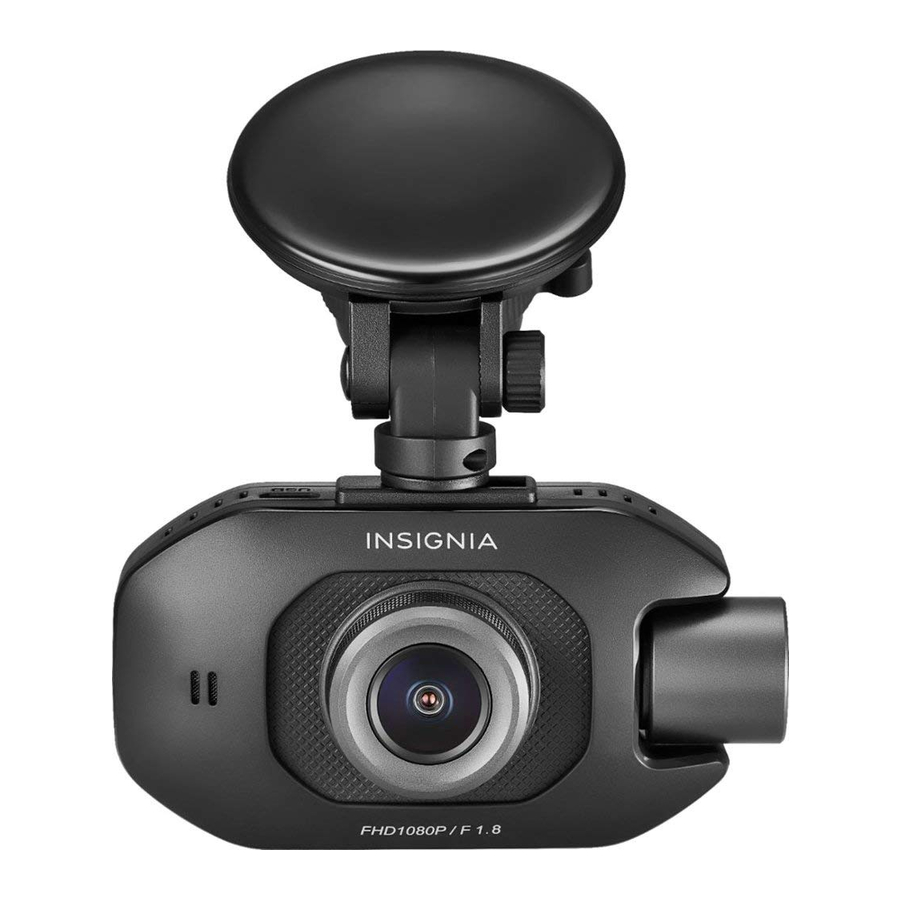
Front
Front lens
Speaker
FIND YOUR USER GUIDE ONLINE!
Go to www.insigniaproducts.com, enter your model in
the search box, then press ENTER. Next to Features,
click Support & Downloads, then next to User Guide,
click the language you want.
Before using your new product, please read these instructions to prevent any damage.
INSTALLING YOUR DASH CAM
Note: Use a card with 8GB to 128GB of memory. We recommend using a card
with the highest memory capacity available. Higher memory capacity lets
you record more.
1 Insert a microSD memory card (8GB to 128GB memory capacity).
MicroSD card
2 Clean and thoroughly dry the windshield area where you want to
mount your dash cam.
3 Insert and slide the mounting bracket on the suction cap into the
mounting slot on the top of your dash cam.
4 Peel the protective film from the mounting bracket and the dash
cam lens.
5 Position the suction cup on the windshield, then move the
mounting bracket switch clockwise until you hear a click.
6 Connect the provided USB cable to the USB jack on your dash cam,
then thread the cable from your dash cam, around the outer edge
of the windshield, and to a 12V vehicle power socket.
7 Plug the cable into the vehicle power adapter, then plug the
adapter into the power socket and turn on your vehicle. Your dash
cam starts automatically.
8 Rotate the mounting bracket to adjust the viewing angle as
needed.
9 Follow the on-screen prompts to set up your dash cam. Make sure
that you format the memory card during the setup. If the card is
not formatted, it may not record. See your online User Guide for
information about dash cam settings.
Power button
TURNING ON YOUR DASH CAM MANUALLY
1 Press and hold the power button to turn on your dash cam.
Up button
2 Press and hold the power button to turn off your dash cam.
Down button
Note: If you have an SD card installed and if your dash cam is connected to
a vehicle power socket, it starts recording automatically when you start
OK button
your vehicle. You should review your first video to make sure that the
camera is positioned correctly and that the video recorded correctly.
RECORDING VIDEO WITH YOUR DASH CAM
1 Make sure that your dash cam is turned on.
2 Press the OK button to begin recording.
3 Press the OK button again to stop recording.
TROUBLESHOOTING & SPECIFICATIONS
For troubleshooting and specifications information see your online
User Guide.
IMPORTANT SAFETY INSTRUCTIONS
• Always read the safety instructions and the User Guide carefully. Keep the User Guide for future
reference.
• Do not drop or allow forceful impacts to your dash cam, or install it in locations exposed to heavy
vibrations.
• Do not disassemble or modify your dash cam in any way. Disassembly or modification may not only
void the warranty, but may also cause damage.
• Do not use or store your dash cam in damp locations. Liquid entering your dash cam may cause
damage or lead to fires or electric shock.
• Do not operate your dash cam in extreme heat conditions. If your vehicle is parked in a hot sunny
climate, let your vehicle cool down before using your dash cam.
LEGAL NOTICES
FCC Part 15
This device complies with Part 15 of the FCC Rules. Operation is subject to the following two conditions:
(1) this device may not cause harmful interference, and (2) this device must accept any interference
received, including interference that may cause undesired operation.
This equipment has been tested and found to comply with the limits for a Class B digital device,
pursuant to Part 15 of the FCC Rules. These limits are designed to provide reasonable protection
against harmful interference in a residential installation. This equipment generates, uses, and can
radiate radio frequency energy and, if not installed and used in accordance with the instructions, may
cause harmful interference to radio communications.
However, there is no guarantee that interference will not occur in a particular installation. If this
equipment does cause harmful interference to radio or television reception, which can be determined
by turning the equipment off and on, the user is encouraged to try to correct the interference by one or
more of the following measures:
• Reorient or relocate the receiving antenna.
• Increase the separation between the equipment and receiver.
• Connect the equipment into an outlet on a circuit different from that to which the receiver is
connected.
• Consult the dealer or an experienced radio/TV technician for help.
Warning: Changes or modifications not expressly approved by the party responsible for compliance
could void the user's authority to operate the equipment.
CAN ICES-3(B)/NMB-3(B)
ONE-YEAR LIMITED WARRANTY
Visit www.insigniaproducts.com for details.
CONTACT INSIGNIA:
For customer service, call 877-467-4289 (U.S. and Canada) or
01-800-926-3000 (Mexico)
www.insigniaproducts.com
INSIGNIA is a trademark of Best Buy and its affiliated companies
Distributed by Best Buy Purchasing, LLC
7601 Penn Ave South, Richfield, MN 55423 U.S.A.
©2019 Best Buy. All rights reserved.
Made in China
V1 ENGLISH 19-0213
Advertisement
Table of Contents

Related Manuals for Insignia NS-DCDCHH2


Summary of Contents for Insignia NS-DCDCHH2
- Page 1 RECORDING VIDEO WITH YOUR DASH CAM Front lens 1 Make sure that your dash cam is turned on. INSIGNIA is a trademark of Best Buy and its affiliated companies Distributed by Best Buy Purchasing, LLC 2 Press the OK button to begin recording.
- Page 2 ¡CONSULTE SU GUÍA DEL USUARIO EN LÍNEA! 2 Presione el botón OK (Aceptar) para empezar a grabar. INSIGNIA es una marca comercial de Best Buy y sus compañías asociadas. 3 Presione nuevamente el botón OK (Aceptar) para dejar de grabar.
Need help?
Do you have a question about the NS-DCDCHH2 and is the answer not in the manual?
Questions and answers