Advertisement
Quick Links
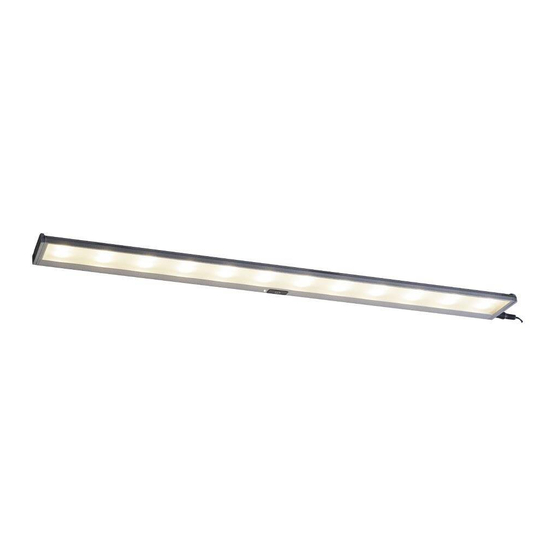
ASSEMBLY AND INSTALLATION
X0090
WARNING:
NOTE: 1. Before installing, consult local electrical codes for wiring and grounding requirements.
2. READ AND SAVE THESE INSTRUCTIONS.
Hardware Package:
Important to Know
1. Read all instructions carefully before installation and operation.
2. If you are not familiar with state and local electrical codes, it is recommended that you consult with
a qualified electrician.
3. Maximum number of LED cabinet lighting fixtures per run should not exceed power supply wattage
rating. (Maximum 24W)(Linkable up to 2 fixtures)
4. Do not use in wet locations, use indoors only.
5. Non-replaceable LEDs.
6. LED light output is strong enough to injure human eyes. Precautions must be taken to prevent
looking directly at the LEDs with unaided eyes.
7.
Specification:
Item #.
NO.
1
X0090
Important safety instructions.
1. Do not attempt to install fixture while plugging in.
Installation Steps
1. Find a suitable location to mount the fixture, make sure
that the 24W driver (with 5 ft. power cord) will reach the
nearest electrical outlet. The mounting surface should
be a minimum of 1/2" thick (Fig.1).
Note: The recommended mounting for the cabinet light
fixture is near the front lip of your under cabinets as
shown in the figure 1. This provides the best light
distribution across a countertop.
2.Use your fingernails or a small, flat-head screwdriver,
gently pry the mounting bracket until it
opens. (See Fig 2.)
INSTRUCTIONS
TO AVOID RISK OF ELECTRICAL SHOCK, BE SURE TO SHUT OFF
POWER BEFORE INSTALLING OR SERVICING THIS FIXTURE.
Dimension(inch)
A
B
C
24
3
0.625
(1 SET)
Maximum
Watts
B
12
Fig.1.
Fig.2.
Key hole
Page 1
C
A
Cabinet
Counter Top
Mounting Bracket
161125
Advertisement

Related Manuals for Vaxcel X0090


Summary of Contents for Vaxcel X0090
- Page 1 ASSEMBLY AND INSTALLATION INSTRUCTIONS X0090 WARNING: TO AVOID RISK OF ELECTRICAL SHOCK, BE SURE TO SHUT OFF POWER BEFORE INSTALLING OR SERVICING THIS FIXTURE. NOTE: 1. Before installing, consult local electrical codes for wiring and grounding requirements. 2. READ AND SAVE THESE INSTRUCTIONS.
- Page 2 3. Place the cabinet light fixture to the mounting Fig.3. surface and mark the target on the mounting Mounting Surface surface from the key hole, remove the cabinet light fixture from the mounting surface. Pre-drill holes in the mounting surface. Secure the dry wall screws to the cabinet.
- Page 3 B. Using 12˝ linking cord: Fig.8. Cabinet Light Fixture 12˝ Linking Cord Cabinet Light Fixture Determine location for next fixture in run. (Minimum 3” distance for linking cord should be allowed at both ends of fixtures). Install the additional cabinet light fixture by following steps 1-5 of the instruction steps.
- Page 4 Note: 1. This cabinet light fixture has memory function setting. The light will stay at the same status Label as the last time the power supply was turned off. 2. When power is first applied, the light will turn to high-level brightness (100% brightness). 3.