Advertisement
Technical Support Setup Procedure
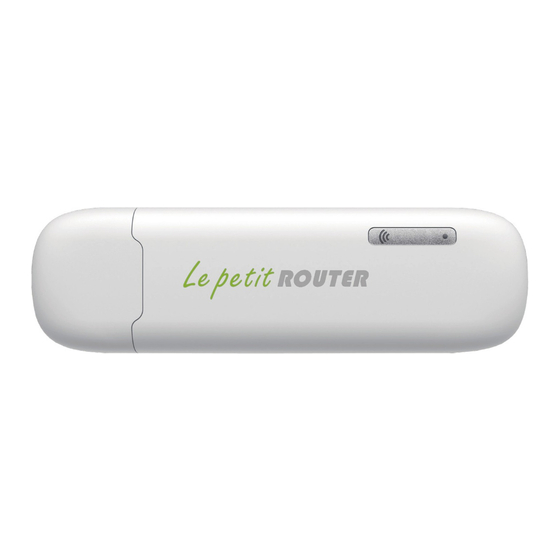
How to setup and connect wireless to DWR-710?
Note:
By
default,
the
network
name(SSID)
of
the
DWR-710
will
be
in
the
format
dlink_DWR_710_xxxx where "xxxx" represents the last 4 characters of the DWR-710's MAC
Address.
Please find the default SSID and password on the product label after removing the front cover.
Please Write the password for later reference
Step 1 Ensure that the device has been properly inserted with an active SIM.
Step 2 - Connect the DWR-710 to an available USB port of a computer or a USB output power
device (eg Power Bank).
Step 3 - Ensure that the device is turned on and the desired SSID is found in the list of
Wireless Networks on your Wireless Computer. Please consult the computer operational
manual on enabling the Wireless connection of the computer.
Page 1 of 3
Advertisement
Table of Contents

Related Manuals for D-Link DWR-710


Summary of Contents for D-Link DWR-710
- Page 1 Please Write the password for later reference Step 1 Ensure that the device has been properly inserted with an active SIM. Step 2 - Connect the DWR-710 to an available USB port of a computer or a USB output power device (eg Power Bank).
- Page 2 Technical Support Setup Procedure Step 4 - Select the DWR-710’s Wireless Network Name. Click on Connect as shown. Step 5 - Please key in the corresponding WiFi Key as found on the label. Click OK to proceed. Page 2 of 3...
- Page 3 Technical Support Setup Procedure Step 6 – You should now be successfully connected to the DWR-710. Step 7 - You can now open a browser to access the WWW key “http://192.168.0.1” to access the Device Menu Interface page for further configurations.
Need help?
Do you have a question about the DWR-710 and is the answer not in the manual?
Questions and answers