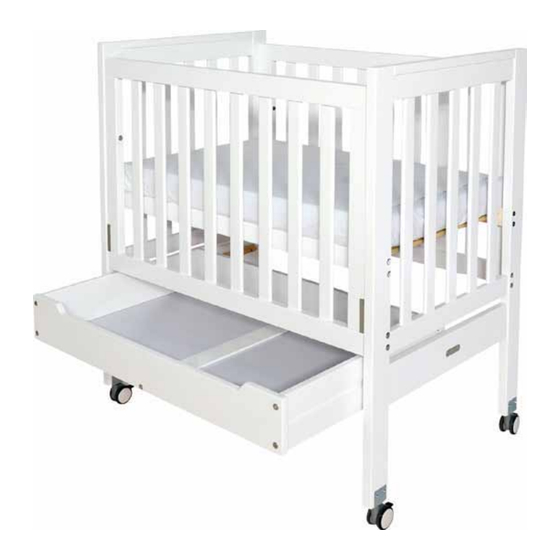
Summary of Contents for Grotime BACKSAVER
- Page 1 BACKSAVER 3 in 1 cot with drawer Two adults required to assemble this cot. The manufacturer's assembly instructions must be followed in detail to ensure the safety features to the cot are not compromised.
-
Page 2: Parts List
HARDWARE INVENTORY DRAWER Drawer Stop Set 50mm Bolts 70mm Bolts Guide Pins Bolts & Cap Nuts Wood Pins 35mm Bolts Allen Key PRE-INSTALLED HARDWARE Locking Bolts Wood Screws PARTS LIST 1 x Fixed Side 2 x End Panels 1 x Drop Side 1 x Cot Base 2 x Drawer Runners 2 x Drawer Sides... - Page 3 STEP 1 ASSEMBLE COT DRAWER RUNNERS IN THE COT ENDS Screw Driver End Panels Drawer Runners STEP 2 ASSEMBLE THE TWO OUTER ENDS TO THE BASE End Panels Cot Base 50mm Bolts Do not tighten bolts at this stage Chose high or low position for mattress base HIGH Bassinet level...
- Page 4 STEP 3 ASSEMBLE FIXED SIDE TO ENDS Fixed Side 70mm Bolts Do not tighten bolts at this stage STEP 4 SCREW FOUR GUIDE PINS INTO ENDS FIRMLY Guide Pins Screw Driver...
- Page 5 STEP 5 ASSEMBLE DROP SIDE Align two access holes in the built-in Drop Side runner with the guide pins on one end. Now repeat on other end. Ensure correct side is facing out. STEP 6 FULLY SCREW IN LOCKING BOLTS Lift drop side up until it clicks into the locking position.
- Page 6 STEP 7 TIGHTEN ALL BOLTS AND STEP 8 OPERATION To lower drop side, lift from centre of top rail, hold side in that position while using your leg to push inward on centre of bottom rail. Then allow to slide gently down. HOW TO OPERATE DROP SIDE OF THIS COT...
- Page 7 DAY BED CONVERSION Remove dropside by reversing to step 4. Remove dropside guide pins (HC) from the ends to prevent injury. Day Bed COT BED CONVERSION Remove dropside by reversing to step 4. Cot Bed...
- Page 8 DRAWER ASSEMBLY STEP 1 INSERT WOOD PINS INTO THE DRAWER SIDES Wood Pins Drawer Sides STEP 2 ASSEMBLE THE BACK END TO SIDES 35mm Bolts Back End...
- Page 9 STEP 3 ASSEMBLE THE BOTTOM PLATE HOLDER TO BACK END 35mm Bolts Bottom Plate Holder STEP 4 INSERT THE BOTTOM PLATES Bottom Plates...
- Page 10 STEP 5 INSERT WOOD PINS INTO THE FRONT END Wood Pins Front End STEP 6 ASSEMBLE THE FRONT END 35mm Bolts...
- Page 11 STEP 7 SLIDE THE DRAWER UNDERNEATH THE COT Locater pressed into steel HH (x2 sets) Bolt Drawer Stop Brackets onto drawer sides once drawer is in place. This stops the drawer coming right out. Locater holds bracket in place while tightening bolt Your cot is now complete.
- Page 12 MAINTENANCE Check your cot regularly. Retighten all bolts. For after sales service contact Grotime Service Australia on 1300 799 912; or New Zealand on 0508 476 932; RECOMMENDED MATTRESS SIZE This cot has been manufactured for use with a mattress which measures 760mm in width and 1300mm in length and 130mm in thickness.


Need help?
Do you have a question about the BACKSAVER and is the answer not in the manual?
Questions and answers