
Subscribe to Our Youtube Channel
Related Manuals for TROLL nursery ANNA COT


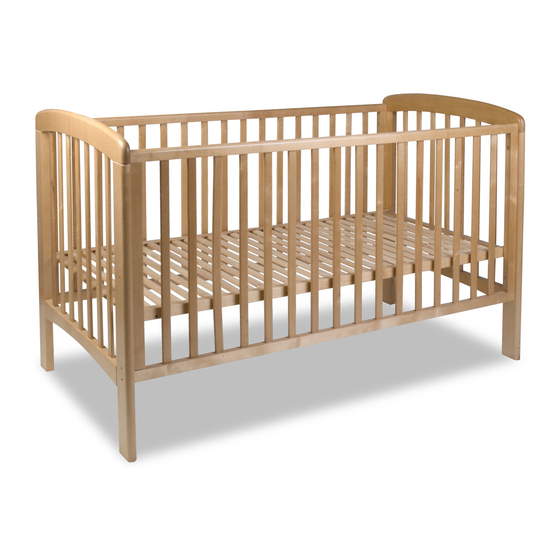
Summary of Contents for TROLL nursery ANNA COT
- Page 1 ANNA COT with dropside IMPORTANT RETAIN FOR FUTURE REFERENCE READ CAREFULLY The illustrations in these instructions are to be used as a guide only Conforms to BS EN 716-1&2:2008 + A1:2013 Made in Latvia...
- Page 2 SAFETY INSTRUCTIONS Your child’s safety is your responsibility. Remove all parts from packaging and check against the parts list. Do not discard any packaging until you are sure you have all parts and the pack of fittings. You will find it easier to assemble the cot if a second adult is available to help you. WARNING : Be aware of the risk of open fires and other sources of strong heat, such as electric bar fires, gas fires etc in the near vicinity of the cot WARNING : Do not use if any part of the cot is broken, torn or missing...
- Page 3 PARTS LIST 3 3 3 3 FITTINGS LIST TOOLS REQUIRED...
- Page 4 ASSEMBLING Use A x 4 screws to attach fixed side. Do not tighten. Overhang should be inside cot. WARNING! The t of the mattress surface must not be higher than this mark! Insert the x 2 cross dowels and E x 2 wooden dowels into the stabilizing bar.
- Page 5 Adjust the wheel runners so that the gap between the dropside and the cot end is less than 3 mm. Overhang should be inside cot. For installation of drop side insert the crib drop side runner into the headboard groove on one headboard end. Move the second headboard slightly and insert the drop side runner into the headboard groove.
- Page 6 HOW TO LOWER DROP SIDE Lift dropside 2 cm up Carefully push dropside bottom inwards Lower dropside until it locks in lower position HOW TO LIFT DROP SIDE Lift dropside 2 cm up Carefully push dropside bottom inwards Lift dropside until it locks in upper position...
Need help?
Do you have a question about the ANNA COT and is the answer not in the manual?
Questions and answers