Table of Contents

Summary of Contents for dibea DT966
-
Page 1: Instruction Manual
Ⅱ DT966 Instruction Manual Providing one-stop household Read this user manual carefully before first use. cleaning solution Keep this manual for further guidance in case. Suzhou Dibea Electrical Technology Co.,Ltd. Official website: www.dibea.com... -
Page 2: Table Of Contents
Content Safety Instructions …………………………………………………………………………………………… 1-2 Product Components ……………………………………………………………………………………… 3-6 Main body …………………………………………………………………………………………………………………… 3 Dust bin ………………………………………………………………………………………………………………………… 4 Water tank …………………………………………………………………………………………………………………… 4 Charging base ……………………………………………………………………………………………………………… 4 Remote control …………………………………………………………………………………………………………… 5 Main button ………………………………………………………………………………………………………………… 6 Main body & accessories ……………………………………………………………………………………………… 6 Product Operation …………………………………………………………………………………………... -
Page 3: Safety Instructions
Safety Instructions Safety Instructions WARNING: (21).The battery should be disposed properly for safety. Basic safety precautions should always be observed when using an (22).The adaptor must be removed from the socket outlet before cleaning or maintaining electrical appliance, including the following to reduce the risk of fire, the appliance or removing the battery. -
Page 4: Product Components
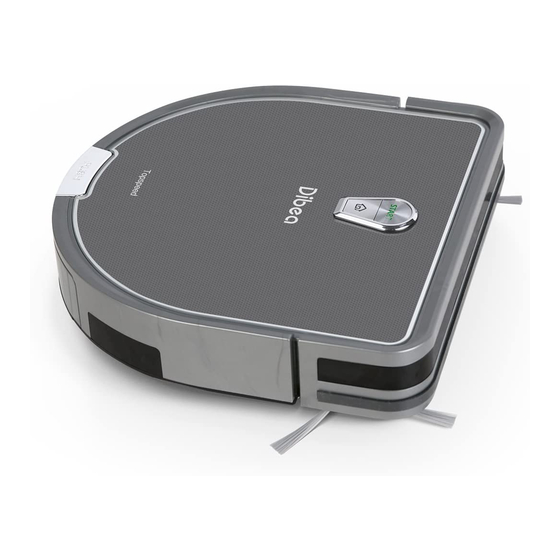
Product Components Product Components Main body Dust bin ● ● Dust bin button Hepa filter Hepa cover Recharging button START button Primary filter Power switch Dust bin button Power socket Front bumper Dust bin Dust bin cover Water tank (optional equipment) ●... -
Page 5: Water Tank
Product Components Product Components Charging base and accessories ● Main button ● State START button Button Indicator light Standby Yellow — Window Winding tool Working Green — Charging socket Charging pole Back to charging base Green — Back to charging Blue Yellow base(received the signal) -
Page 6: Product Operation
Product Operation Product Operation Attention Fast guide ● ● Before using the vacuum, please check the environments as described below: Charging prepare Connect the adaptor to the charging base ● Place the charging base against the wall ● and remove obstacles about 1 meter at two sides and 2 meters forward Plug the adaptor into the wall socket ●... -
Page 7: Scheduling
Product Operation Product Operation Start cleaning Spot cleaning Press the START button on the vacuum In standby mode, press the button on the remote control and the vacuum will ● ● cleaner or the ON/OFF button on the turn to spot cleaning mode. remote control to start cleaning. -
Page 8: Water Tank
Product Operation Product Operation Set the scheduling time Water tank (optional) ● Water tank plug Water tank button Water tank cover Mop cloth Press the PLAN button and the Press the to set the hour and left 00 of the 00:00 will flash. minute, press the to change between the hour and minute. -
Page 9: Product Maintenance
Product Maintenance Product Maintenance Side & roller brush cleaning Dust bin & filter cleaning ● ● Take out the dust bin and check if the suction is blocked. ● Clean the side brushes and roller brush when they get dirty and replace them once Open the dust bin and empty it. -
Page 10: Troubleshooting
Troubleshooting Troubleshooting Errors and solutions Product specifications ● ● Error Cause Solution Item Specifications Turn on the switch Diameter 305mm Switch button is turned When in charging, press button and press the the START button and START button again 75mm the vacuum won’t back Height off and starts cleaning.


Need help?
Do you have a question about the DT966 and is the answer not in the manual?
Questions and answers