Advertisement
Quick Links
Advertisement

Subscribe to Our Youtube Channel
Related Manuals for Char-Broil TRU Infrared Patio Bistro 12601713


Summary of Contents for Char-Broil TRU Infrared Patio Bistro 12601713
- Page 1 Assembly Guide GAS (LP) (English) 42804703 • 7/5/12...
- Page 2 CAUTION: *SAFETY First….. Grill components may have sharp edges. Be careful when handling grill parts during assembly. We suggest that you wear a sturdy pair of leather gloves while handling the grill parts. BEFORE You begin assembly of your grill…. BEFORE You Grill….
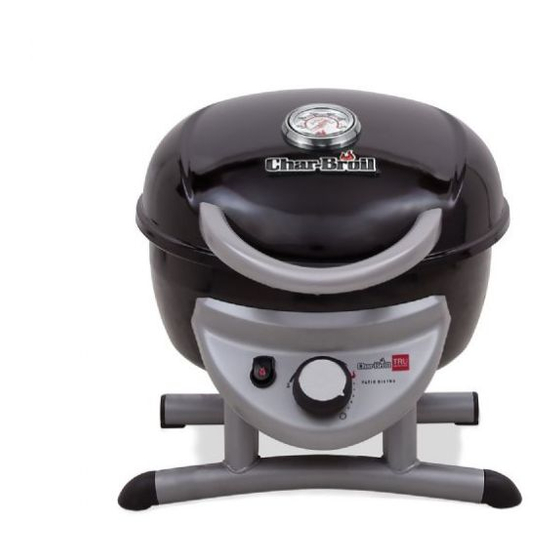
- Page 3 Description GRILL BOTTOM BURNER HEAT SHIELD CONTROL PANEL HOSE VALVE REGULATOR ELECTRODE MATCH LIGHT COVER MATCH HOLDER ELECTRODE WIRE FRONT LEG ASSEMBLY FRONT LEG CAP REAR LEG ASSEMBLY REAR LEG CAP COOKING GRATE GREASE TRAY WIND SHIELD WARMING RACK TOP LID LID HANDLE LID BUMPER TEMPERATURE GAUGE...
- Page 5 Grill Lower Body Assembly Fasteners Part – Lower Body – Front Leg Assembly – Rear Leg Assembly 10-24x1/2" screw (qty 4)
- Page 6 Grill Lower Body Assembly Fasteners 10-24x3/8" 10-24 Nut screw (Qty 1) (qty 1) 10-24 nut...
- Page 7 GRILL IGNITION Assembly Part – Electronic Ignition Module – Battery Electrode Wire...
- Page 8 Complete Grill Lower Body Assembly Fasteners Part – Heat Shield 10-24 Nut (Qty 2)
- Page 9 GRILL LID Assembly Fasteners Part – Lower Body 10-24x3/8" – Wind Shield screw 10-24 Nut (qty 3) Fiber Washer 1/4-20 Nut – Grill Lid 1/4-20x1" (qty 3) (qty 5) (qty 2) screw (qty 2) 10-24 Nuts (3 each) 10-24x3/8” Screws (3 each) Fiber Washer...
- Page 10 GRILL FINAL Assembly Part Qty. Fasteners E1 – Cooking Grate E2 – E3 – 10-24x3/8" Fiber Washer Handle E4 – screw (Qty 2) (Qty 2) Step 1 - With Grill Lid open, screw Flame Tamer (E1) to burner. The place the Cooking Grate (E2) into the Lower Body, allowing it to rest on the three brackets spaced around the Lower Body.
- Page 11 Part E5 – Control knob Grease tray E6 –...
Need help?
Do you have a question about the TRU Infrared Patio Bistro 12601713 and is the answer not in the manual?
Questions and answers