Advertisement
Advertisement
Table of Contents

Related Manuals for BitFenix Prodigy M


Summary of Contents for BitFenix Prodigy M
- Page 1 Prodigy M Quick Installation Guide...
-
Page 2: Box Contents
Box Contents • Prodigy M Case • Prodigy M Quick Installation Guide o Accessories: ODD Bay Screw Brackets: x 2 USB 3.0 to 2.0 Apdater HDD Anti-vibration Washers x 4 Motherboard Standoff grip tool: x 1 (For loosening/tightening MB standoffs) -
Page 3: Basic Installation
Front Back Side Basic Installation Removing side panels Remove thumbscrews Remove side panels... - Page 4 Installing 5.25" drives b. Remove ODD bay blank and a. Remove front panel by pushing drive bay cover from front panel tabs from inside chassis c. Slide drive into drive bay d. Secure with screws Thumbscrews M3...
- Page 5 Installing 3.5" drives a. Remove hard disk tray b. Install drives using 6*6mm c. Secure hard disk tray Round screws with screws a. Put drives into place Install drives using 6*6mm Round screws (install heat shield if necessary)
- Page 6 Installing 2.5" drives a. Remove hard disk tray by removing b. Install drives screws c. Secure with screws d. Install tray into place (M3*5mm Round screws)
- Page 7 Installing 2.5" drives a. Slide drives into place b. Secure with screws (M3*5mm Round)
-
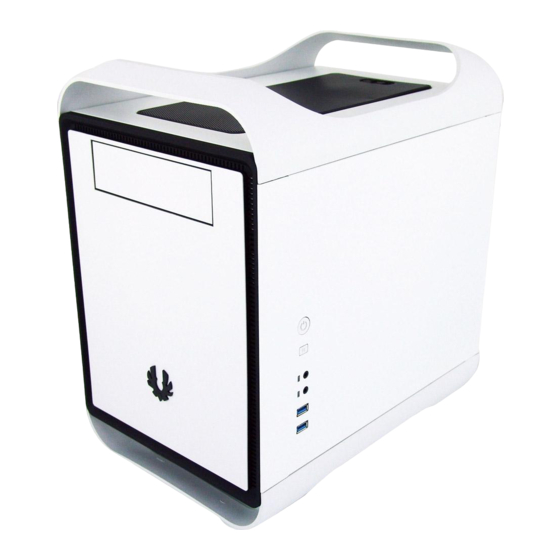
Page 8: Power Button
A. Power button B. Reset button C. Headphone jack D. Microphone jack E. SuperSpeed USB3.0 ports... - Page 9 Top Fan Installation (120mm) Remove top filter Install fans Secure with screws Replace top filter...
- Page 10 Bottom Fan Installation (120mm) b. Secure with screws (Remove a. Install fans heat shield if installed) Bottom Fan Installation (230mm) a. Install fans b. Secure with screws (Remove heat shield if installed)
- Page 11 Rear Fan Installation Install fan Secure with screws...
-
Page 12: Psu Installation
PSU Installation Remove thumbscrew Remove PSU bracket Standard Secure PSU with screws ( Secure with thumbscrew screw 6-32 hex... - Page 13 Replacing ODD bay blank b. Remove ODD bay blank from a. Remove front panel by pushing front panel tabs from inside chassis c. Position ODD bay screw brackets and d. Secure with screws (6-32*6mm Flat) ODD bay blank...
- Page 14 3F, No.79, Sec. 1, Xintai 5th Rd., Xi Zhi District, New Taipei City, Taiwan, R.O.C. For the most updated information, please visit our official website: http://www.bitfenix.com © 2013 BITFENIX Co., Ltd. All Rights Reserved. All trademarks are registered to their respective owners. Ver 1.0 : 2013/09...
Need help?
Do you have a question about the Prodigy M and is the answer not in the manual?
Questions and answers