Advertisement
Quick Links
Advertisement

Related Manuals for BitFenix Prodigy M ARGB


Summary of Contents for BitFenix Prodigy M ARGB
- Page 1 Quick Installation Guide...
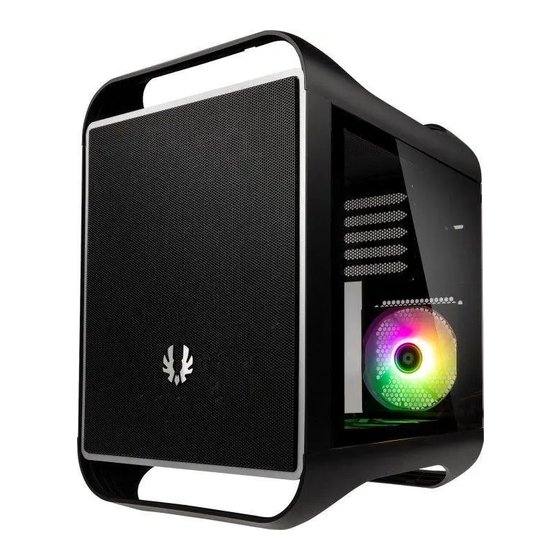
- Page 2 1. Magnetic filter on top 7. Removable SDD/HDD 5 bracket 2. New Enhanced Edition Handle 8. 120 mm water cooling bracket BitFenix FyberFlex™ Composite Handles 9. Vertical graphics card bracket 3. High flow filter front panel 10. Tempered glass 4. Graphics Cards support 11.
-
Page 4: Package Content
Package Content Prodigy M 2022 Case Prodigy M 2022 Case Quick Installation Guide Accessory Pack Accessory Pack Motherboard standoff 5 PSU screw 4 HDD shockproof pad 20 M/B screw 25 HDD screw 16 Cable tie 6 Copper column sleeve 1... -
Page 5: Basic Installation
1. Magnetic filter on top 7. Removable SDD/HDD 5 bracket 2. New Enhanced Edition Handle 8. 120 mm water cooling bracket BitFenix FyberFlex™ Composite Handles 9. Vertical graphics card bracket 3. High flow filter front panel 10. Tempered glass 4. Graphics Cards support 11. - Page 7 Move the handles a little bit towards the back of the case do not Suggest to remove the handles before installing the PC.And please screw too tight on handles when install the handles back to the case. A. Power Button E.
- Page 8 Choose magnetic acrylic top cover or magnetic mesh top cover. (Suggest to use magnetic mesh top cover when install fans or all-in-one water cooling)
- Page 9 Drive locations HDD or SSD...
- Page 10 Installed 2.5”Drivers on bracket Please install 2.5’’ Drivers first if you have both 3.5’’ and 2.5’’ Drivers. If you would like to install SSD here then you will be unable to install HDD at the back of this bracket...
- Page 11 Installed 3.5“Drivers on bracket...
- Page 12 Installed 2.5”Drivers at the bottom Installed 3.5“Drivers at the bottom...
- Page 13 How to install graphics card Graphics card which can be installed in case doesn’t means it can also be installed vertically Install the PCIE panel from inside after screwing the graphics card...
- Page 14 How to install vertical graphics card Please connect PCIE cables to the graphics card before install it vertically. Vertical VGA Length Support: Length up to 339mm / 2 Slot / Thickness up to 55 mm If the graphic card is too wide, then it can not install 12 cm fans at bottom...
- Page 15 How to install power supply with PSU bracket...
- Page 16 How to install power supply in case Suggest to install in this way when graphics card over 275 mm length...
- Page 17 Install 12cm fans at bottom Install 12cm fan at rear...
- Page 18 Install 12cm fans at top Install 12cm fans at front...
- Page 19 Install 6cm fans at front - 1 Install 6cm fans at front - 2...
- Page 20 Prodigy M 2022 ARGB version include Spectre ARGB Fans x 3 Spectre ARGB LED strips 30cm x 2 SE controller & SE remote SE Controller...
- Page 21 SE remote Connect fans on controller Connect LED strips on controller...
- Page 22 Connect SATA cable on the controller Press ON on remote to turn on the light If you want to control by software, please follow the steps. Steps 1 Make sure you have motherboard with ARGB(3Pin 5V) header Steps 2 Turn off the PC and connect the ARGB header on controller to motherboard ARGB socket...
- Page 23 Steps 3 Turn on the PC and long press the M/B button on remote. And the light will follow motherboard control.
Need help?
Do you have a question about the Prodigy M ARGB and is the answer not in the manual?
Questions and answers