Advertisement
Advertisement
Table of Contents

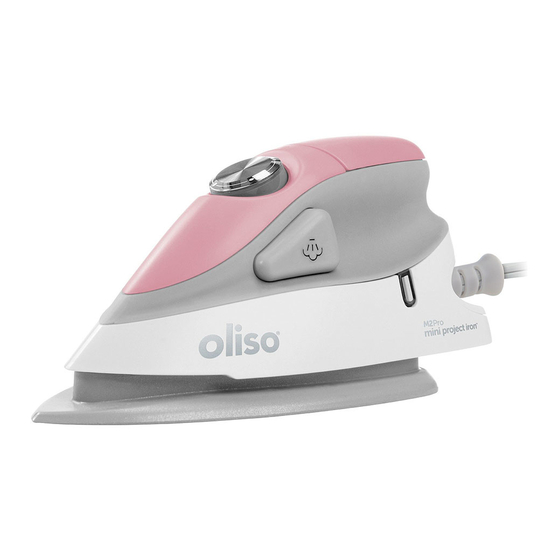
Summary of Contents for Oliso Mini Project Iron M2Pro
- Page 1 user manual mini project iron ™ for model M2Pro...
- Page 2 When operating the iron, do not attempt to place vertically on its heel for resting. Use its solemate™ special instructions Oliso® irons are high wattage appliances - Please switch your iron to your country’s voltage. To avoid a circuit overload, do not operate another high wattage appliance on the same circuit.
- Page 3 ™ get to know your oliso mini project iron ® ® Dual Voltage sight window soleplate System fabric selector 120V | 240V one-press solemate top fill detailer tip ™ water tank steam control...
-
Page 4: Simple Steps To Start
4 simple steps to start step 1 step 2 step 3 step 4 remove solemate fill unplugged set up iron ™ Make sure to remove Open the water tank lid Plug in. Turn dial When the light stops the solemate from the and add water to max clockwise to choose... -
Page 5: Filling Water Tank
filling water tank step 1 step 2 step 3 switch off unplug iron open lid fill (turn the dial Place the warm iron on the 50mL equals the max solemate™ while it cools. capacity of the water tank. counter clockwise) Then open lid. -
Page 6: Fabric Selector
fabric selector fabric selector status light Turn the temperature + fabric selector to desired setting. fabric selector dial steam button status light status light settings temperature + fabric settings heating ready settings heating ready solid low temp (synthetic) pulsating solid medium temp (wool + silk) pulsating... - Page 7 steam button voltage one-press burst of steam voltage settings This iron is set at the factory to operate at 120 volt. Fill with water (see page 5) and allow the iron to heat up (solid light) before pressing the steam button. 110/120V 220/240V If set at 240V, the iron will...
- Page 8 solemate ™ dual purpose solemate attaching solemate ™ ™ Note: allow soleplate to cool side 1 side 2 thoroughly before attaching solemate™ RESTING SIDE STORAGE SIDE STORAGE RESTING SIDE SIDE step 1 step 2 PATENT PENDING Insert front of soleplate Wrap back tabs into front of solemate™...
- Page 9 store iron properly step 1 step 2 step 3 step 4 switch off unplug iron let cool off wrapping cord Iron should remain Allow soleplate (turn the dial For easy storage, the unplugged when to cool thoroughly, counter power cord can be not in use.
-
Page 10: Troubleshooting Guide
It is best to empty the water tank after you finish ironing. Let water cool before emptying. Make sure the iron is cool before storing it. Clean solemate™ by using water & soft dish soap. Let dry before installing onto iron. Solemate™ is dishwasher safe. If any problem persists, contact our customer service 1-800-899-5157 or customerservice@oliso.com... -
Page 11: Warranty
The liability of oliso is limited solely to the cost of repair or replacement of the product at its option. This warranty does not cover normal wear of parts and does not apply to any product that has been tampered with or used for commercial purposes. This warranty does not cover damage caused by misuse, abuse, use on improper voltage or current, use contrary to the operating instructions, negligent handling or damage due to faulty packaging or mishandling in transit. - Page 12 ™ reinvented © 2019 Unovo LLC dba OLISO All rights reserved. oliso® logo, is a registered trademark of Unovo LLC dba OLISO. mini project iron™, reinvented for you™, and solemate™ are trademarks of Unovo LLC dba OLISO. Patents Pending. SKU #40002002, Printed in China.


Need help?
Do you have a question about the Mini Project Iron M2Pro and is the answer not in the manual?
Questions and answers