
Related Manuals for Russell Hobbs RHSWIRLK


Summary of Contents for Russell Hobbs RHSWIRLK
- Page 1 INSTRUCTIONS AND WARRANTY MODEL NO. RHSWIRLK / RHMBLACKK RUSSELL HOBBS 1.6L KETTLE...
-
Page 2: Parts Diagram
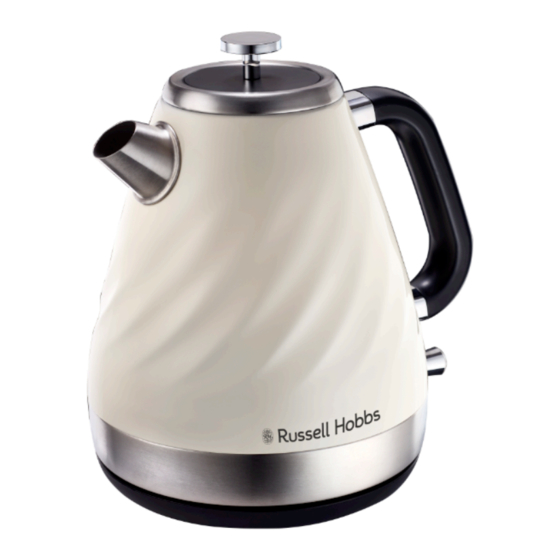
Congratulations on purchasing our Russell Hobbs 1.6L Kettle. Each unit is manufactured to ensure safety and reliability. Before using this appliance for the first time, please read the instruction manual carefully and keep it for future reference. FEATURES OF THE RUSSELL HOBBS 1.6L KETTLE 2150W •... -
Page 3: Important Safeguards
IMPORTANT SAFEGUARDS When using any electrical appliance, basic safety precautions should always be followed including the following: 1. Please read the instructions carefully before using any appliance. 2. Always ensure that the voltage on the rating label corresponds to the mains voltage in your home. - Page 4 17. Remove the plug from the socket by gripping the plug. Do not pull on the cord to disconnect the appliance from the mains. 18. The use of accessory attachments that are not recommended or supplied by the manufacturer may result in injuries, fire or electric shock. The kettle is to be used only with the base provided.
-
Page 5: Preparation For Use
32. In case of technical problems, switch off the appliance and do not attempt to repair it yourself. Return the appliance to an authorised service facility for examination, adjustment or repair. Always insist on the use of original spare parts. Failure to comply with the above mentioned pre-cautions and instructions, could affect the safe operation of this appliance. -
Page 6: Filling The Kettle
FILLING THE KETTLE Remove the kettle from the power base. • Open the lid by pulling the lid upwards. • Fill the kettle between the MIN and MAX markings on the water level indicator • with cold water. Close the lid and place the kettle back on the power base. Make sure the lid is •... -
Page 7: Switching Off
SWITCHING OFF When the water has boiled, the kettle will switch off automatically. You can stop • the boiling process at any time by lifting the on/off switch to the “0” (off) position. GENERAL Always remove the kettle from the base before pouring. •... - Page 8 Do not immerse the kettle or kettle base in liquid. • Do not use harsh or abrasive cleaning agents or solvents. • We recommend that you descale your kettle regularly, even in soft water areas. Lime scale may be white, coloured, or even rusty-looking, but it is normally visible. Phosphate scale is not generally visible, but there is always a build-up, even in soft water areas.
-
Page 9: Storing The Appliance
The filter will prevent these particles going into your drink. If you see deposits on • the filter, clean it, otherwise the performance of your kettle will drop, your drinks may contain scale, and the water inside the kettle may look cloudy. Cleaning the filter: The filter is located inside the kettle behind the spout. -
Page 10: Changing The Plug
If the supply cord is damaged, it must be replaced by the manufacturer or an authorised service agent, in order to avoid any hazard. If service becomes necessary within the warranty period, the appliance should be returned to an approved Home of Living Brands (Pty) Limited service centre. - Page 11 PLEASE AFFIX YOUR PROOF OF PURCHASE/RECEIPT HERE IN THE EVENT OF A CLAIM UNDER WARRANTY THIS RECEIPT MUST BE PRODUCED. W A R R A N T Y AND EXTENDED WARRANTY Home of Living Brands (Pty) Limited ("Home of Living Brands") warrants to the original purchaser of this product ("the customer") that this product will be free of defects in quality and workmanship which under normal personal, family or household use and purpose may manifest within a period of 1 (one) year from the date of purchase ("warranty period").
Need help?
Do you have a question about the RHSWIRLK and is the answer not in the manual?
Questions and answers