Advertisement
Installation Instructions
Thermador
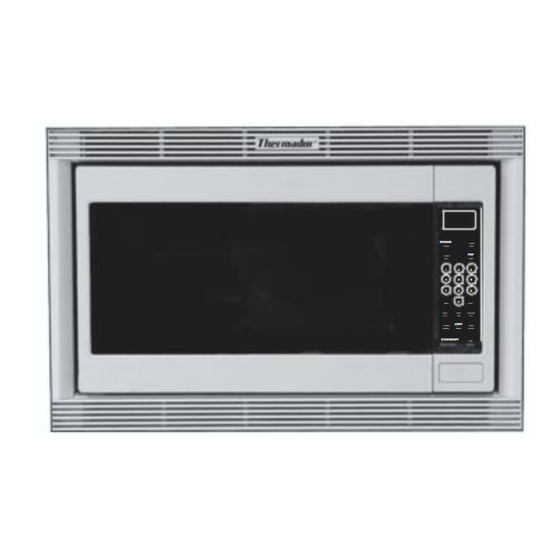
Built-In Trim Kits • Models MT27 & MT30
Please Read this entire manual before proceeding:
IMPORTANT
Local codes vary. Installation, electrical connections, circuit breakers
:
and grounding must comply with all applicable codes. Save these
instructions for the Local Electrical Inspector's use.
INSTALLER:
Please leave these Installation Instructions with this unit for the
owner.
OWNER:
Please retain these instructions for future reference.
WARNING:
Disconnect power at the breaker before installing.
Step 1: Unpacking ............................................. 2
Step 2: Cabinet Preparation ........................... 3
Step 3: Electrical Installation ........................... 3
Step 4: Installing the Trim Kit .......................... 4
Step 5: Installing the Microwave Oven ......... 5
for
®
Microwave MBY
(Sold Separately)
Table of Contents
Page 1
SENSOR
SENSOR
REHEAT
COOK
POWER
POP
LEVEL
CORN
1
3
2
4
5
6
7
8
9
TIMER
0
CLOCK
MORE
QUICK
FUNCTION
/LESS
MIN
KEY
SERVING
KEEP
TURBO
/WEIGHT
WARM
DEFROST
STOP/RESET
START
Advertisement
Table of Contents

Summary of Contents for Thermador MT27, MBY
- Page 1 Installation Instructions Thermador Built-In Trim Kits • Models MT27 & MT30 Please Read this entire manual before proceeding: IMPORTANT Local codes vary. Installation, electrical connections, circuit breakers and grounding must comply with all applicable codes. Save these instructions for the Local Electrical Inspector's use.
- Page 2 • Screws #8x1/4 (20) • Grommet (1) Caution: • This trim kit is designed for use only with the Thermador Microwave Oven Models Listed (See Table 1) • For Safety, do not alter or modify any part of this kit or oven...
- Page 3 • Your microwave oven can be installed into a cabinet or wall by itself or above any of the following : Thermador wall ovens C271, C301, CM301, S301, SC301, CJ301 or Thermador Warming Drawers WD 27 and WD 30 (See Figure 2).
- Page 4 Step 4: Installing the Trim Kit A. Position the 2 vertical trim brackets using the template as shown on Figure 3. Trim Brackets ➝ ➝ Screws #8 x Template Template is used to locate the positions of the left and right trim brackets with respect to the cut out.
- Page 5 Step 5: Installing The Microwave Oven (Figure 5) Note: The four (4) ducts have a plastic cover- ing that must be removed prior to installing these ducts onto the microwave section. These ducts have sharp edges. Be careful when han- dling.
- Page 6 Step 5: Installing The Microwave Oven (continued) Remove the left side vertical trim bracket (3 screws) (for MT27 only) 10. Slide the assembled microwave oven in the prepared cabinet cutout. Plug the electrical cord in the wall receptacle (ask help from another person).
- Page 7 Notes Page 7...
- Page 8 Thermador reserves the right to change specifications or design without notice. Some models are certified for use in Canada. Thermador is not responsible for products which are transported from the United States for use in Canada. Check with your local Canadian distributor or dealer. Thermador, 5551 McFadden Avenue, Huntington Beach, CA 92649.


Need help?
Do you have a question about the MT27, MBY and is the answer not in the manual?
Questions and answers