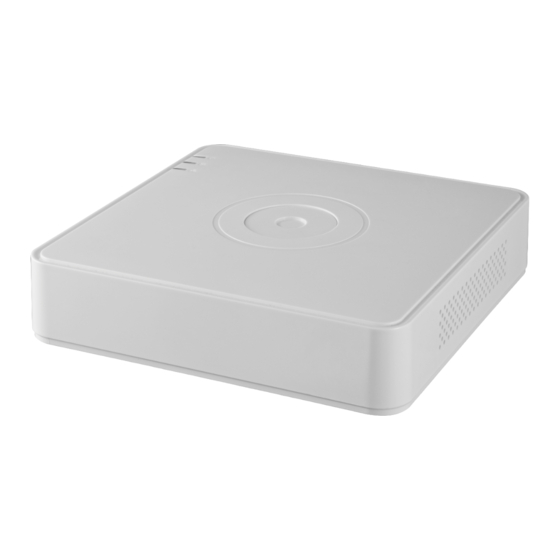
HIKVISION DS-7104HGHI-F1 Quick Start Manual
Hide thumbs
Also See for DS-7104HGHI-F1:
- User manual (340 pages) ,
- Quick start manual (46 pages) ,
- Quick start manual (8 pages)
Table of Contents
Advertisement
Advertisement
Table of Contents

Subscribe to Our Youtube Channel
Summary of Contents for HIKVISION DS-7104HGHI-F1
- Page 1 Digital Video Recorder Quick Start Guide...
- Page 2 BUSINESS PROFITS, BUSINESS INTERRUPTION, OR LOSS OF DATA OR DOCUMENTATION, IN CONNECTION WITH THE USE OF THIS PRODUCT, EVEN IF HIKVISION HAS BEEN ADVISED OF THE POSSIBILITY OF SUCH DAMAGES. REGARDING TO THE PRODUCT WITH INTERNET ACCESS, THE USE OF PRODUCT SHALL BE WHOLLY AT YOUR OWN RISKS.
- Page 3 Digital Video Recorder Quick Start Guide Regulatory Information FCC Information Please take attention that changes or modification not expressly approved by the party responsible for compliance could void the user’s authority to operate the equipment. FCC compliance: This equipment has been tested and found to comply with the limits for a Class A digital device, pursuant to part 15 of the FCC Rules.
-
Page 4: Symbol Conventions
Digital Video Recorder Quick Start Guide Symbol Conventions The symbols that may be found in this document are defined as follows. Symbol Description Provides additional information to emphasize or supplement important points of the main text. Indicates a potentially hazardous situation, which if not avoided, could result in equipment damage, data loss, performance degradation, or unexpected results. -
Page 5: Power Supply Instructions
Digital Video Recorder Quick Start Guide Power Supply Instructions Use only power supplies listed below. For DS-7104HGHI-F1, DS-7108HGHI-F1, DS-7104HGHI-F1/N, DS-7108HGHI-F1/N, DS-7104HQHI-K1, DS- 7108HQHI-K1, and DS-7104HUHI-K1. Standard Power Supply Models Manufacturer MSA-C1500IC12.0-18P-GB MOSO Technology Co., Ltd. British ADS-26FSG-12 12018EPB Shenzhen Honor Electronic Co., Ltd. -
Page 6: Chapter 1 Rear Panel Interfaces Description
Digital Video Recorder Quick Start Guide Chapter 1 Rear Panel Interfaces Description The rear panel interfaces vary with different models. Refer to Table 1-1 for the common interfaces description of rear panels. Common Interfaces Description of Rear Panels Item Description Item Description BNC interface for Turbo HD and... -
Page 7: Hdd Installation
Digital Video Recorder Quick Start Guide HDD Installation Before you start Before installing a hard disk drive (HDD), please make sure the power is disconnected from the device. A factory recommended HDD should be used for the installation. Tools Required: Cross screwdriver. Bracket Installation Bracket installation is applicable when you need to remove the cover of the device and install the HDD to the internal bracket. -
Page 8: Rs-485 And Controller Connection
Digital Video Recorder Quick Start Guide (Optional) Repeat the steps above to install other HDDs. Close the front panel and lock it with key. Fix-on-Bottom Installation Fix-on-bottom installation is applicable when you need to install and fix the HDD on the device bottom. Remove the cover from device 2) Connect the other end of data Set the device up,... -
Page 9: Chapter 3 Menu Operation
Digital Video Recorder Quick Start Guide Chapter 3 Menu Operation Startup Proper startup is crucial to expanding the life of the DVR. Check the power supply is plugged into an electrical outlet. It is HIGHLY recommended that an Uninterruptible Power Supply (UPS) be used in conjunction with the device. -
Page 10: Using The Unlock Pattern For Login
Digital Video Recorder Quick Start Guide Using the Unlock Pattern for Login Purpose For the Admin user, you can configure the unlock pattern for device login. After the device is activated, you can configure the device unlock pattern. Use the mouse to draw a pattern among the 9 dots on the screen. - Page 11 Digital Video Recorder Quick Start Guide User Logout, Shutdown and Reboot Purpose You can log out of the system, shut down, or reboot the device on your demands. Go to Menu > Shutdown. Click Logout, Shutdown, or Reboot. After you have logged out of the system, menu operation on the screen is invalid.
-
Page 12: Adding Ip Cameras
Digital Video Recorder Quick Start Guide Adding IP Cameras Purpose Before you can get live video or record the video files, you should add the network cameras to the connection list of the device. Before you start Ensure the network connection is valid and correct, and the IP camera to add has already been activated. Please refer to the User Manual for activating the inactive IP camera. -
Page 13: Network Settings
The maximum connectable AT/AF camera number varies with different models. Please turn off the PoC function if the camera does not support PoC, or the camera is not produced by Hikvision. Otherwise, it may result in permanent damage to the camera or DVR. Network Settings... -
Page 14: Live View
Digital Video Recorder Quick Start Guide Configure Hik-Connect Purpose Hik-Connect provides mobile phone application and platform service to access and manage your connected devices, which enables you to get a convenient remote access to the surveillance system. Go to System > Configuration > Network > Platform Access. Check Enable to activate the function. - Page 15 Digital Video Recorder Quick Start Guide Make sure that the disk has already been installed. If not, please install a disk and initialize it. You may refer to the user manual for detailed information. Purpose Two kinds of record types are introduced in the following section, including Instant Record and All-Day Record. And for other record types, you may refer to the user manual for detailed information.
-
Page 16: Chapter 4 Accessing By Web Browser
Digital Video Recorder Quick Start Guide Chapter 4 Accessing by Web Browser You shall acknowledge that the use of the product with Internet access might be under network security risks. For avoidance of any network attacks and information leakage, please strengthen your own protection. If the product does not work properly, please contact with your dealer or the nearest service center.


Need help?
Do you have a question about the DS-7104HGHI-F1 and is the answer not in the manual?
Questions and answers