Advertisement
Hardware Installation Guide
Guide d'installation du matériel
First!
Guía de instalación de hardware
Première!
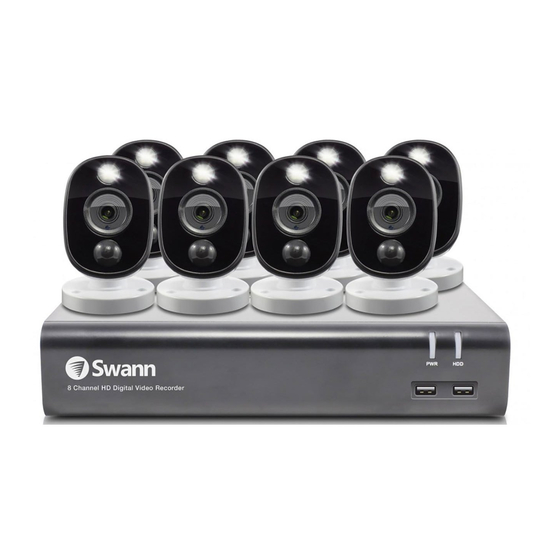
To start using your DVR, you need the following:
¡Primera!
1. A high-definition TV capable of displaying 720p or 1080p video.
2. A router with a broadband internet connection.
3. A mobile device (Android or iOS) to download the mobile app.
Español
Para comenzar a utilizar el DVR, necesita lo siguiente:
1. Un televisor de alta definición con capacidad para mostrar video 720p
o 1080p.
2. Un enrutador con una conexión de Internet de banda ancha.
3. Un dispositivo móvil (Android o iOS) para descargar la aplicación móvil.
Français
Pour commencer à utiliser votre DVR, vous avez besoin des éléments
suivants:
1. Une TV haute définition capable d'afficher une vidéo de 720p ou 1080p.
2. Un routeur avec une connexion internet à large bande.
3. Un appareil mobile (Android ou iOS) pour télécharger l'application mo-
bile.
QH_4816CH_GL_210519 | © Swann 2019
Advertisement
Table of Contents


Need help?
Do you have a question about the 4480 and is the answer not in the manual?
Questions and answers