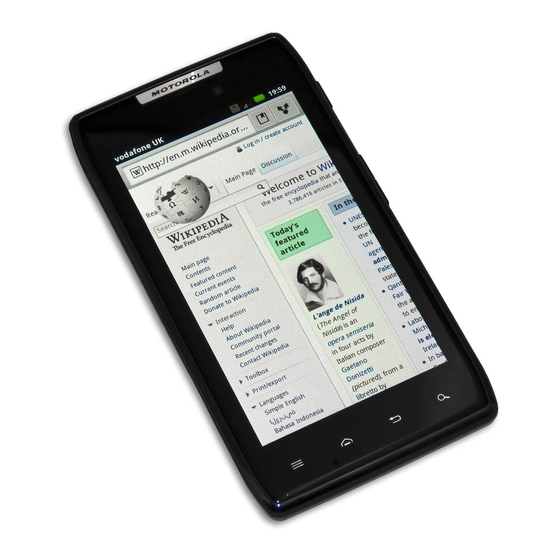
Motorola Droid Razr Disassemble Manual
Hide thumbs
Also See for Droid Razr:
- User manual (80 pages) ,
- Start here manual (52 pages) ,
- Master manual (48 pages)
Table of Contents
Advertisement
Quick Links
Download this manual
See also:
User Manual
Motorola Droid Razr - Disassemble Guide
•
TTT-9004 T5 Torx Screwdriver
•
TTT-9010 Plastic Opening Tools
•
TTT-9013 Spudger
•
Razor Blade
•
Heat Gun / Blow Dryer
The repair of the Motorola Droid Razr smartphone, can be both simple and inexpensive if
you follow the steps of this disassemble guide. To assist you in completing the repair, the
steps we have provided will help you quickly, and safely, replace a broken display, along
with other internal components that may have become damaged.
You can find a full archive of fixez.com disassemble guides and videos, for numerous makes
and models of phones and tablets, by visiting http://www.fixez.com.
http://www.fixez.com/
Page 1 of 9
Advertisement
Table of Contents

Summary of Contents for Motorola Droid Razr
- Page 1 • Heat Gun / Blow Dryer The repair of the Motorola Droid Razr smartphone, can be both simple and inexpensive if you follow the steps of this disassemble guide. To assist you in completing the repair, the steps we have provided will help you quickly, and safely, replace a broken display, along with other internal components that may have become damaged.
- Page 2 Motorola Droid Razr–Disassemble Guide Step 1 – Battery • On the lower left hand side of the Razr is the door for the SIM and MicroSD cards. Open this door and remove the two cards before proceeding to disassemble the phone.
- Page 3 Motorola Droid Razr–Disassemble Guide Step 4 • You can now remove the back cover from the Razr. Step 5 • With the back cover removed, the battery is visible. Locate and remove the two T5 torx screws under the red rubber terminal cover. This will disconnect the battery’s current.
- Page 4 Motorola Droid Razr–Disassemble Guide Step 7 • The camera cover plate is a clear plastic plate that needs to be removed to expose one of the screws that secures the case together. • With the plastic opening tool, peel this plastic cover off the Razr.
-
Page 5: Step 11 - Rear Speaker
The phone’s rear speaker is housed in the back portion of the phone’s case. Use the spudger and pry up to release the securing adhesive. You can now remove the rear speaker from the Motorola Droid Razr. Step 12 •... - Page 6 Motorola Droid Razr–Disassemble Guide Step 13 • With the frame’s screws removed, detach the metal frame from the Droid Razr. Step 14 There is a small metal shield that covers the • display assembly connections in the middle of the motherboard.
- Page 7 The earpiece speaker is the first connection. Use • the spudger to flip the socket lock up, release the cable, and remove the earpiece speaker from its socket in the Motorola Droid Razr. http://www.fixez.com/ Page 7 of 9...
-
Page 8: Step 19 - Front-Facing Camera
Motorola Droid Razr–Disassemble Guide Step 19 – Front-Facing Camera • The front-facing camera is the next connection. Use the spudger to flip the socket lock up, release the cable, and remove the camera from its socket in the Razr. Step 20 – Rear-Facing Camera The rear-facing camera is the last connection. -
Page 9: Final Layout
Motorola Droid Razr–Disassemble Guide Final Layout To reassemble your device, follow these instructions in reverse order. Notice/Warning: FIXEZ.COM DOES NOT ACCEPT ANY LIABILITY FOR DAMAGE, OR INJURY CAUSED, WHILE YOU ARE FOLLOWING OUR DISASSEMBLE GUIDES. WE MAKE NO REPRESENTATIONS, WARRANTIES, OR CONDITIONS OF ANY KIND, EXPRESS OR IMPLIED.


Need help?
Do you have a question about the Droid Razr and is the answer not in the manual?
Questions and answers