Table of Contents
Advertisement
Quick Links
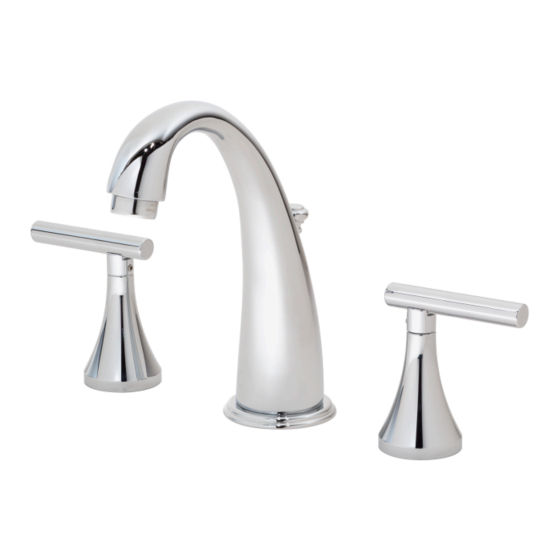
Widespread Lavatory Faucet
Installation and Service Instructions
Model Numbers
SLW-4612 Lavatory faucet with
pop-up drain
Alternate Finish Code
append to part numbers when applicable
-STN Satin Nickel
Chrome (standard)
--
Visual Install Guide
Attach faucet handles
Attach faucet spout to sink
S
Attach control valves to sink
Connect water supply lines
S
Removable Removable
Step 6
Install stopper and
set eye position
Fasten drain body and
tail piece to sink
Attach drain body to drain trap
Tools & Materials
5/64"
Lucetta Widespread Lavatory Faucet, SLW-4612
Step 2
Step 3
Step 1
Step 1
Step 4
Non-
stopper
stopper
Step 5
Step 9
Lucetta
SLW-4612
Plumbers
Putty
®
Need Help?
Contact Symmons customer service at
(800) 796-6667, (781) 848-2250
Email: gethelp@symmons.com
Monday - Friday 7:30 am - 7:00 pm EST
Please check Symmons website
for technical help, the latest product
information and warranty policy.
www.symmons.com/service
Step 10
Flush water supply lines
Step 8
Connect lift rod, clevis strap,
pivot rod and adjust linkage
Step 7
Attach pivot rod to drain body
Advertisement
Table of Contents

Related Manuals for Symmons Lucetta SLW-4612


Summary of Contents for Symmons Lucetta SLW-4612
- Page 1 Installation and Service Instructions Tools & Materials Need Help? Model Numbers SLW-4612 Lavatory faucet with Contact Symmons customer service at pop-up drain (800) 796-6667, (781) 848-2250 Email: gethelp@symmons.com Monday - Friday 7:30 am - 7:00 pm EST Alternate Finish Code append to part numbers when applicable ...
- Page 2 Installation Instructions If replacing an older faucet ensure water supply is Caution: Step 4 Connect water supply lines turned before removing. Then turn faucet control valves ■ Apply pipe sealant to relieve water pressure. on male end of both flex hoses Step 1 Attach control valves to sink spout and thread into...
- Page 3 Step 10 Flush water supply lines Step 6 Install stopper and set eye position ■ Thoroughly flush supply Stopper can be removable lines to prevent foreign or non-removable remove stopper matter, i.e. copper chips, determined by position aerator ange sand, etc. from damaging of eye hole when later the sealing surface inserting pivot rod.
- Page 4 31 Brooks Drive Braintree, MA 02184 ■ Phone (800) 796-6667 Fax (800) 961-9621 ■ Website: www.symmons.com Email: g e t he l p@symmons .c om ■ ■ ©2014 Symmons Industries, Inc. Printed in U.S.A. ZV-570 0 2 2 4 1 4...
Need help?
Do you have a question about the Lucetta SLW-4612 and is the answer not in the manual?
Questions and answers