
Related Manuals for GUTMANN Capa


Summary of Contents for GUTMANN Capa
- Page 1 Montageanleitung Instructions de montage Istruzioni per il montaggio Installation instructions Instrucciones de montaje Montagehandleiding...
-
Page 2: Safety Information
switches, e.g. circuit breakers and con- Safety information tactors. Before working on the electrical connection of the extractor hood com- Installation, connection, commissioning mences, the mains circuit/circuits must and repair work may only be carried out be switched off. Before drilling the by authorised technicians. - Page 3 the relevant applicable installation regu- lations and installation instructions pro- vided by the manufacturer of the gas appliance. The extractor hood may only be installed at a minimum height of 650 mm above gas cookers if the following nominal heat loads (Hs) are not ex- ceeded: Gas stoves Load from one gas ring max.
- Page 4 Then release the locking hook on the metal filters. 3. Drill the suspension holes in the ceil- ing and use suitable dowels for the wall 6. Then raise the extractor hood using the lifting device (make sure it is facing material.
- Page 5 8. Lift up the extractor hood with 2 men (3) Make sure that the fastening screws are fitted into the "pear-shaped holes" on the top of the extractor hood (3). Then push the extractor hood back- wards (4) to lock it in position. 10.
-
Page 6: Installation Instructions
2. Now unscrew the screws located in Installation instructions the exhaust air chamber (M5, Torx) so that the extractor hood can be sepa- B Version) rated into its upper and lower sections. Make sure that the electric lines are General: Before the extractor hood released at the connector plugs. -
Page 7: Environmental Information
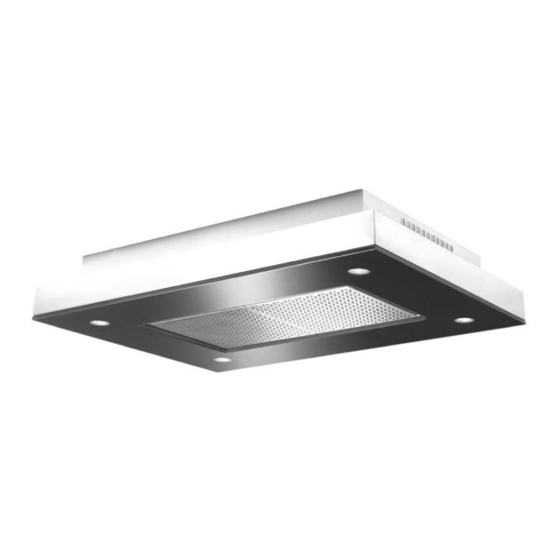
Before hanging the upper part of the Capa hood, check that the exhaust air Disposal Packaging connection is facing to the correct side! Now push the suspension holes in the The appliance packaging is recyclable. upper section onto the hanger bolts in Cardboard and polyethylene film (PE) the ceiling. - Page 8 Bild: Capa 1000x700x140mm A-Version...
- Page 9 Capa 1000x700x140mm, B-Version...
- Page 10 Capa 1200x700x140mm, B-Version...
- Page 11 Exklusiv-Hauben GUTMAN GUTMAN GUTMAN GmbH GUTMAN Mühlacker Straße 77 D-75417 Mühlacker Deutschland info@gutmann-exklusiv.eu www.gutmann-exklusiv.eu HRB 705602 Amtsgericht Mannheim DE263391836 Artikel Nr.: 1803...
Need help?
Do you have a question about the Capa and is the answer not in the manual?
Questions and answers