Table of Contents
Advertisement
Quick Links
Advertisement
Table of Contents

Subscribe to Our Youtube Channel
Related Manuals for Caple SP610


Summary of Contents for Caple SP610
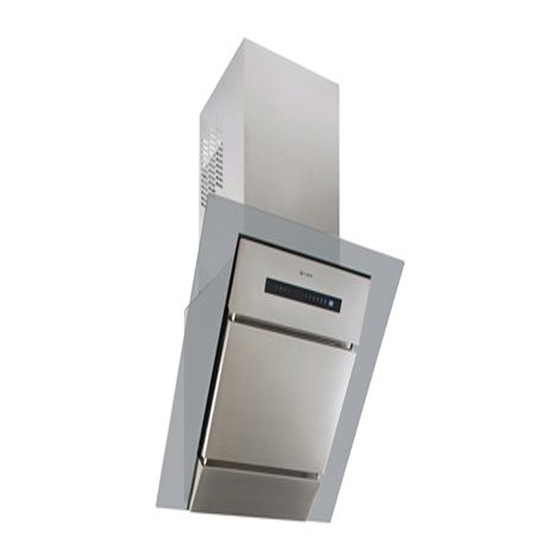
- Page 1 I I I I nstruction manual for wall chimney hoods nstruction manual for wall chimney hoods nstruction manual for wall chimney hoods nstruction manual for wall chimney hoods Model codes: SP610 / SP910 Contact Caple on 0844 800 3830 or for spare parts www.4caple.co.uk...
-
Page 2: Important Safety Information
IMPORTANT SAFETY INFORMATION **Read the complete manual carefully before installation** Intended for Domestic Kitchen Use Only Warnings: TO REDUCE T HE R ISK O F F IRE , E LECTRICAL S HOCK O R P ERSONAL I NJURY , P LEASE O BSERVE T HE F OL LOWING : 1. - Page 3 WARNING TO REDUCE THE RICK OF INJURY TO PERSONS IN THE EVENT OF A GREASE FIRE, OBSERVE THE FOLLOWING: 1. SMOTHER FLAMES with a close-fitting lid, cookie sheet or metal tray, and then turn off the burner. If the flames do not go out immediately, evacuate and call the fire department.
-
Page 4: Installation Instructions
INSTALLATION INSTRUCTIONS Before You Start... Read this manual carefully and completely. The cooker hoods conform to related appliances standards. Please check your local building codes for any additional requirements. The appliance has been manufactured as class I, therefore earthed connection is necessary. The range hood must be installed so that the plug is easily accessible. -
Page 5: Installing The Ductwork
Installing the Ductwork toroof cap 1. Plan where the ductwork will run between the hood and the outside. The hoods exhaust vertically but can be ducted to the rear behind the chimney duct through an outside wall or vertically up through the ceiling to the roof. - Page 6 Installing Guideline Duct-out Angled Hood Leveling Device Mounting hood on the wall,the level can be adjusted by turning the two screws on the motor housing. Note: The above installation guideline for references only, please contact your local dealer for a installation service.
-
Page 7: Installation Alternatives
INSTALLATION ALTERNATIVES The cooker hood can be installed in the following ways: Circulating indoor air (A) Outdoor venting (B) REMEMBER! The distance between the top of the hob and the lowest part of the cooker hood must be at least 65 cm. ... - Page 8 USE AND CARE INSTRUCTIONS Operations 1. For optimum performance in removing cooking odors, it is recommended that you turn on your range hood prior to cooking and you leave it operating for 15 minutes after cooking. 2. Clean the surfaces of the range hood regularly using a non-abrasive detergent. 3.
-
Page 9: Care And Cleaning
CARE AND CLEANING Replacing the charcoal filter (standard hood) General Replace the charcoal filter (standard hood) as Regular maintenance is required to ensure that the follows: cooker hood functions properly. This is especially true of the grease and charcoal filters. Clean the fan and other surfaces of the cooker hood Remove the grease filter. - Page 10 Emptying and cleaning the fat collector (For these hood fitted with fat collector) The fan is fitted with a fat collector that collects fat from the fan blades and fan housing. 1. Remove the grease filter and the charcoal filter (if fitted). 2.
- Page 11 2. Remove the blown halogen bulb (if the fan has 4 bulbs = 10W, 2 bulbs = 20W). Remember that the bulb can be hot! 3. Insert the new halogen bulb. If you touch the halogen bulb with your bare hands this may reduce its service life. Always use a glove or a cloth to avoid direct contact.
-
Page 12: Troubleshooting Guide
Trouble Shooting Guide Possible Reason Solution Problem Check the plug is connected. No electrical supply. C h e c k t h e m a i n s w i t c h i s Hood doesn't turn on. turned on. Contact technician service Power cord is damaged Clean the filters and replace... - Page 13 Hood Size: 300mm 305mm 400mm 600/700/800/900...
Need help?
Do you have a question about the SP610 and is the answer not in the manual?
Questions and answers
Model cable sp611/sp911, where are charcoal filters? Can only find grease filter at front, are they on motor unit?
The charcoal filters on the Caple SP610 model are located behind the grease filter. They can be accessed by first removing the grease filter and then squeezing the clips on the charcoal filter to pull it back for removal. The context does not explicitly state whether the charcoal filters are on the motor unit.
This answer is automatically generated