Subscribe to Our Youtube Channel
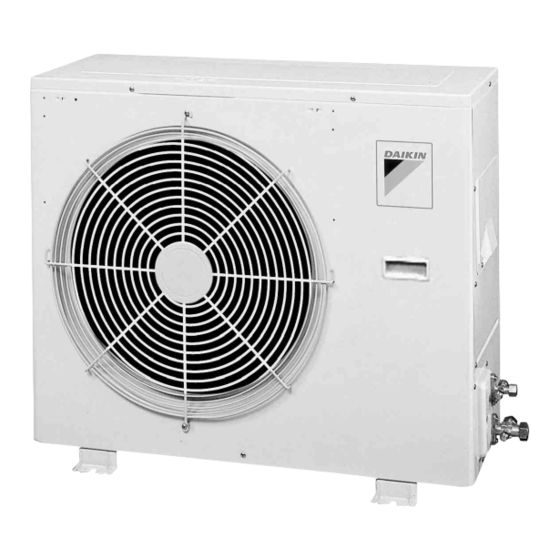
Summary of Contents for Daikin R21NUV1
- Page 1 Si241307 REMOVAL PROCEDURE S E R V I C E M A N U A L 2.5 HP Class Outdoor Unit Non-Inverter Pair Type...
-
Page 2: Outdoor Unit
Service Manual Removal Procedure Outdoor Unit Applicable Models Cooling Only R21NUV1... - Page 3 Si241307 Table of Contents 1. Procedure to Remove Outside Panels............2 2. Procedure to Remove El. Compo. Box ...........3 3. Procedure to Remove Compressor............6 Removal Procedure...
- Page 4 Procedure to Remove Outside Panels Si241307 1. Procedure to Remove Outside Panels Procedure Warning Be sure to wait for 10 minutes or more after turning off all power supplies before disassembling work. Procedure Points Step To dismount the top panel, remove the 4 Top panel mounting screws (A).
- Page 5 Si241307 Procedure to Remove El. Compo. Box 2. Procedure to Remove El. Compo. Box Procedure Warning Be sure to wait for 10 minutes or more after turning off all power supplies before disassembling work. Procedure Points Step Remove the wire harness connectors from the PCB.
- Page 6 Procedure to Remove El. Compo. Box Si241307 Step Procedure Points Terminal code is printed. Do not scorch the indication with the flame of welder. Also record terminal code ON a memo paper in case the indication becomes illegible. Remove the terminal cover.
- Page 7 Si241307 Procedure to Remove El. Compo. Box Step Procedure Points Remove the screw. Take off the el. compo. box. Removal Procedure...
- Page 8 Procedure to Remove Compressor Si241307 3. Procedure to Remove Compressor Procedure Warning Be sure to wait for 10 minutes or more after turning off all power supplies before disassembling work. Procedure Points Step Make sure that refrigerant is completely empty in the circuit before Warning disassembling.
- Page 9 Si241307 Procedure to Remove Compressor Step Procedure Points After disconnecting the refrigerant pipes, remove the 3 washer nuts that secure the compressor. Use open- end washer nut (a) located on the right front side. Use T-handle box Open-end wrench wrench to loosen the nuts (b) and (c).
- Page 10 Revision History Month / Year Version Revised contents 01 / 2013 Si241307 First edition...
- Page 11 Improper installation can result in water or refrigerant leakage, electrical shock, fire or explosion. Use only those parts and accessories supplied or specified by Daikin. Ask a qualified installer or contractor to install those parts and accessories. Use of unauthorised parts and accessories or improper installation of parts and accessories can result in water or refrigerant leakage, electrical shock, fire or explosion.


Need help?
Do you have a question about the R21NUV1 and is the answer not in the manual?
Questions and answers