Alcatel ONETOUCH POP 3 Series Repair Documentation
Tcl communication
Hide thumbs
Also See for ONETOUCH POP 3 Series:
- User manual (64 pages) ,
- Quick start manual (21 pages) ,
- Quick start manual (21 pages)
Table of Contents
Advertisement
Quick Links
See also:
User Manual
TCL
L2 Repair Document
Communication Ltd.
Pixi3-5 3G
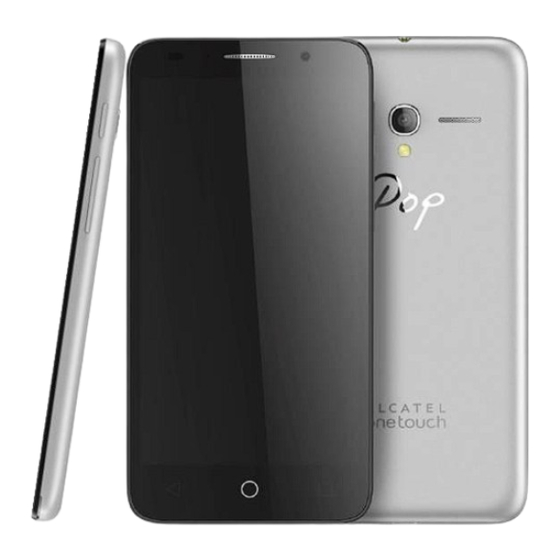
ALCATEL ONETOUCH POP 3 (5)
5015D/X/A/E_5016A/J
POP 3 (5) = Pixi3-5 3G
Note: this manual is non-contractual and TCL Communication Ltd. can modify it without prior
notice on the characteristics of described equipments.
Rev.
Page
1.0
1/42
5015D/X/A/E_5016A/J Level 2 Repair Document
All rights reserved. Transfer, copy, use or communication of this file is prohibited without authorization.
Advertisement
Table of Contents


Need help?
Do you have a question about the ONETOUCH POP 3 Series and is the answer not in the manual?
Questions and answers